Showing posts with label mixed media scrapbooking. Show all posts

Monday, 10 October 2016

Happy Thanksgiving!

It is Thanksgiving in Canada today. To celebrate, I am taking a break from my usual Mixed Media Monday post to spend with my family...and maybe take a nap. While I'm away, you can check out some of the links below. It's a collection of some of the mixed-media scrapbooking posts from my blog's archives, in case you want a little inspiration today.

Happy Thanksgiving!

Cathie

Mixed Media Monday (posts with full instructions)

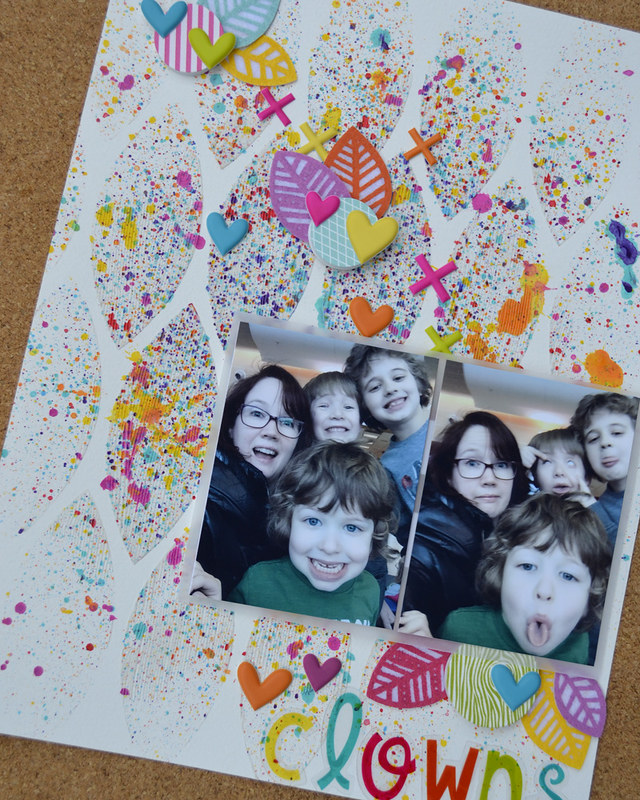
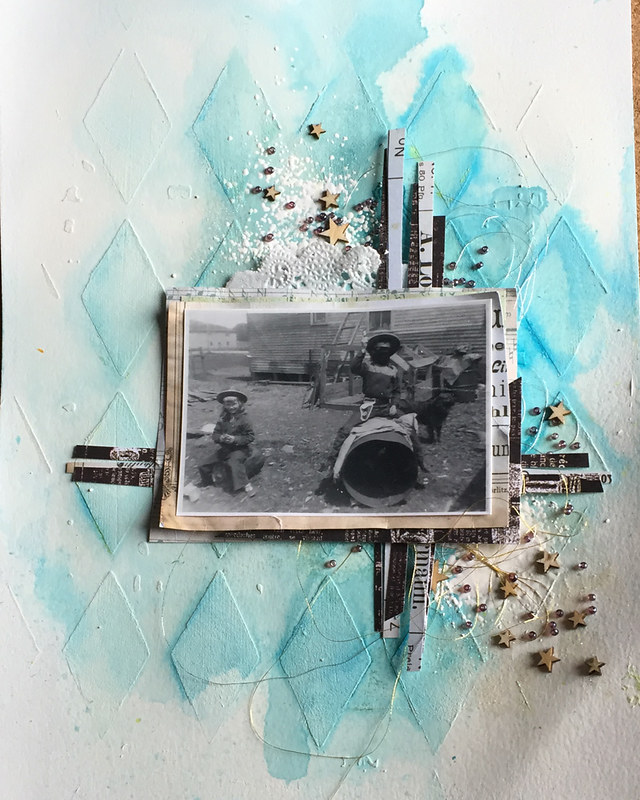
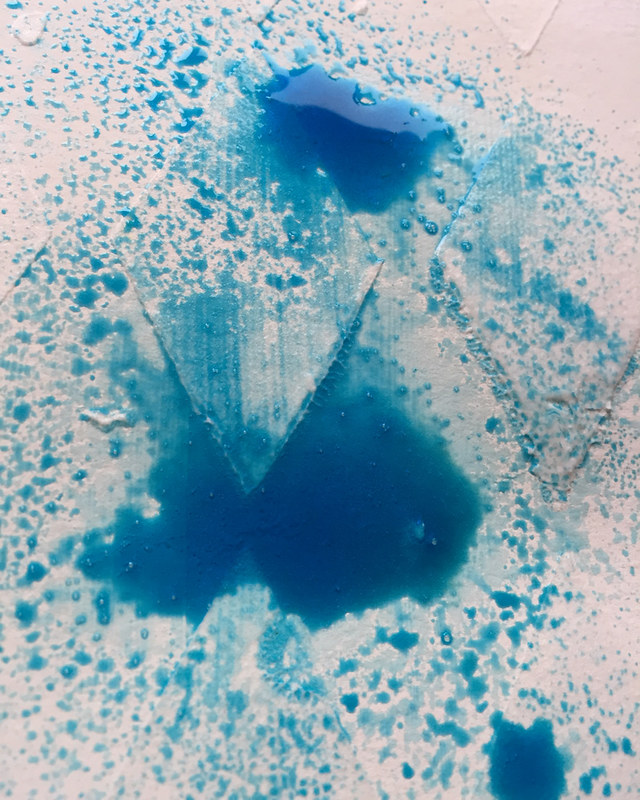
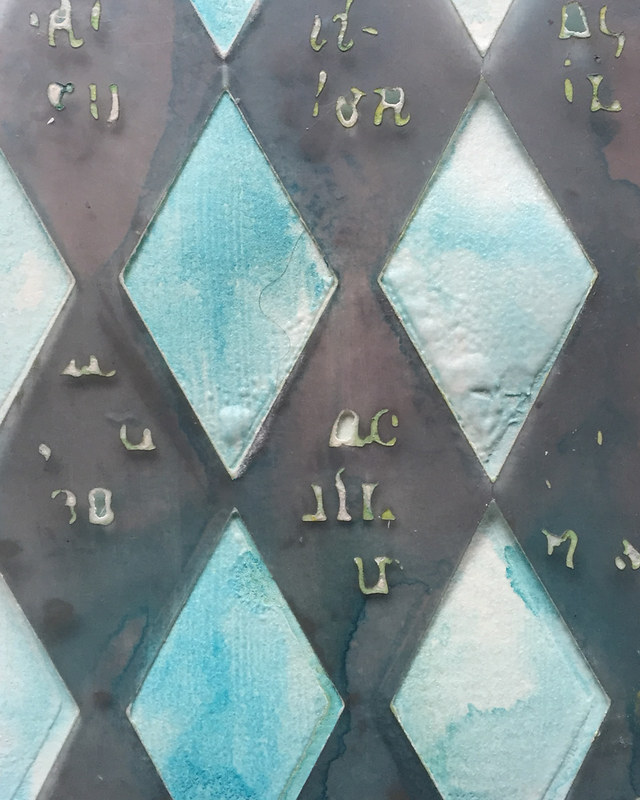
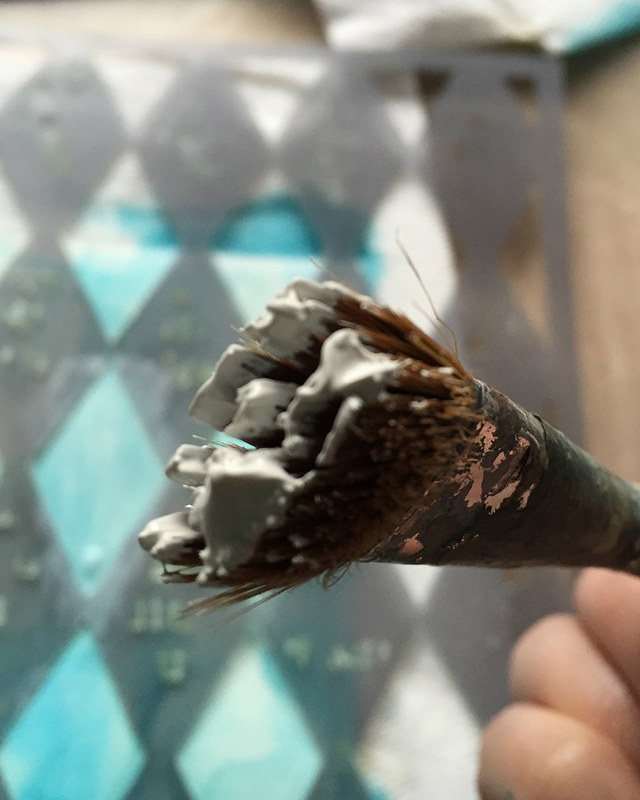
1. "Clowns" Layout Featuring the Tim Holtz Splatter Brush

Aug 22_2

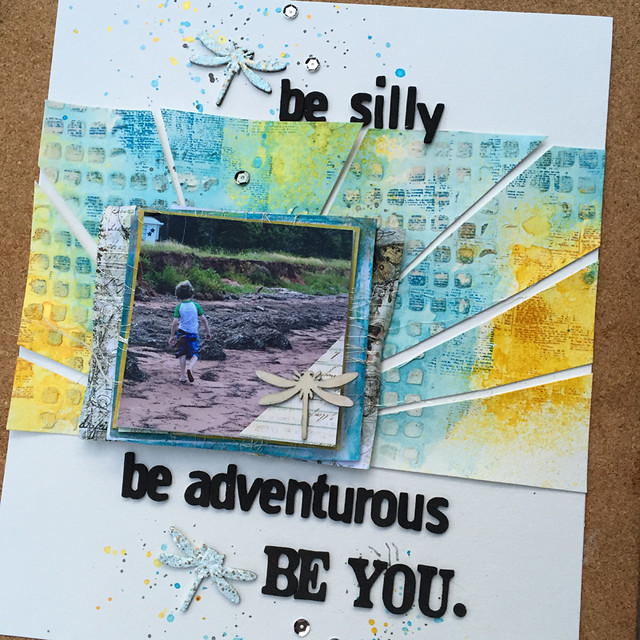
2.  "Be You" Layout

Aug 15_1

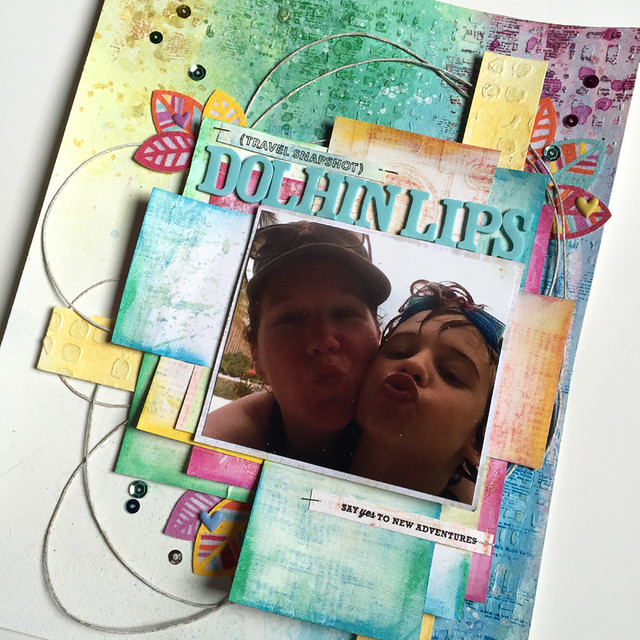
3. "Dolphin Lips" Layout

July 25_8


Mixed Media Layouts (photos but no instructions)

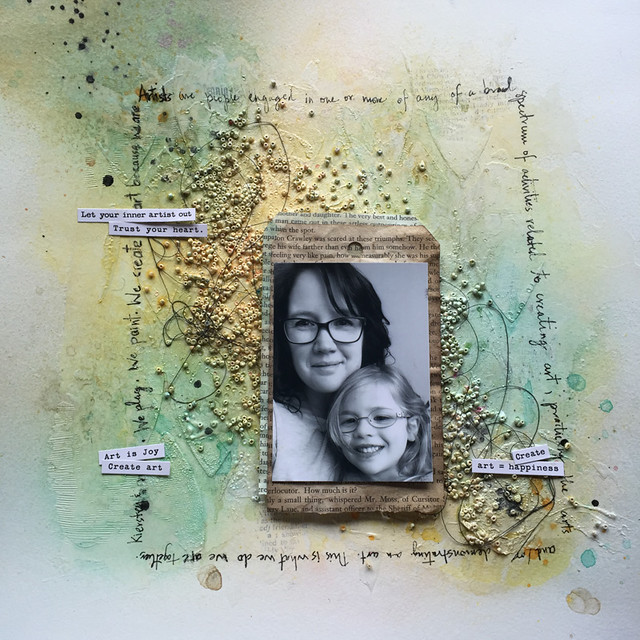
1. "We Are Artists" Layout  

May 23_2

2. Layout Featuring the Prima Mixed Media Brushes.

June 6 1

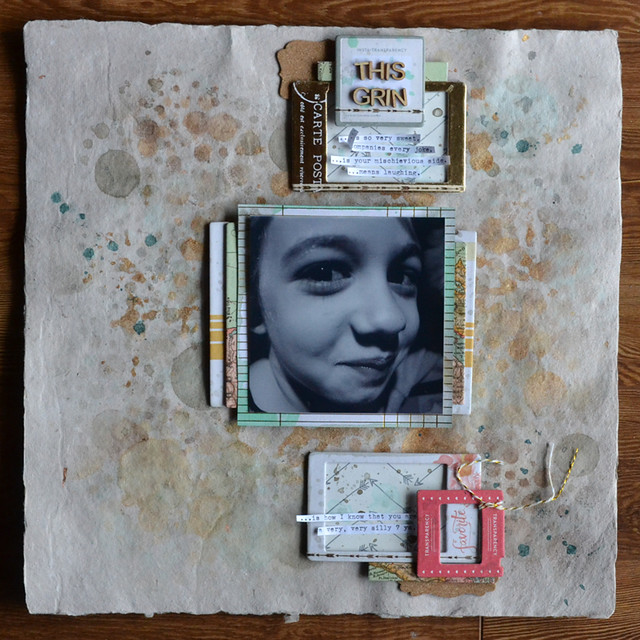
3. "This Grin" Layout

June 4_1

Monday, 3 October 2016

Mixed Media Monday: His Smile Layout

Welcome to Mixed Media Monday! Each week, I share a mixed media layout and include the instructions. The instructions contain the steps to make the project and contain any tips and tricks I have picked up along the way. If you ever have any questions about techniques or products that I used to make this layout, leave a note in the comments and I will get back to you. I know that mixed media can be intimidating but I think of it as a creative adventure. Yes, it requires practice and patience but the rewards are worth it - I promise!

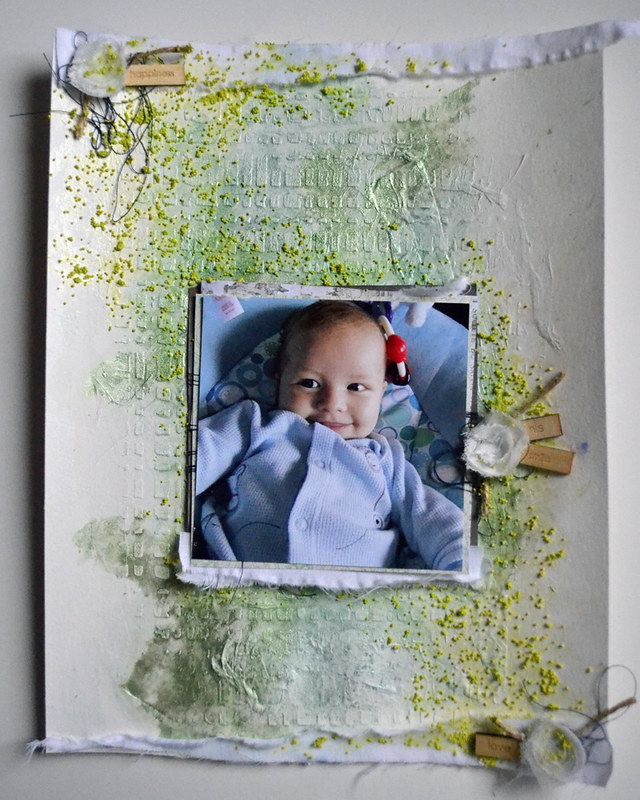
This week, I found myself playing with the Mini Art Stones by Finnabair for Prima. I fell in love with them recently and I was wondering if they could be colored. That little "what if..?" led me to create this layout.

October 3_2

Here's the supply list and instructions I used to make this week's Mixed Media Monday layout.

Supply List:

Heavy Gesso - Art Basics (Prima)
Watercolor Paper  (Canson)
Weaving Stencil - Finnabair  (Prima)
Mixed Media Silicon Brush  (Prima)
Light Modeling Paste - Art Basics (Prima)
Soft Gloss Gel - Art Basics (Prima)
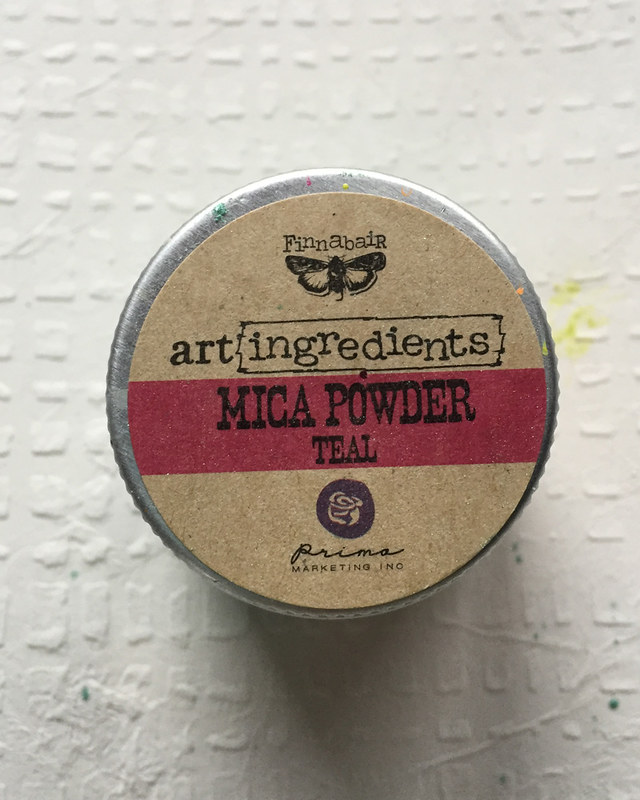
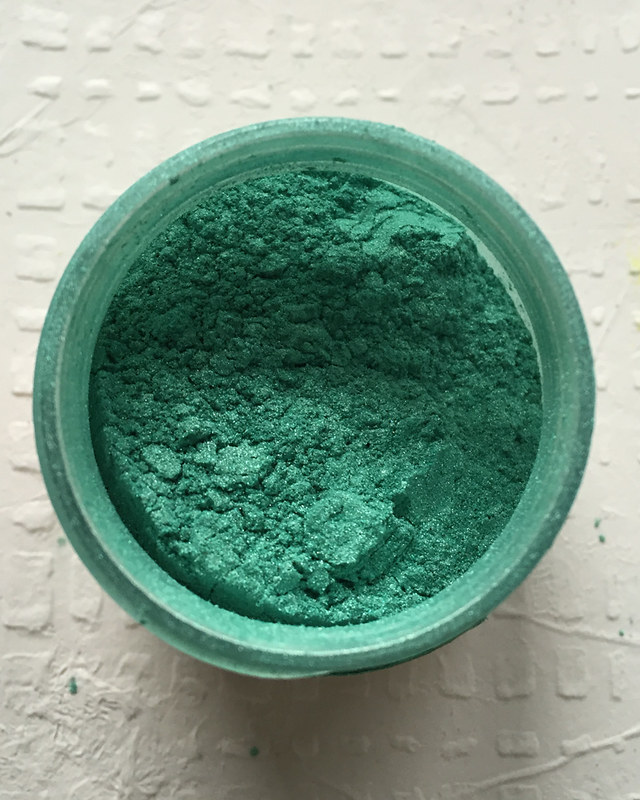
Mica Powder: Green, Teal - Art Ingredients (Prima)
Mini Art Stones - Art Basics (Prima)
Color Bloom 2 Spray Inks - Brimstone Wings (Prima)
Word Label Stickers - Posh Collection (Carpe Diem - Simple Stories)

Pattern Paper: Royal Menangerie and Salvage District Collections (Prima)

Muslin and Navy Thread (from my local fabric store)
Thread: Navy
Sisal Twine (from my local hardward store)
Fabric Flowers - unknown
Tissue Paper - white (from my local dollar store)
Old Paint Brushes - for gesso and Mica Powder
Water Spray Bottle

Instructions:


Please note: You can use a heat gun or hair dryer to dry any of these products or you can let them air dry. It's up to you and how much time you have to create your project. 

1. Crumple tissue paper and collage to background. Spread a thin coat of Soft Gloss Gel on the background and press the tissue paper into the background.

2. Apply modeling paste through stencil. I used my silicon brush to put Light Modeling Paste on my background through the Weaving stencil. Set aside to dry.

3. Gesso. Apply gesso to background using an old brush or foam brush. You need something that can spread the gesso in between the gaps of the stencil pattern. Set aside to dry.

4. Add color. For this layout, I wanted to use my Mica Powders.

October 3_7


Just look at all that shimmer.

October 3_8

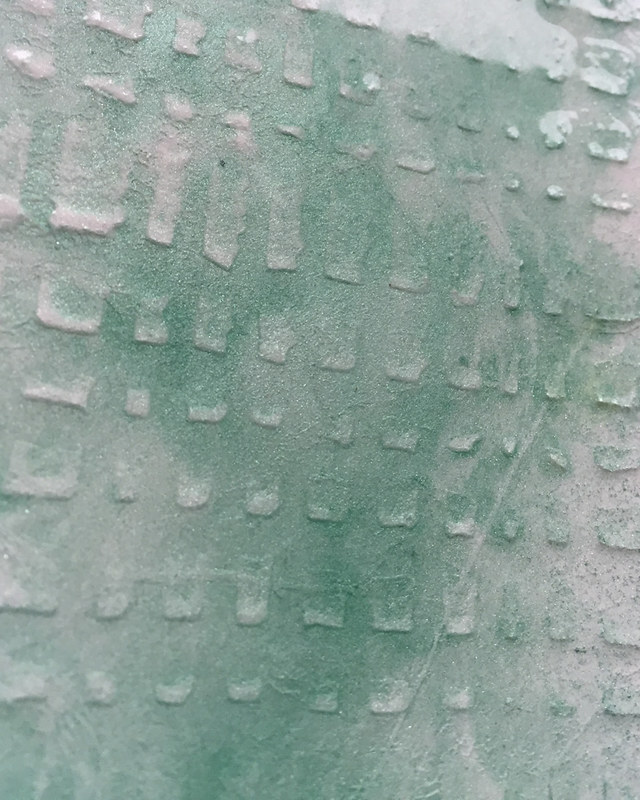
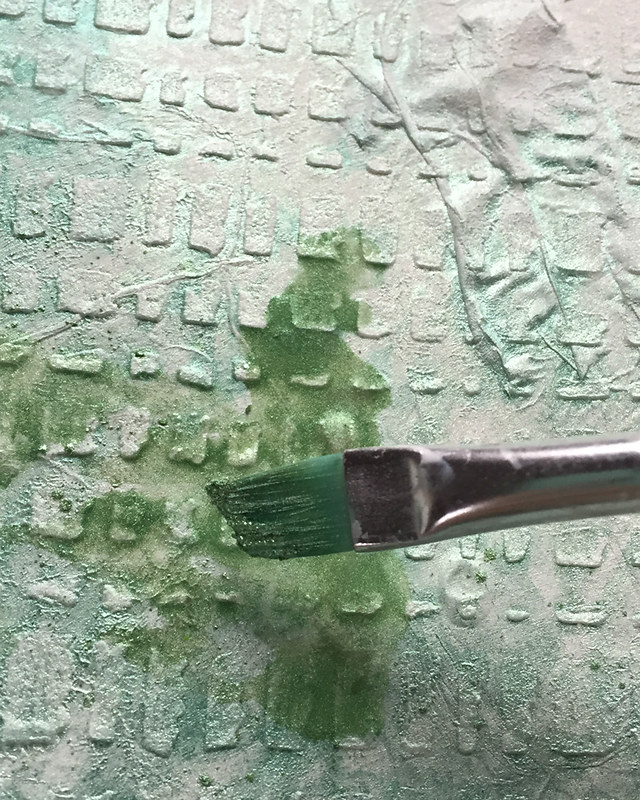
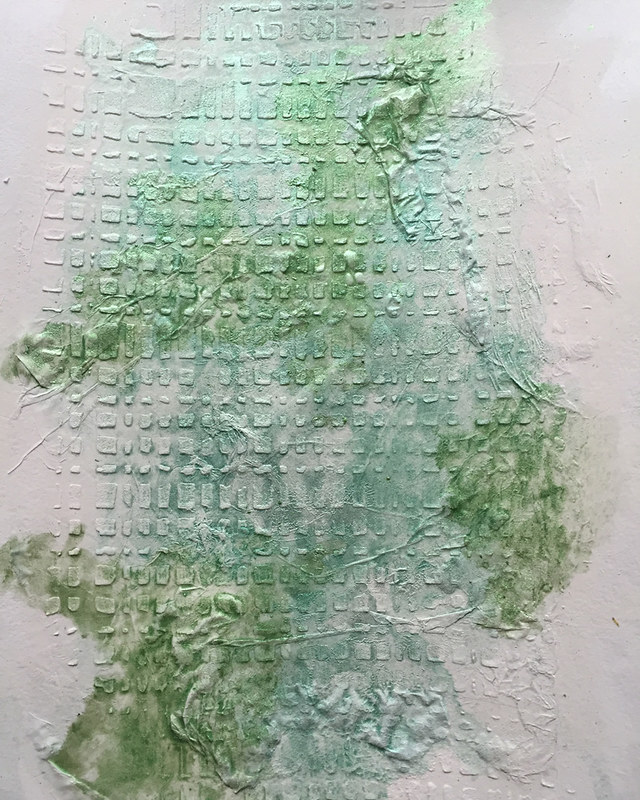
Spritz water on the background. Dip small brush into jar of Mica Powder and then brush the powder into the water on the background. Keep adding Mica Powder until you are satisfied with your background.

Tip: If you are adding multiple colors, dry between each color.

October 3_9

October 3_10


October 3_11


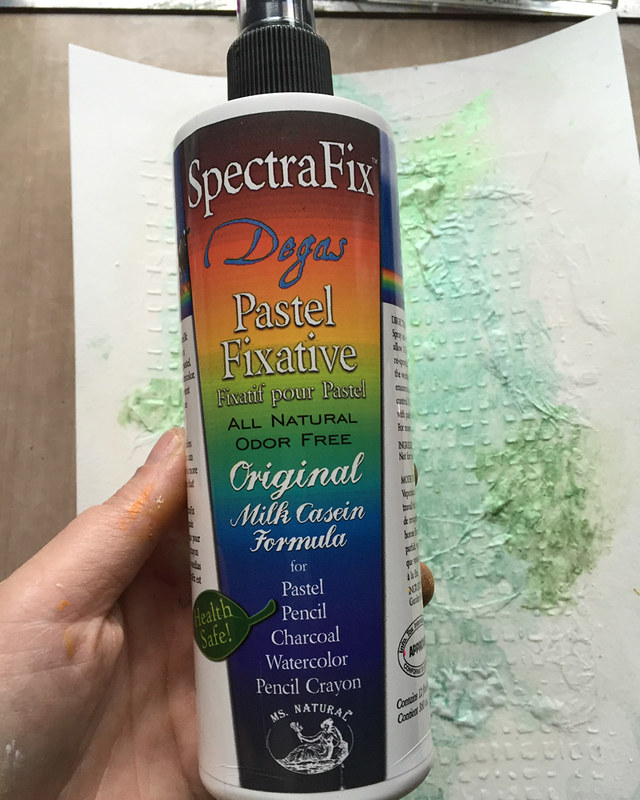
5. Optional: Spritz background with sealant. The Mica Powder does not have a fixative so it will reactivate every time it gets wet. I knew that I was going to add the Mini Art Stones to my background so I wanted to seal the background.


October 3_11

October 3_12

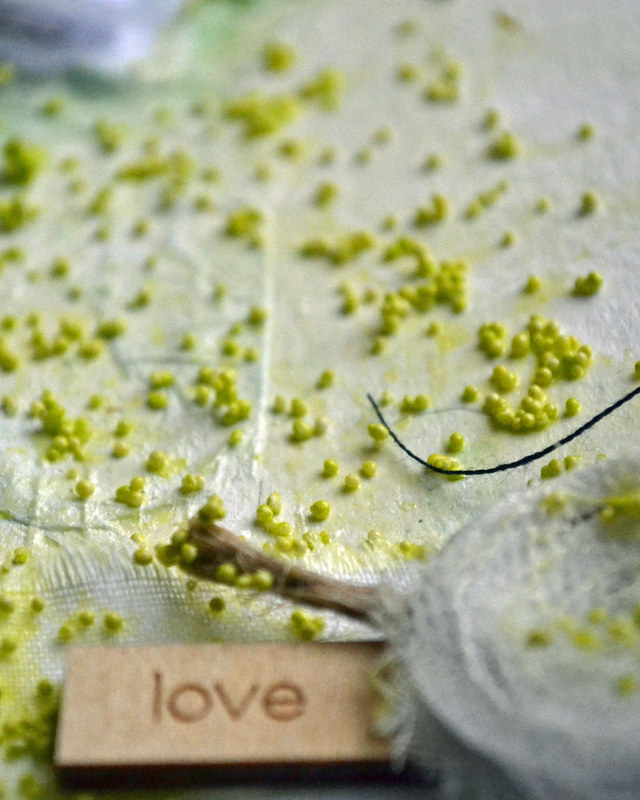
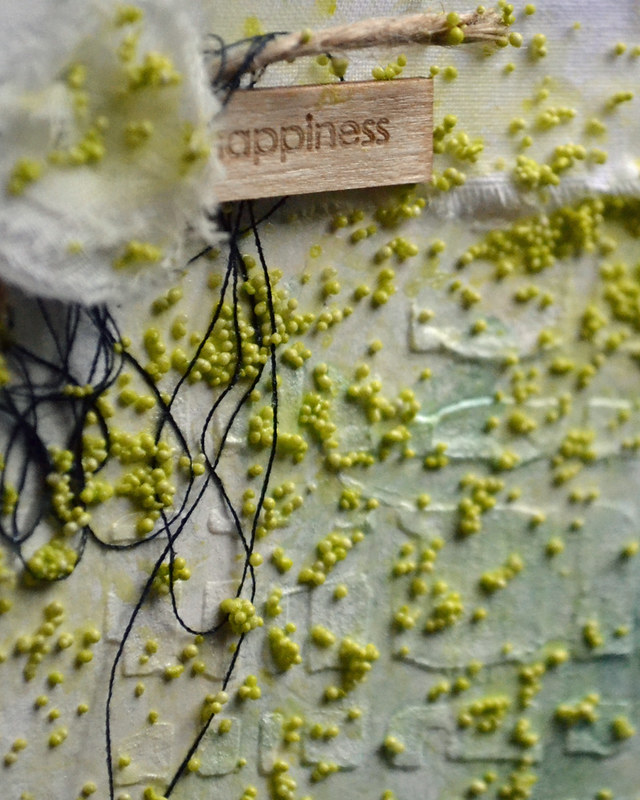
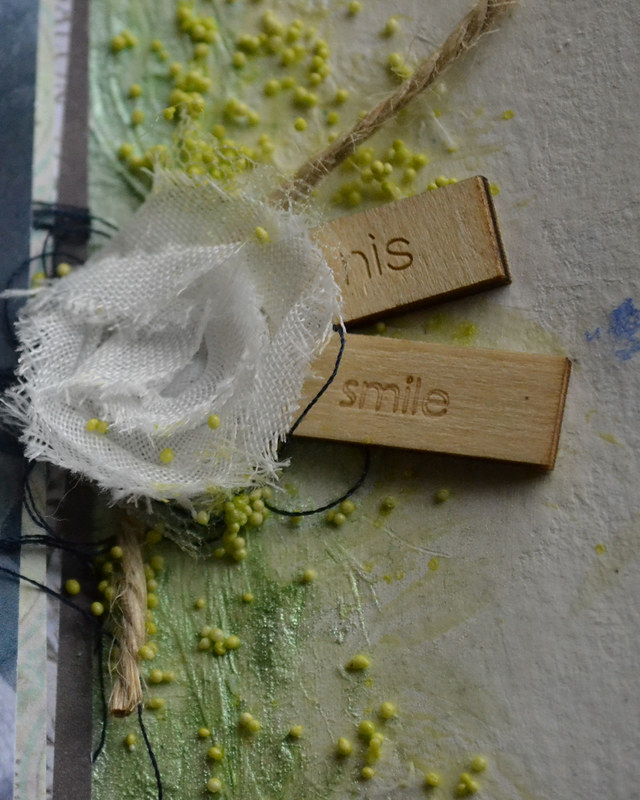
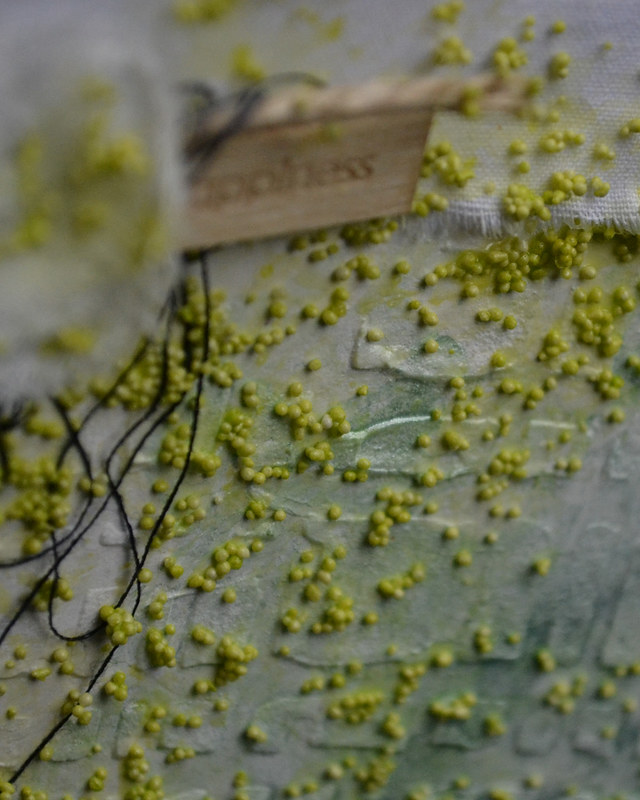
7. Embellish. I added some strips of muslin, wood veneer words and fabric flowers before adding the Mini Art Stones.  I wanted to try coloring the Mini Art Stones so I poured some into a small container. You don't need many - a little goes a long way. Then I sprayed some Color Bloom 2 - Brimstone Wings into the container.  I mixed it with a palette knife and set them aside to dry. When they were dry, I brushed them onto my layout.

Here's what they look like when they're colored.

October 3_13

To apply them to my layout, I used a brush and Soft Gloss Gel and brushed them into place.

October 3_14


October 3_15


October 3_16

Mixed media techniques and products are so versatile and that makes it easy to create a unique layout that suits your pictures or stories. The layout this week is about my youngest son. His favorite color is green so I wanted a green background and green embellishments. They were easy to make with a few mixed media products - Color Bloom 2 Spray inks and Mica Powders.  These products are available in so many different colors that you could make a background to suit your story using the same techniques I shared here today in your favourite color palette. All you need is a little time to put things together and a little time to let them dry.

Thanks for stopping by today.

Cathie

<

Monday, 26 September 2016

Mixed Media Monday: Uh-Oh

Welcome to Mixed Media Monday! Each week, I share a mixed media layout and include the instructions. The instructions contain the steps to make the project and contain any tips and tricks I have picked up along the way. If you ever have any questions about techniques or products that I used to make this layout, leave a note in the comments and I will get back to you. I know that mixed media can be intimidating but I think of it as a creative adventure. Yes, it requires practice and patience but the rewards are worth it - I promise!  

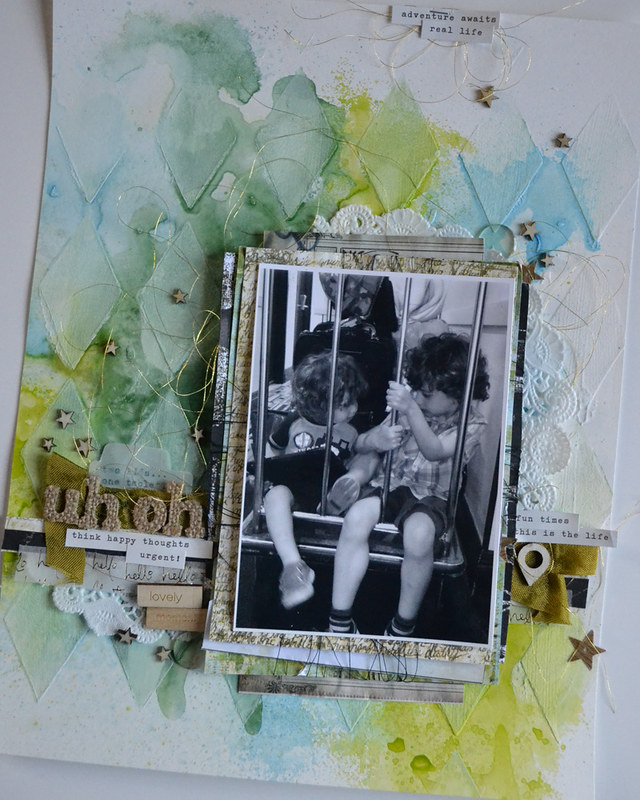
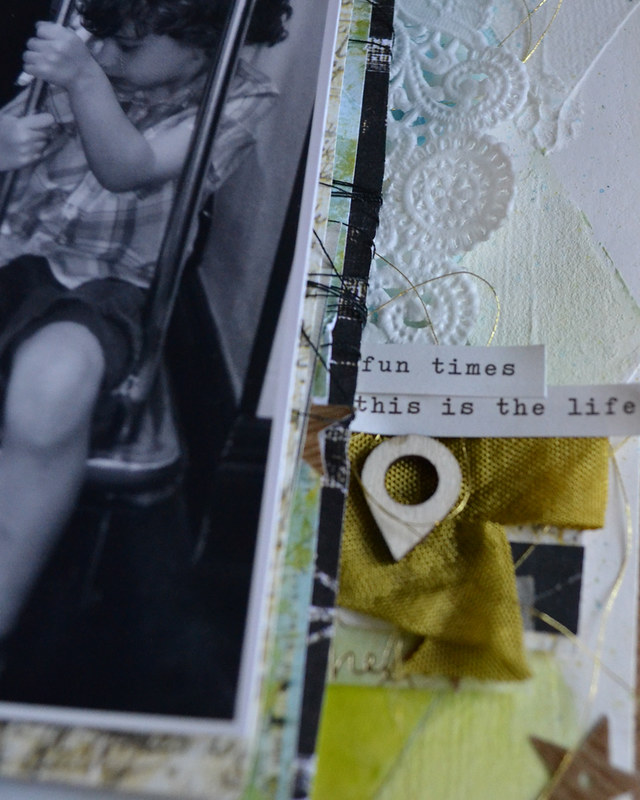
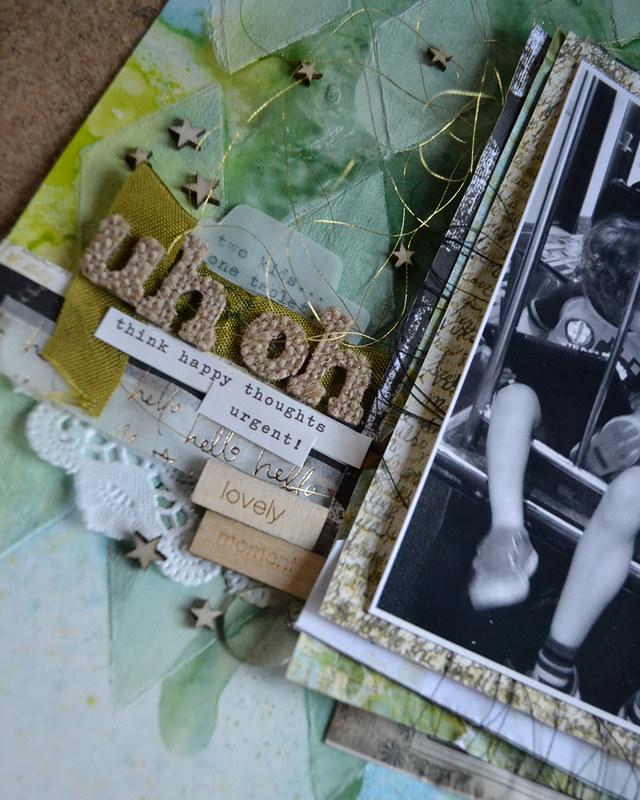
This page is all about the photo. When I took the photo, I thought it was a cute shot of my kids riding the luggage cart on the way to our hotel room while we were on summer vacation. That's all I thought it was for years but when I went to scrap it I saw something that I hadn't noticed before - the expression on my kids' faces. That's the look of sibling rivalry. Something I'm very familiar with these days but somehow I missed it back then.  So, the story that I had planned to tell is not the story I am telling with this layout. It doesn't need a lot of journaling though. The title and the photo tell the story - two kids, one tablet...uh-oh.

September 26_1

This week's layout uses a lot of the same steps and products that I used to make last week's layout. This is one of the wonderful things about mixed media - using the same supplies doesn't mean your project is going to look the same. You can make it different everytime - if you want.


Supply List:

Heavy Gesso - Art Basics (Prima)
Watercolor Paper  (Canson)
Harlequin Stencil  (Prima)
Mixed Media Silicon Brush  (Prima)
Light Modeling Paste - Art Basics (Prima)
Soft Gloss Gel - Art Basics (Prima)
Color Bloom 2 Spray Inks - Dragonfly Blue and Fairy Pond and Brimstone Wings

Word Label Stickers - Posh Collection (Carpe Diem - Simple Stories)

Pattern Paper: Archivist, Bella Rouge and Finnabair Collections (Prima)
Thread: White Gold and Gold (Guterman)
Wood Pattern Sequins - discontinued (Studio Calico)

Instructions:

1. Gesso. Apply gesso to background using a silicon brush or palette knife. 

2. Apply modeling paste through stencil. I used my silicon brush to put Light Modeling Paste on my background through the Harlequin stencil. Set aside to dry.

3. Spray ink. I started spraying the lighter Fairy Pond spray ink first. Then I sprayed the Brimstone Wings (green). Then I added a little of the darker Dragonfly Blue to the blue sections of the background.  The dark green section was created when the blue and green inks blended together. I chose blue and green for this layout because they are my kids' favorite colors. Then set aside to dry or dry with a heat gun.

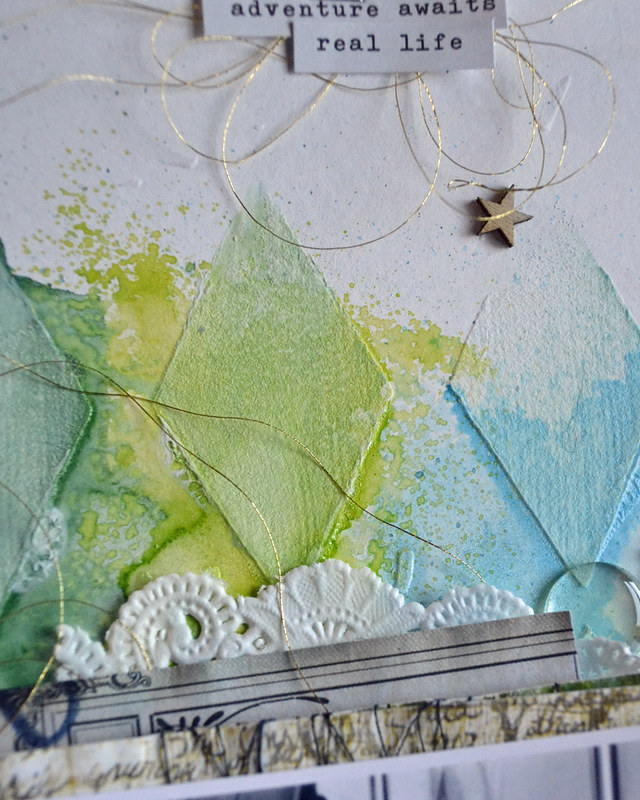
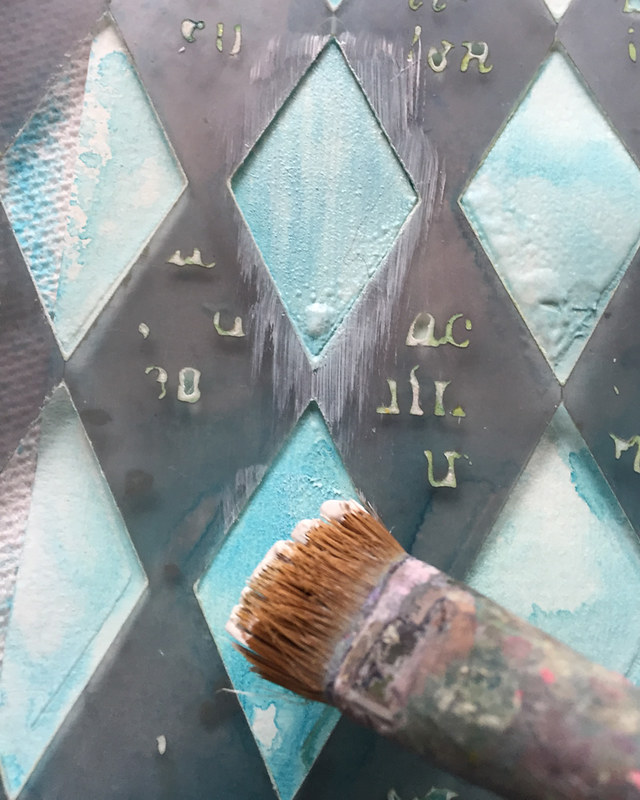
4.  Gesso Ghosting. Place your stencil back over the background and paint with gesso. I used an old paint brush to paint the gesso on the background. The spray ink was dry and I used the same stencil that I had used in Step 2. I only wanted gesso on the raised image so the stencil worked as a mask and helped me control where I painted the gesso. This creates a subtle tone on tone effect but I love it. I shared a full step-out of this technique in last week's Mixed Media Monday blog post.

Tip: Your ink must be completely dry before you start this step. It won't work if the ink is wet. 

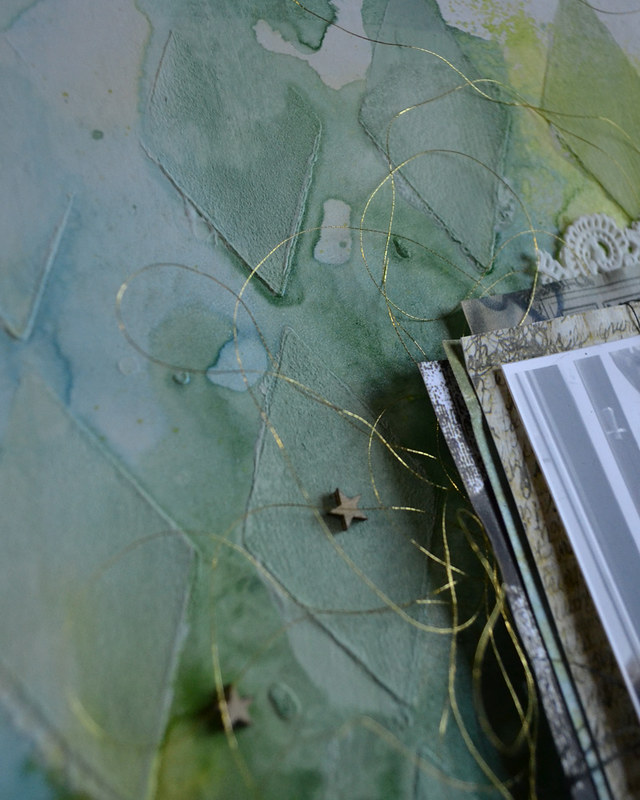
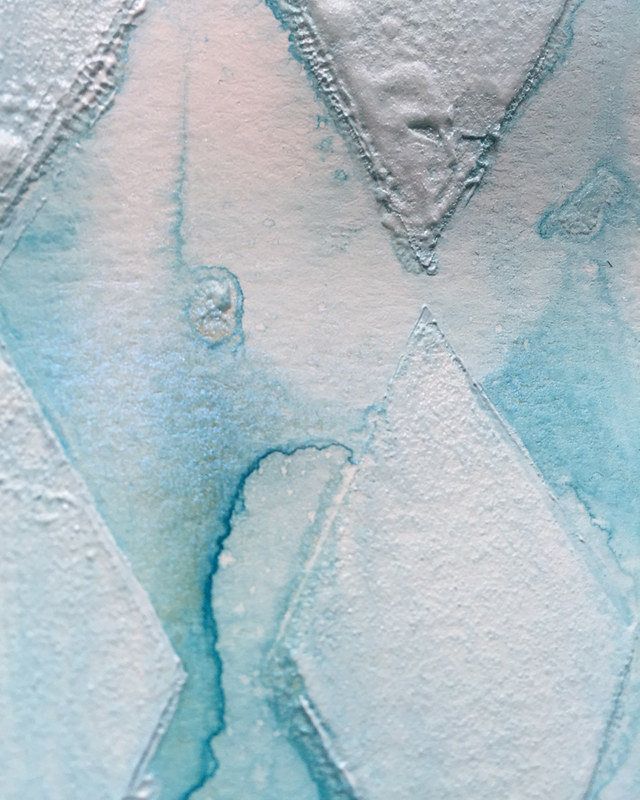
Here's a closeup of the effect on this week's layout. It is a subtle effect that makes the background of a layout more interesting.

September 26_2


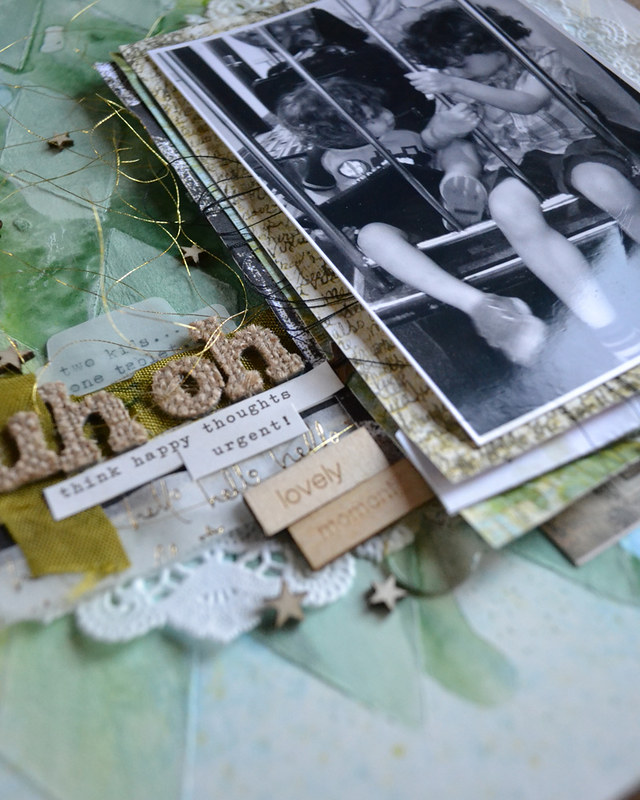
5. Embellish. This week, I used some of the bits and pieces from my stash - wood veneer stars and geotag, doilies and ribbon.

September 26_3

This is one of my favourite ways to make my layout more interesting and it's also a great way to use things that are languishing in your stash. The ribbon has been sitting on my desk for years and I'm happy to finally use it.

September 26_6

Funny thing...whenever I think I've used all my wood veneer geotags, I find another little bunch hiding in my stash. Weird, right?

The phrase stickers are new - Carpe Diem  - Posh collection. I confess that I love phrase stickers and I can't resist picking them up every time I find them in a store.

September 26_4

September 26_5

It's all the little details that make a layout special. It's not just the techniques you use to make the page but also the little bits and pieces you use to embellish and the colors you choose. It's all a part of the process.

One last thing, I am teaching class this week at my local scrapbook store, The Paperie. Here's a look at one of the layouts we'll be making in class. If you're local and interested in making a creative mess, please email or call the store (709-726-5323).


September 26_7


Thanks for stopping by!

Cathie


Monday, 19 September 2016

Mixed Media Monday:He & She

Welcome to Mixed Media Monday! Each week, I share a mixed media layout and include the instructions. The instructions contain the steps to make the project and contain any tips and tricks I have picked up along the way. If you ever have any questions about techniques or products that I used to make this layout, leave a note in the comments and I will get back to you. I know that mixed media can be intimidating but I think of it as a creative adventure. Yes, it requires practice and patience but the rewards are worth it - I promise! 

This week, I decided to scrap a photo that has been sitting in my "to-do" pile for ages. It's a photo of my mom with her older brother. They were best friends as kids and they are still are today. It's the perfect story to scrapbook. Here's a look at this week's layout.

Sept 19_1

I decided to use the new Prima Color Bloom 2 Sprays instead of heritage colors like browns and greys. This color blue is my mom's favorite color and it worked so well with the photo. This isn't the original photo, by the way, it's a reprint. I have scanned some of my family's older photos so that they are not lost if anything happens to the original and so that I can scrapbook them without worrying about damaging the photo.

Supply List:

Heavy Gesso - Art Basics (Prima)
Watercolor Paper  (Canson)
Harlequin Stencil  (Prima)
Mixed Media Silicon Brush  (Prima)
Light Modeling Paste - Art Basics (Prima)
Soft Gloss Gel - Art Basics (Prima)
Color Bloom 2 Spray Inks - Dragonfly Blue and Fairy Pond
Water Soluble Oil Pastels (Prima)

Pattern Paper: Archivist and Finnabair Collections (Prima)
Thread: White Gold and Gold (Guterman)
Embossing Enamel - Chunky White (Frantage)
VersaMark Ink Pad - Tsukineko

Art Sugar : White - Art Ingredients (Prima)
Glass Beads: Licorice - Art Ingredients (Prima)
Wood Veneer Stars - discontinued (Studio Calico)
Doily
Old Paint Brush

Instructions:

1. Gesso. Apply gesso to background using a silicon brush or palette knife. 

2. Apply modeling paste through stencil. I used my silicon brush to put Light Modeling Paste on my background through the Harlequin stencil. Set aside to dry.

3. Spray ink. I started spraying the lighter Fairy Pond spray ink first. I like the colors to blend and the trick is to use a lot of ink. Spray until there are pools of ink on the page. Then I added a little of the darker Dragonfly Blue to the background. Then set aside to dry or dry with a heat gun.

Sept 19_2

4.  Gesso Ghosting - New Technique. Place your stencil back over the background and paint with gesso. I used an old paint brush to paint the gesso on the background. The spray ink was dry and I used the same stencil that I had used in Step 2. I only wanted gesso on the raised the image so the stencil worked as a mask and helped me control where I painted the gesso. This creates a subtle tone on tone effect but I love it.

Tip: Your ink must be completely dry before you start this step. It won't work if the ink is wet. 

ps: I'm sure I'm not the first one to every try "gesso ghosting". I'm calling it a new technique because it's new to me and it's the first time I'm sharing it here. 

Sept 19_3

Sept 19_4

Sept 19_5

Here's what it looks like when you're done.

Sept 19_6

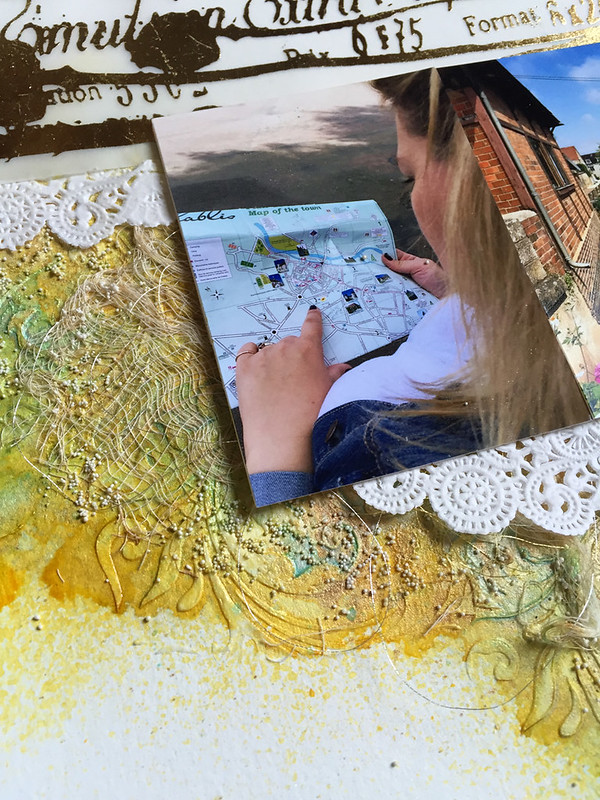
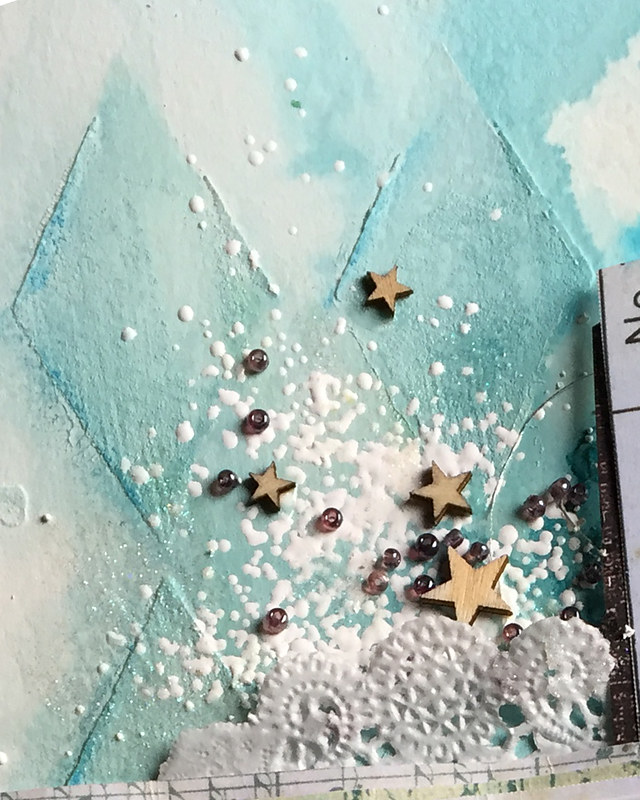
5. Embellish. This week, I added some shading around the diamonds with the Prima Water Soluble Oil Pastels. I colored directly on my background and blended it in with my fingers.  I also added some Chunky White Stampendous Embossing Enamel. I didn't want to add white ink because the Prima Color Bloom 2 sprays react whenever they get wet. If I used white ink, the Color Bloom sprays would have reacted with the ink and turned it blue. I pressed my VersaMark pad onto my background and sprinkled the embossing enamel on top. Then I used my heat gun to melt the embossing enamel.

Sept 19_7

I added the beads, wood veneer stars and white Art Sugar with some Soft Gloss Gel on a brush. It's so easy to control where things are going when you use a brush. I didn't want to overload the layout with embellishments so I stopped there.

I'm so happy with how this page turned out. I can hardly wait to show it to my mom. Maybe I'll get her to add some journaling to the back. Wouldn't that be great?

I hope you find some time to make something this week.

Thanks for stopping by.

Cathie

Monday, 12 September 2016

Mixed Media Monday: Together

Welcome to Mixed Media Monday! Each week, I share a mixed media layout and include the instructions. The instructions contain the steps to make the project and contain any tips and tricks I have picked up along the way. If you ever have any questions about techniques or products that I used to make this layout, leave a note in the comments and I will get back to you. I know that mixed media can be intimidating but I think of it as a creative adventure. Yes, it requires practice and patience but the rewards are worth it - I promise!  

This week, I found my inspiration on Prima Marketing's website. I decided to use their "Build A Page" sketch for their September Challenges. These is so much mixed media inspiration with these challenges each month and there is something for everybody. You should check out the cards and tags too - they are amazing.

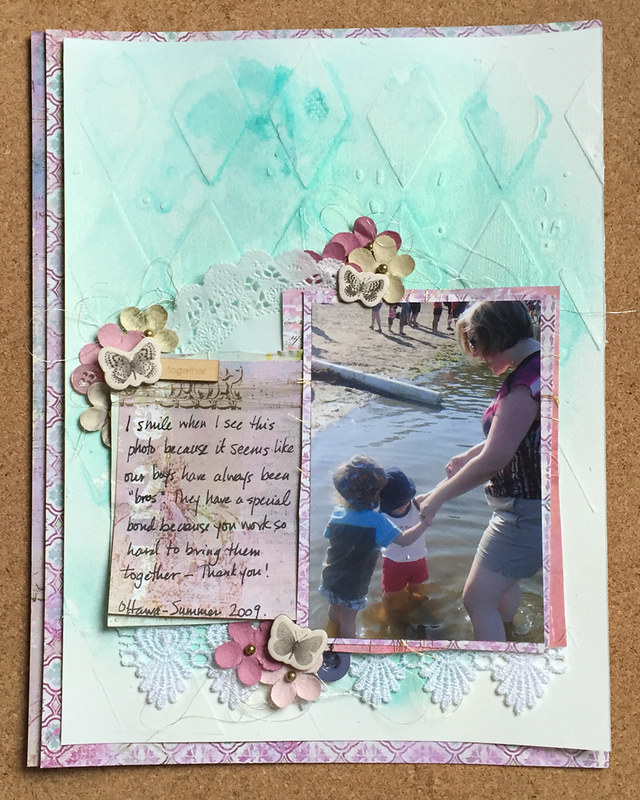
Here is this week's sketch-inspired layout.

Sept 12_1

I wanted to make a simpler layout this week. I have had this photo of my sister with her son and my son waiting to be scrapped for years.  This week I was finally able to put it all together.

 Here are the supplies and steps I used to make this week's layout.

Supplies:

Heavy Gesso - Art Basics (Prima)
Watercolor Paper  (Canson)
Harlequin Stencil  (Prima)
Mixed Media Silicon Brush  (Prima)
Light Modeling Paste - Art Basics (Prima)

Color Bloom Spray Ink - Glistening Waves (Prima)

Pattern Paper: Garden Fable
Butterfly Flowers (Prima)
Chipboard Butterflies - Archivist Collection (Prima)
Thread: White Gold (Guterman)
Wordfetti Wood Veneer (Jillibean Soup)
Lace
Paper Doily
Buttons: Pink, Navy Blue

Instructions:

1. Gesso. Apply gesso to background using a silicon brush or palette knife.  Gesso makes the watercolor paper non-porous so that the spray ink doesn't sink into the paper. I use spray ink on a lot of my mixed media layouts so that's why my first step is almost always to put gesso on my paper.

2. Apply modeling paste through stencil. I used my silicon brush to put Light Modeling Paste on my background through the Harlequin stencil. Set aside to dry.

Tip: You can dry Light Modeling Paste with a heat gun but you have to be careful not to overheat or it will puff up. Sometimes, I will overheat the modeling paste on purpose to create this effect but today I decided to let it dry on it's own.

Sept 12_3

3. Spray Ink.  I am an over-sprayer. I like to spray lots of ink and let it move and blend on the background. I sprayed a lot of ink on the background and set it aside to dry. When the Color Blooms are dry they have the most gorgeous shimmer.

Sept 12_7

4. Assemble background.  I cut down the watercolor paper from 8.5x11" to 8x10". Then I layered some pattern paper behind to make the layout 8.5x11". This step is completely optional but I did it to recreate the frame shape in sketch - even if it is an asymmetrical frame.

Sept 12_4

5. Embellish. As always, this step is completely up to you. Use whatever you have in your stash that works with your layout. I picked some white gold thread and lace, some buttons and 3 chipboard butterflies because that's what worked for my layout.

I am almost finished with that pack of Prima flowers. I am going to miss them when they're gone. I love to use them on all my layouts lately.

Here are some closeups of my embellishments.

Sept 12_5

Sept 12_6

And a final look at the layout with a closeup of the journaling.

Sept 12_2

This layout is simple and was easy to make. Not every mixed media layout has to have lots of techniques or products or layers. That's one of the things I love about mixed media - it can be whatever your want it to be. It's your layout so you get to decide.

I hope you find some time this week to make your own mixed media layout. If you do, please leave a note in the comments and let me know where to find you. I love to see what other people are making.

Thanks for stopping by today.

Cathie


Monday, 5 September 2016

Mixed Media Monday: Snow Day

Welcome to Mixed Media Monday! Each week, I share a mixed media layout and include the instructions. The instructions contain the steps to make the project and contain any tips and tricks I have picked up along the way. If you ever have any questions about techniques or products that I used to make this layout, leave a note in the comments and I will get back to you. I know that mixed media can be intimidating but I think of it as a creative adventure. Yes, it requires practice and patience but the rewards are worth it - I promise! 

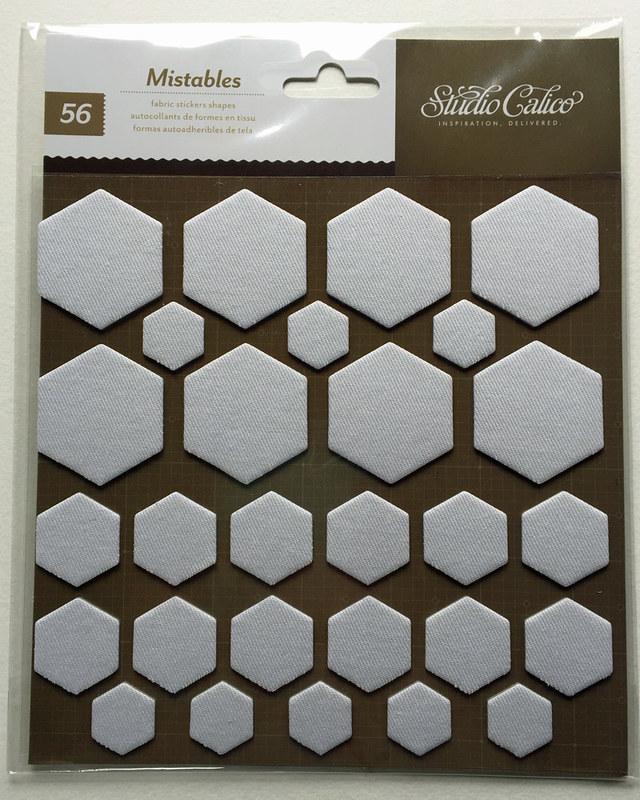
This week, I was inspired by this pack of Studio Calico Mistables.
Sept 5_3


I was cleaning up my desk and found them in a pile. They are from 2012 but I still liked them so I decided to challenge myself to use them on this week's Mixed Media Monday layout.

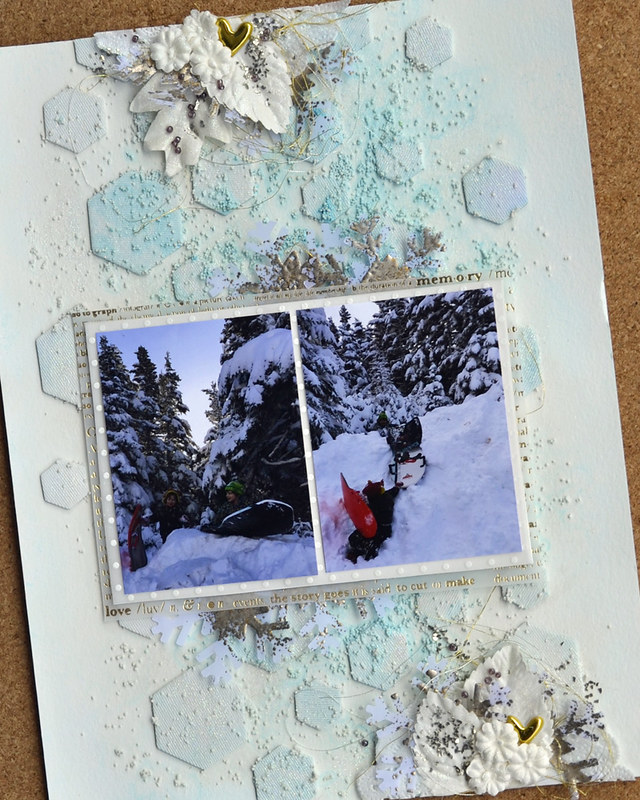
Here's a look at at the layout.
Sept 5_1


I love how this layout turned out and I'm excited to share the supplies and steps I used to make it.

Supplies:

Heavy Gesso - Art Basics (Prima)
Watercolor Paper  (Canson)
3D Matte Gel - Art Basics (Prima)
Soft Gloss Gel - Art Basics (Prima)
Color Bloom 2 Spray Ink - Fairy Pond (Prima)

Mini Art Stones - Art Ingredients (Prima)
Glass Beads - Licorice - Art Ingredients (Prima)
Glass Glitter - Sterling - Art Ingredients (Prima)
Art Sugar (fine glitter) White - Art Ingredients (Prima)

Snowflake Punch (EK Success) 
VersaMark Embossing Ink (Tsukineko)
Embossing Enamel - Aged Silver (Stampendous)
Flowers - Rodanthe (Prima)
Thread - Gold and White Gold (Gutermann)
Heart Puffy Stickers (Freckled Fawn)
Vellum
Palette Knife
Old Paint Brush
 

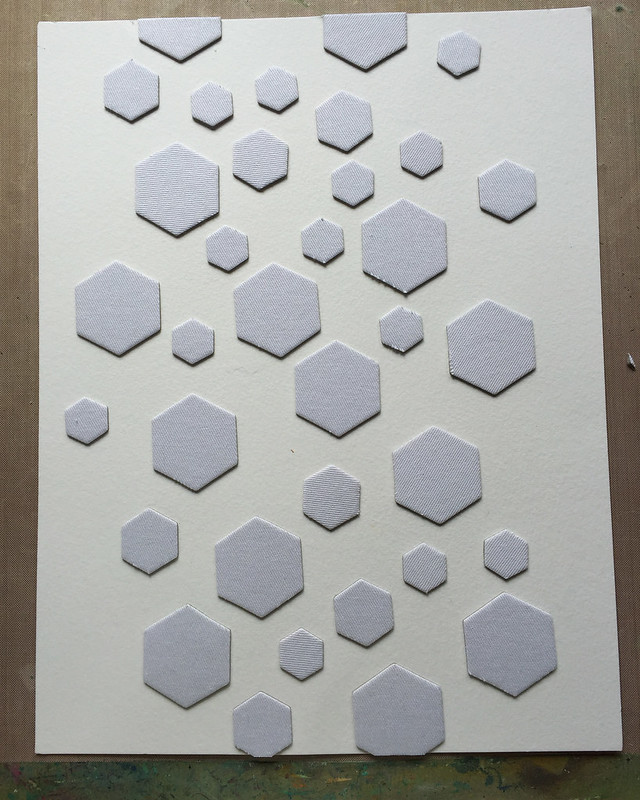
1. Place your embellishments on the page. I call this "Put Them All on the Page" and it's my favourite trick when it comes to using up products in my stash. This week, I just kept adding Mistables until I had a background that I liked. It took 35 pieces to make this background.
Sept 5_4

2. Mix Mini Art Stones with 3D Matte Gel. Scoop some 3D Matte Gel using a palette knife onto your craft sheet. Then gently pour the Mini Art Stones on top. I mixed them together using a palette knife. 
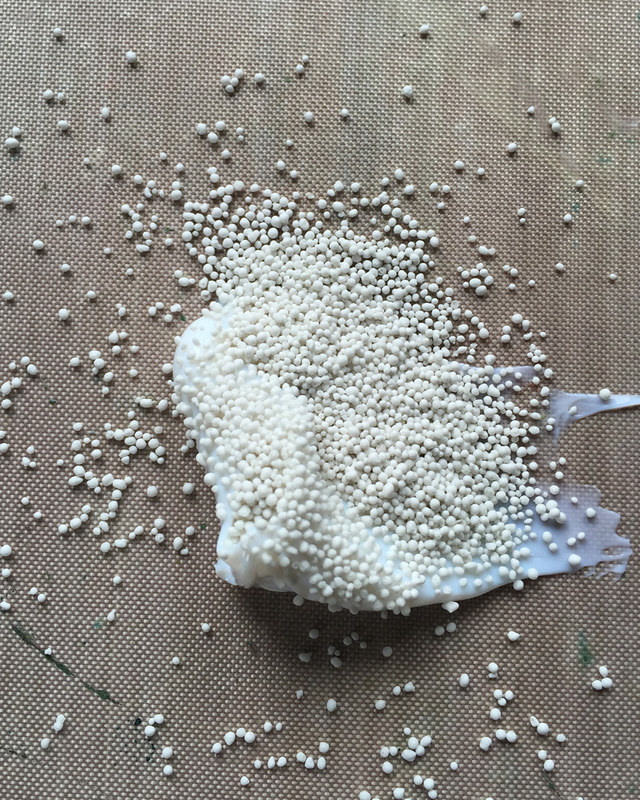
Sept 5_5

3. Spread on background using an old paint brush. I wanted to break up the strong lines of the hexagons so I brushed the Mini Art Stones mixture on with a brush. I just kept moving everything around until I like how it looked. Then I set it aside to dry.
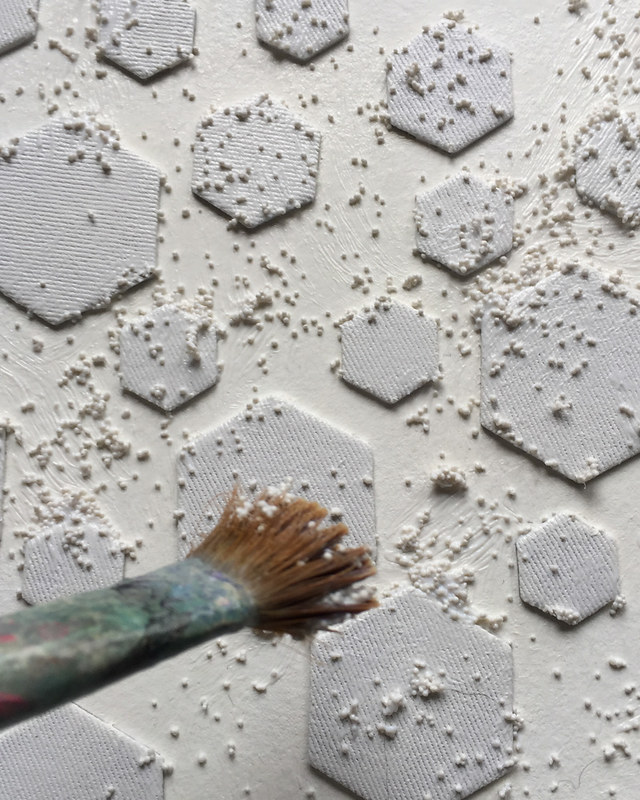
Sept 5_6

4. Mix Art Stones with Heavy Gesso. I mixed the Mini Art Stones with Heavy Gesso as I did in Step 2. 

5. Apply Gesso mixture with old paint brush.  I applied the Gesso mixture with my old brush making sure that I covered the whole background with gesso. 3D Matte Gel would act as a resist to my spray ink. By covering the whole background in gesso, I am covering up the 3D Matte Gel and making sure there isn't a resist effect. 

6. Add spray ink.   I spritzed the background with Fairy Pond spray ink and lots of water. This watered down the ink to give me the color I wanted.

7. Embellish.  This week, I used beads and glass glitter and fine glitter. The trick for adding these supplies to your layout without messy fingers is so simple. Simply dip your brush in Gloss Gel - I used Soft Gloss Gel but 3D Gloss Gel would be even better...
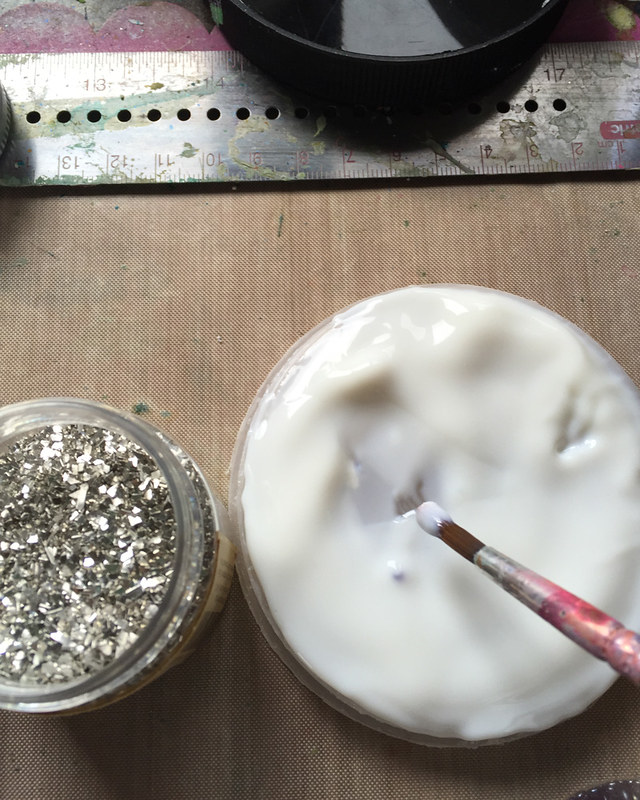
Sept 5_7

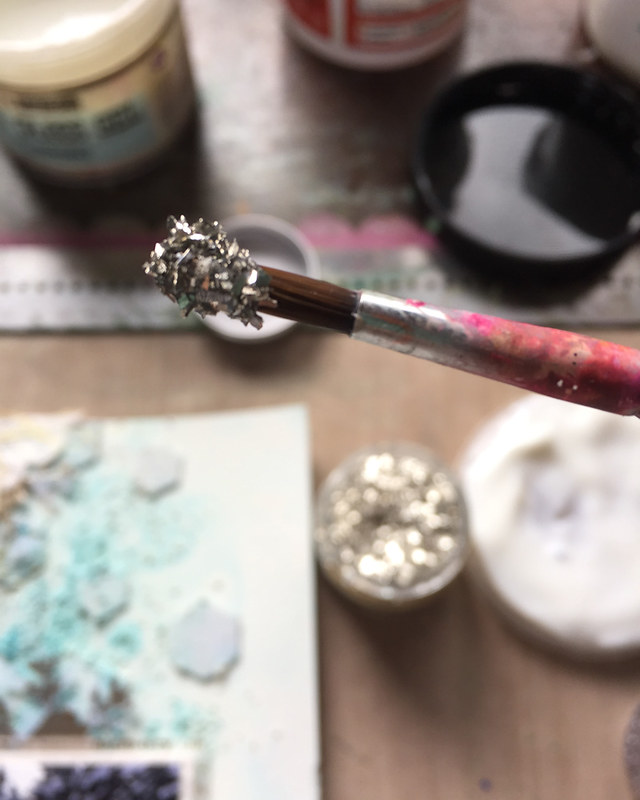
Then dip your brush into the glitter or beads or whatever. The glitter will stick to your brush like this.
Sept 5_8

Then you can brush the glitter or beads into place using your brush. As long as the medium is wet, you can keep moving things around until you are happy.
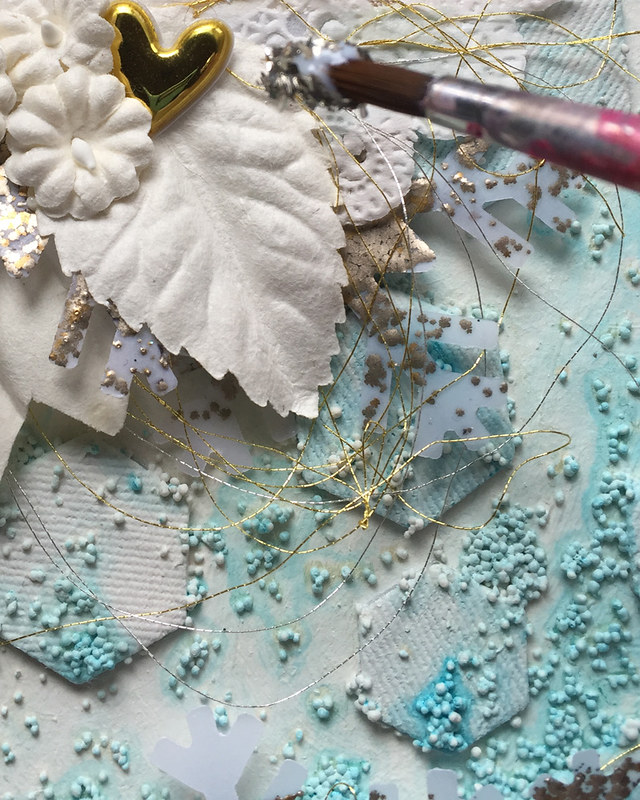
Sept 5_9

Here's a look at the leaves once the glass glitter is in place.
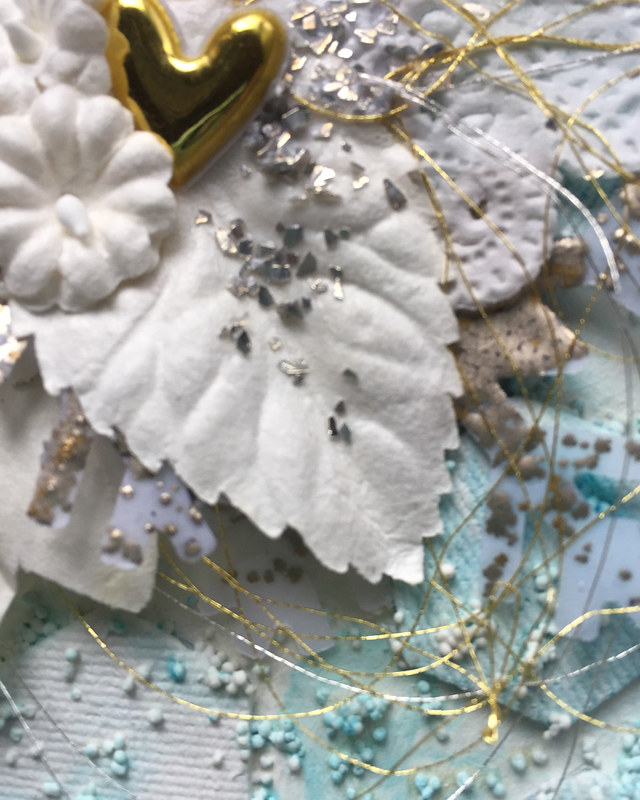
Sept 5_10

And here's a look at the same technique using Art Sugar - it's a super fine glitter that works great with this technique.
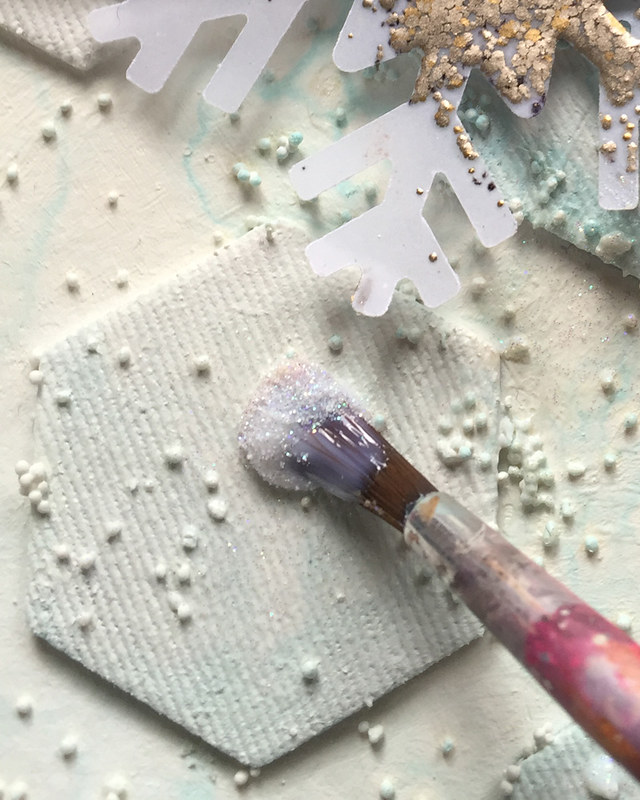
Sept 5_11

It leaves the most lovely shimmer behind when it's dry.
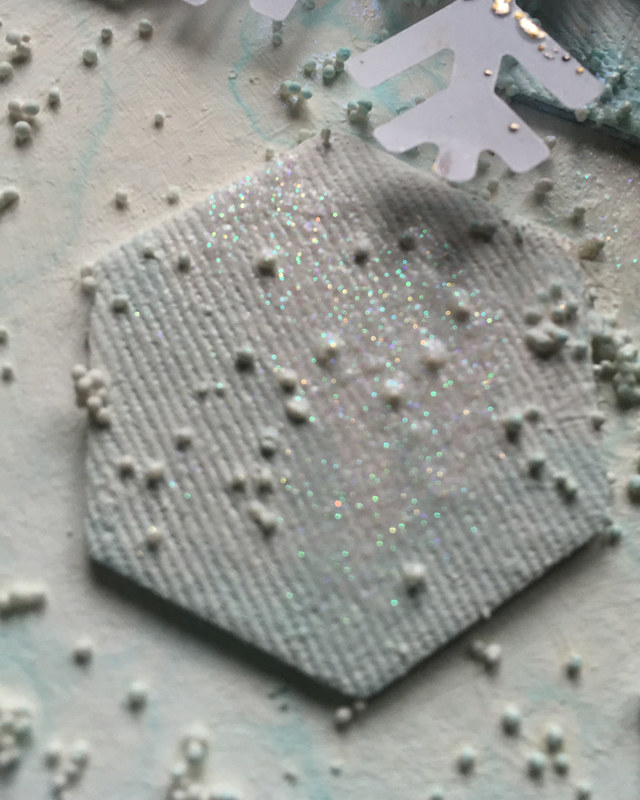
Sept 5_12

To create the snowflakes, I punched vellum with my snowflake punch. Then I pressed the snowflake shape into my VersaMark ink pad. I sprinkled the snowflake with Embossing Enamel and then heated it with my heat gun.
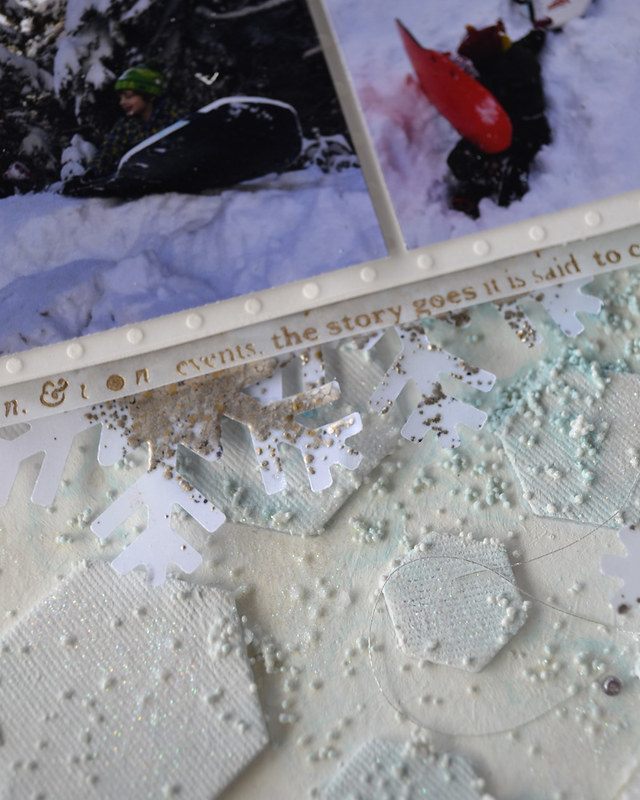
Sept 5_13

Here's a look at the texture you can make with beads, the Art Sugar, the glass glitter and the embossed snowflakes. It's the little details that add up to creative impact.
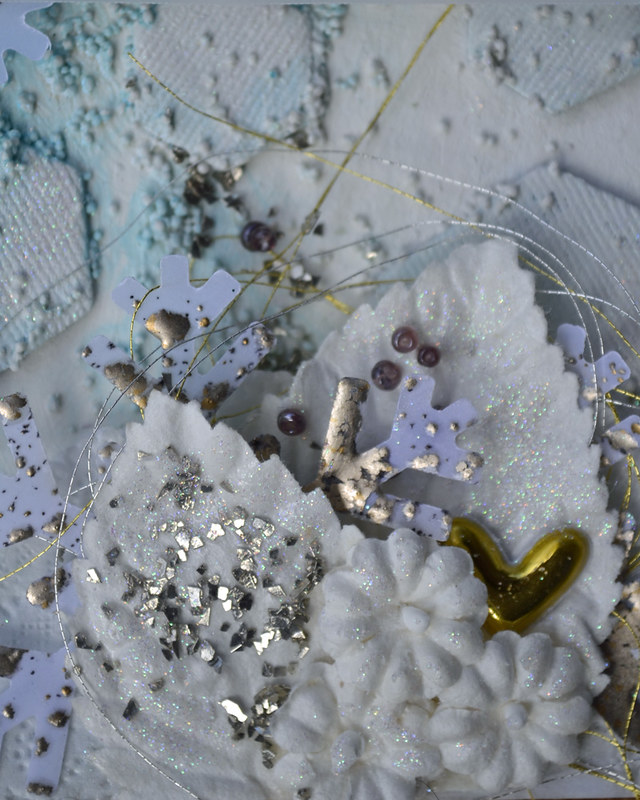
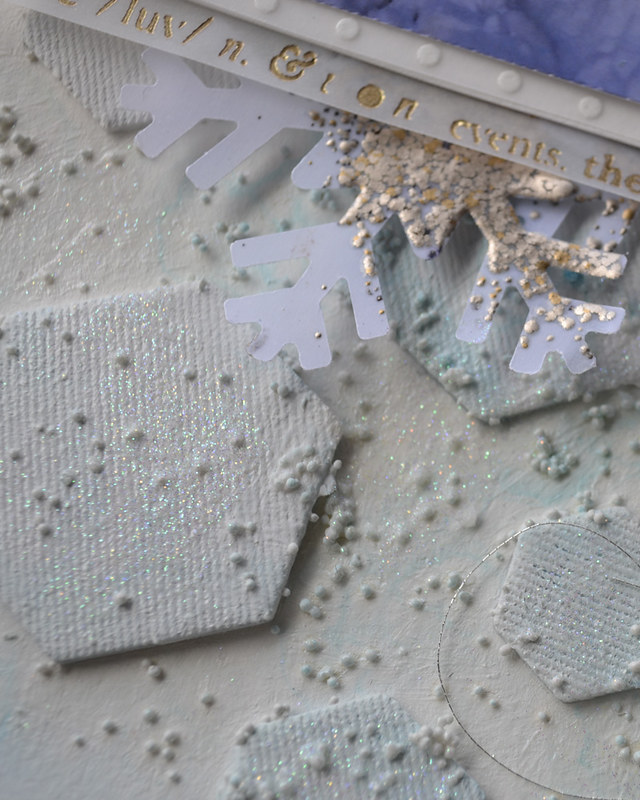
Sept 5_15


Sept 5_2

You may not have a pack of Mistables in your stash but I'm sure there's something you've been keeping. Putting everything on the page is a great way to use these products. I always say that it's more fun to look at a scrapbook layout then it is to flip through unused products. I hope you're inspired to give it a try.
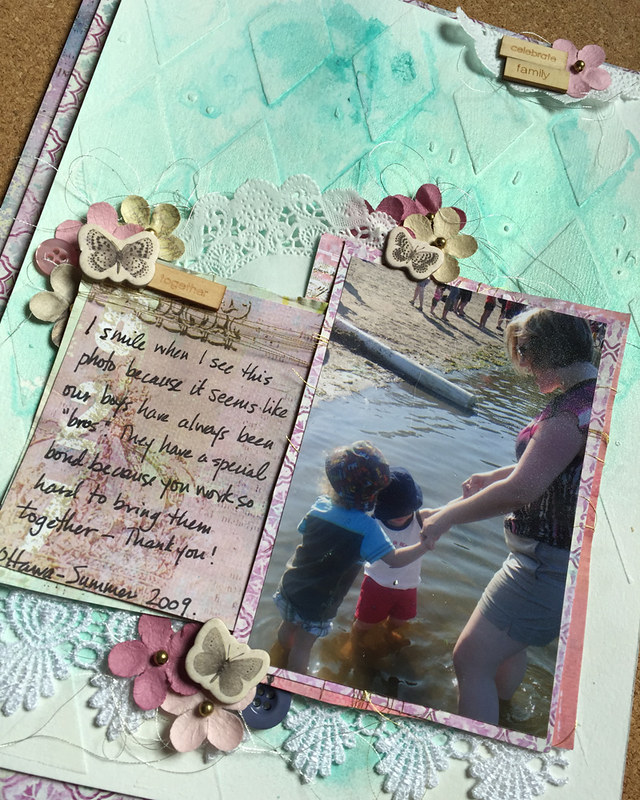
As for me, I liked how this page turned out so I'm planning to use the leftover Mistables on a card front. When I do, I promise to share the results here.

Thanks for stopping by!

Cathie