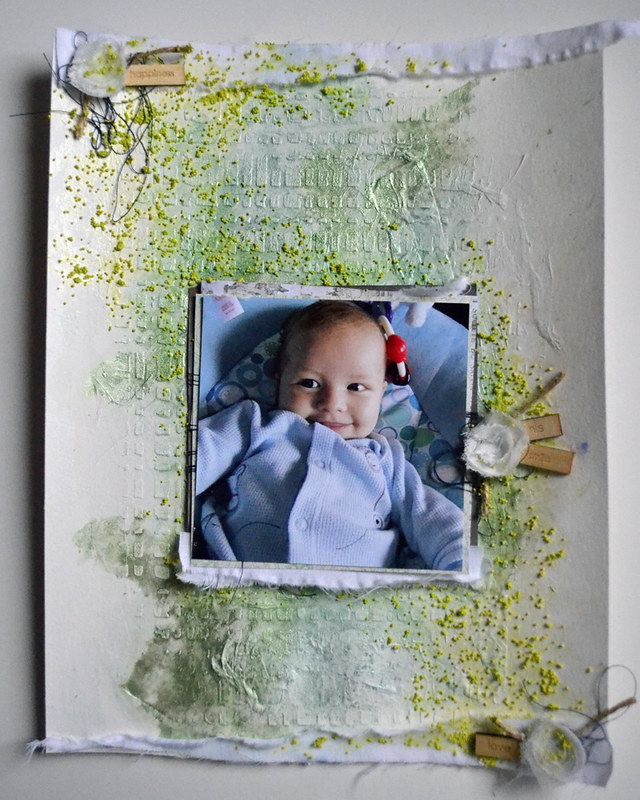
This week, I found myself playing with the Mini Art Stones by Finnabair for Prima. I fell in love with them recently and I was wondering if they could be colored. That little "what if..?" led me to create this layout.
Here's the supply list and instructions I used to make this week's Mixed Media Monday layout.
Supply List:
Heavy Gesso - Art Basics (Prima)
Watercolor Paper (Canson)
Weaving Stencil - Finnabair (Prima)
Mixed Media Silicon Brush (Prima)
Light Modeling Paste - Art Basics (Prima)
Soft Gloss Gel - Art Basics (Prima)
Mica Powder: Green, Teal - Art Ingredients (Prima)
Mini Art Stones - Art Basics (Prima)
Color Bloom 2 Spray Inks - Brimstone Wings (Prima)
Word Label Stickers - Posh Collection (Carpe Diem - Simple Stories)
Pattern Paper: Royal Menangerie and Salvage District Collections (Prima)
Muslin and Navy Thread (from my local fabric store)
Thread: Navy
Sisal Twine (from my local hardward store)
Fabric Flowers - unknown
Tissue Paper - white (from my local dollar store)
Old Paint Brushes - for gesso and Mica Powder
Water Spray Bottle
Instructions:
Please note: You can use a heat gun or hair dryer to dry any of these products or you can let them air dry. It's up to you and how much time you have to create your project.
1. Crumple tissue paper and collage to background. Spread a thin coat of Soft Gloss Gel on the background and press the tissue paper into the background.
2. Apply modeling paste through stencil. I used my silicon brush to put Light Modeling Paste on my background through the Weaving stencil. Set aside to dry.
3. Gesso. Apply gesso to background using an old brush or foam brush. You need something that can spread the gesso in between the gaps of the stencil pattern. Set aside to dry.
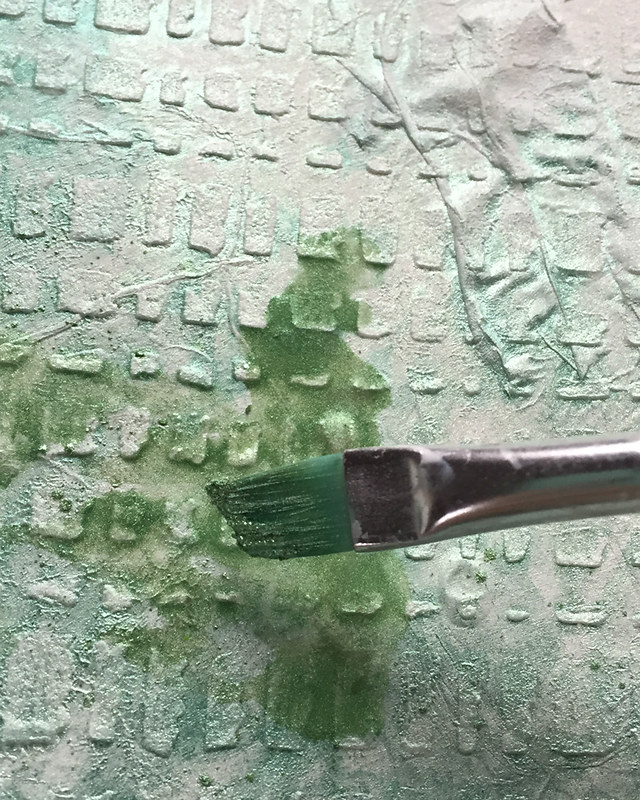
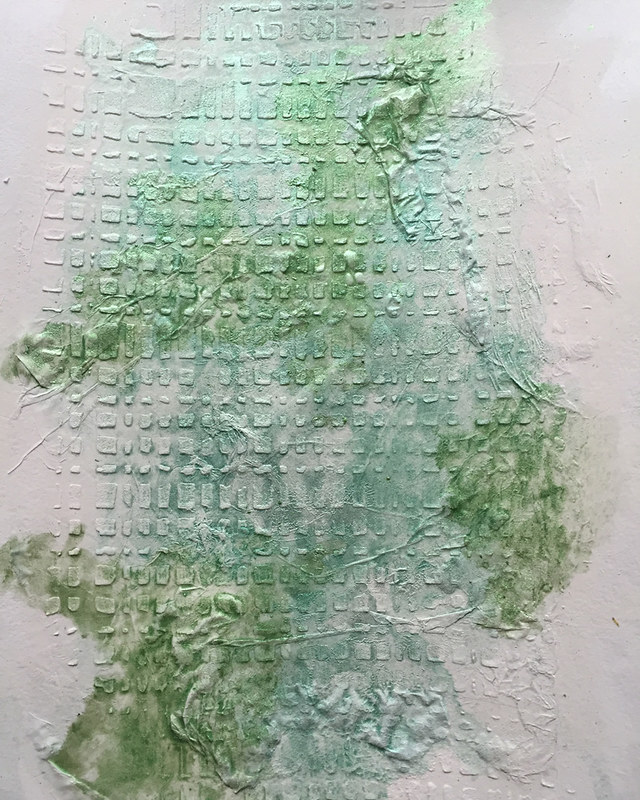
4. Add color. For this layout, I wanted to use my Mica Powders.
Just look at all that shimmer.
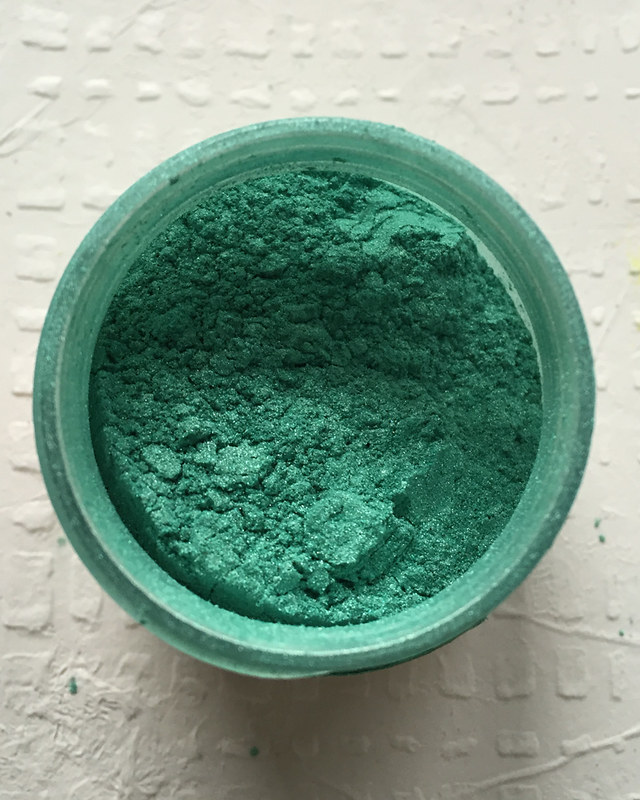
Spritz water on the background. Dip small brush into jar of Mica Powder and then brush the powder into the water on the background. Keep adding Mica Powder until you are satisfied with your background.
Tip: If you are adding multiple colors, dry between each color.
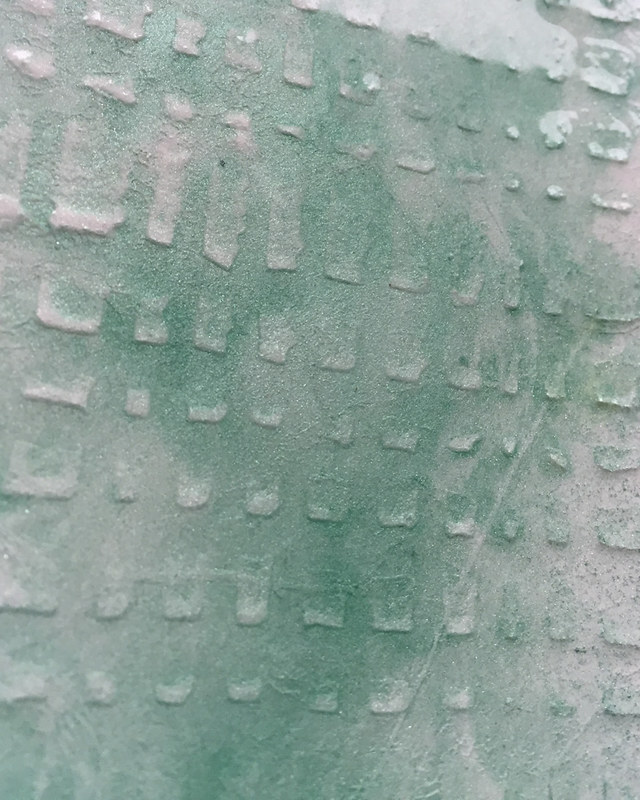
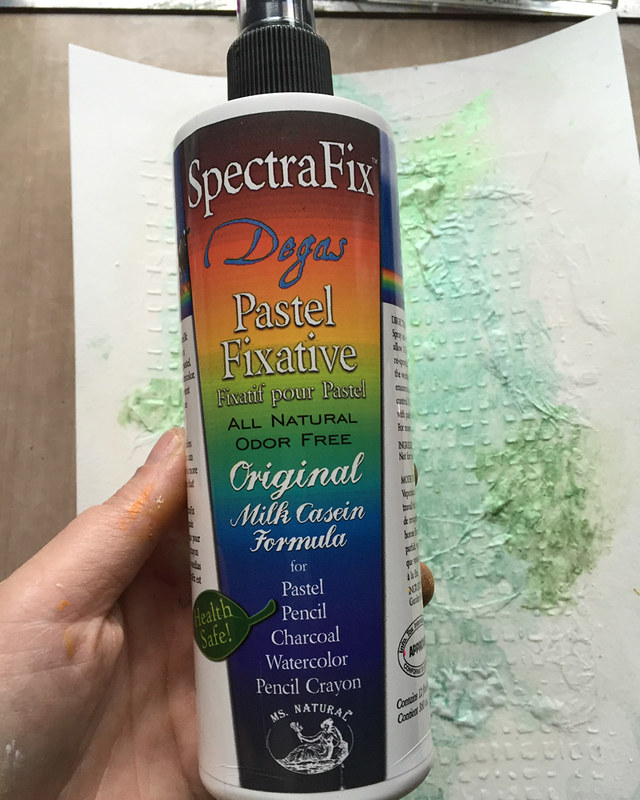
5. Optional: Spritz background with sealant. The Mica Powder does not have a fixative so it will reactivate every time it gets wet. I knew that I was going to add the Mini Art Stones to my background so I wanted to seal the background.
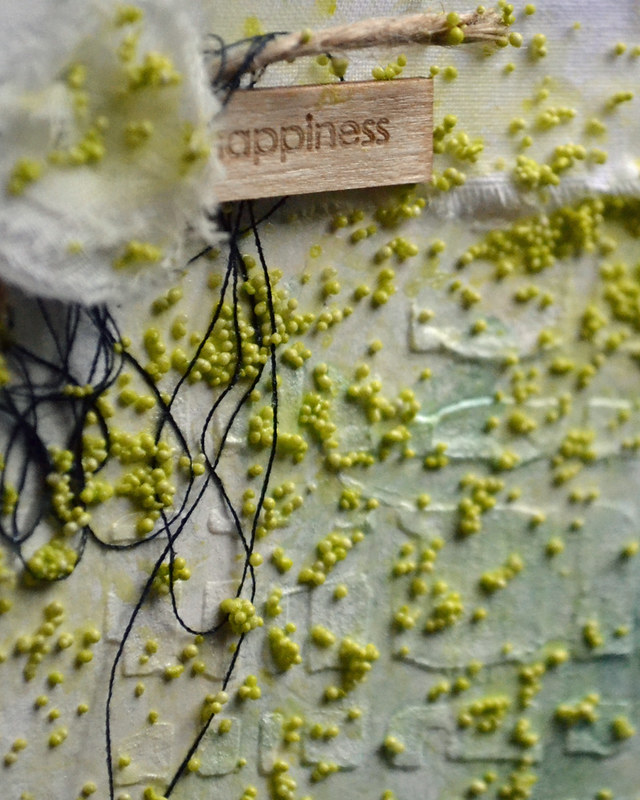
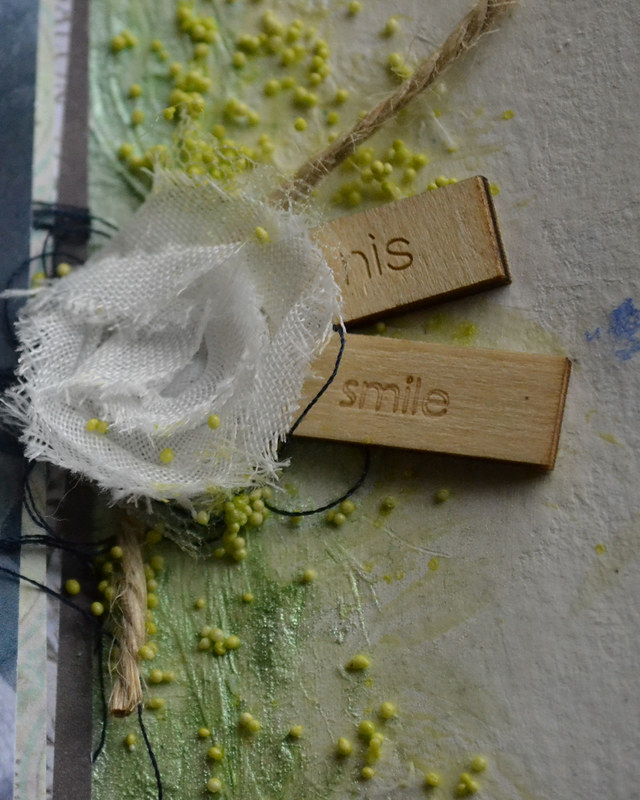
7. Embellish. I added some strips of muslin, wood veneer words and fabric flowers before adding the Mini Art Stones. I wanted to try coloring the Mini Art Stones so I poured some into a small container. You don't need many - a little goes a long way. Then I sprayed some Color Bloom 2 - Brimstone Wings into the container. I mixed it with a palette knife and set them aside to dry. When they were dry, I brushed them onto my layout.
Here's what they look like when they're colored.
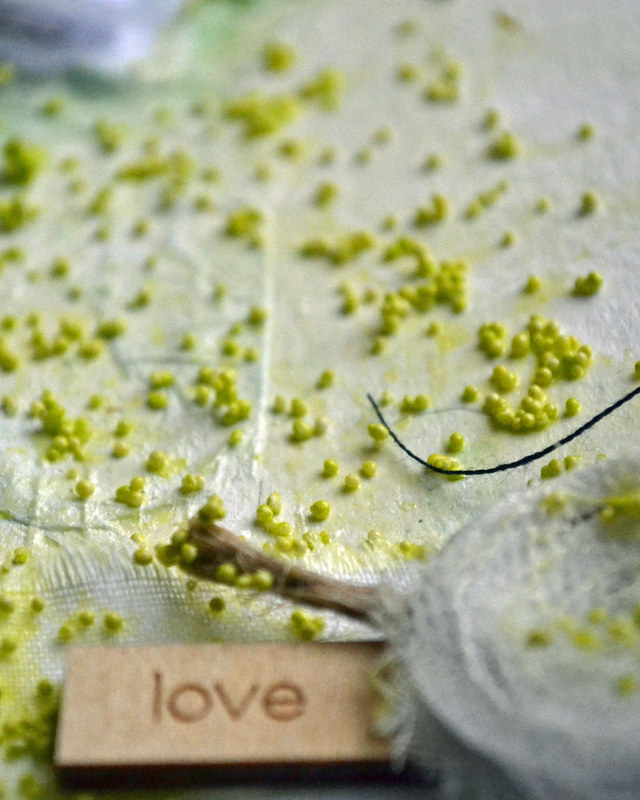
To apply them to my layout, I used a brush and Soft Gloss Gel and brushed them into place.

Mixed media techniques and products are so versatile and that makes it easy to create a unique layout that suits your pictures or stories. The layout this week is about my youngest son. His favorite color is green so I wanted a green background and green embellishments. They were easy to make with a few mixed media products - Color Bloom 2 Spray inks and Mica Powders. These products are available in so many different colors that you could make a background to suit your story using the same techniques I shared here today in your favourite color palette. All you need is a little time to put things together and a little time to let them dry.
Thanks for stopping by today.
Cathie
<
No comments:
Post a Comment