This week, I found my inspiration on Prima Marketing's website. I decided to use their "Build A Page" sketch for their September Challenges. These is so much mixed media inspiration with these challenges each month and there is something for everybody. You should check out the cards and tags too - they are amazing.
Here is this week's sketch-inspired layout.
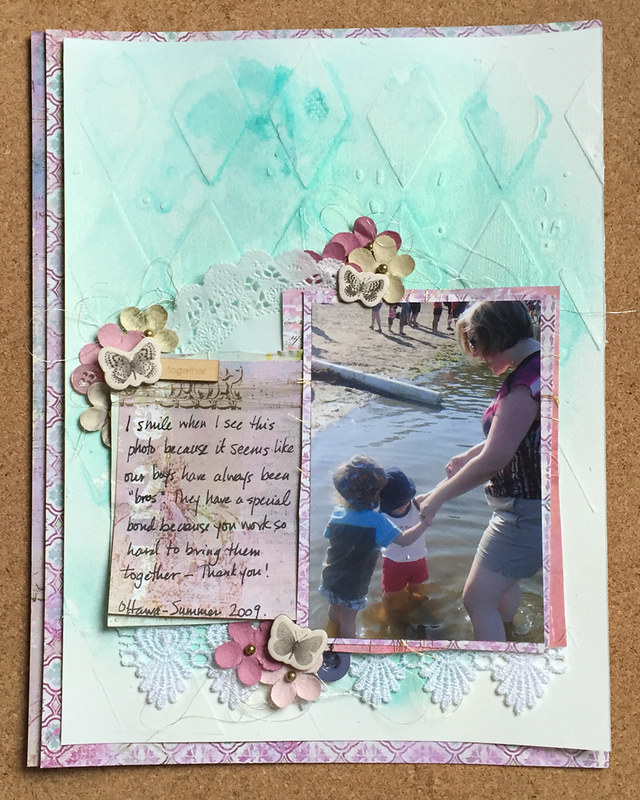
I wanted to make a simpler layout this week. I have had this photo of my sister with her son and my son waiting to be scrapped for years. This week I was finally able to put it all together.
Here are the supplies and steps I used to make this week's layout.
Supplies:
Heavy Gesso - Art Basics (Prima)
Watercolor Paper (Canson)
Harlequin Stencil (Prima)
Mixed Media Silicon Brush (Prima)
Light Modeling Paste - Art Basics (Prima)
Color Bloom Spray Ink - Glistening Waves (Prima)
Pattern Paper: Garden Fable
Butterfly Flowers (Prima)
Chipboard Butterflies - Archivist Collection (Prima)
Thread: White Gold (Guterman)
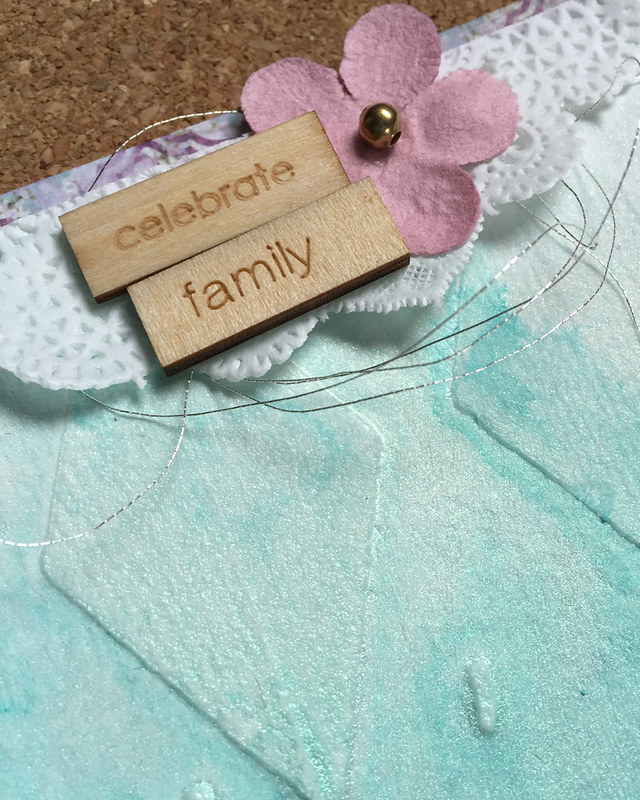
Wordfetti Wood Veneer (Jillibean Soup)
Lace
Paper Doily
Buttons: Pink, Navy Blue
Instructions:
1. Gesso. Apply gesso to background using a silicon brush or palette knife. Gesso makes the watercolor paper non-porous so that the spray ink doesn't sink into the paper. I use spray ink on a lot of my mixed media layouts so that's why my first step is almost always to put gesso on my paper.
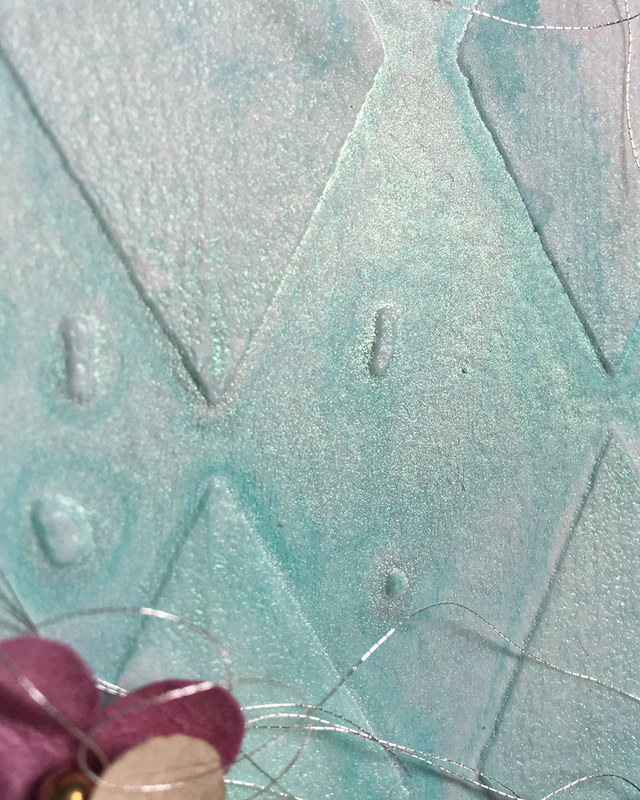
2. Apply modeling paste through stencil. I used my silicon brush to put Light Modeling Paste on my background through the Harlequin stencil. Set aside to dry.
Tip: You can dry Light Modeling Paste with a heat gun but you have to be careful not to overheat or it will puff up. Sometimes, I will overheat the modeling paste on purpose to create this effect but today I decided to let it dry on it's own.
3. Spray Ink. I am an over-sprayer. I like to spray lots of ink and let it move and blend on the background. I sprayed a lot of ink on the background and set it aside to dry. When the Color Blooms are dry they have the most gorgeous shimmer.
4. Assemble background. I cut down the watercolor paper from 8.5x11" to 8x10". Then I layered some pattern paper behind to make the layout 8.5x11". This step is completely optional but I did it to recreate the frame shape in sketch - even if it is an asymmetrical frame.
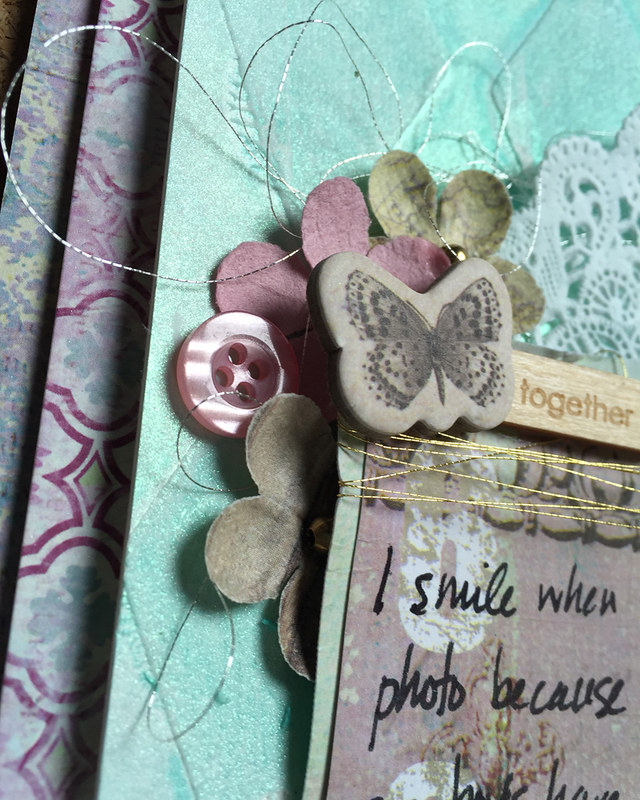
5. Embellish. As always, this step is completely up to you. Use whatever you have in your stash that works with your layout. I picked some white gold thread and lace, some buttons and 3 chipboard butterflies because that's what worked for my layout.
I am almost finished with that pack of Prima flowers. I am going to miss them when they're gone. I love to use them on all my layouts lately.
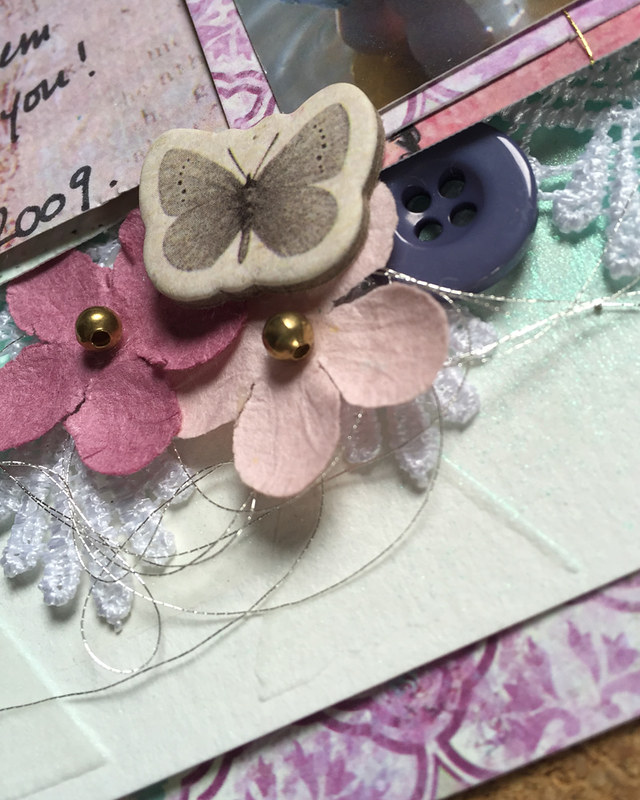
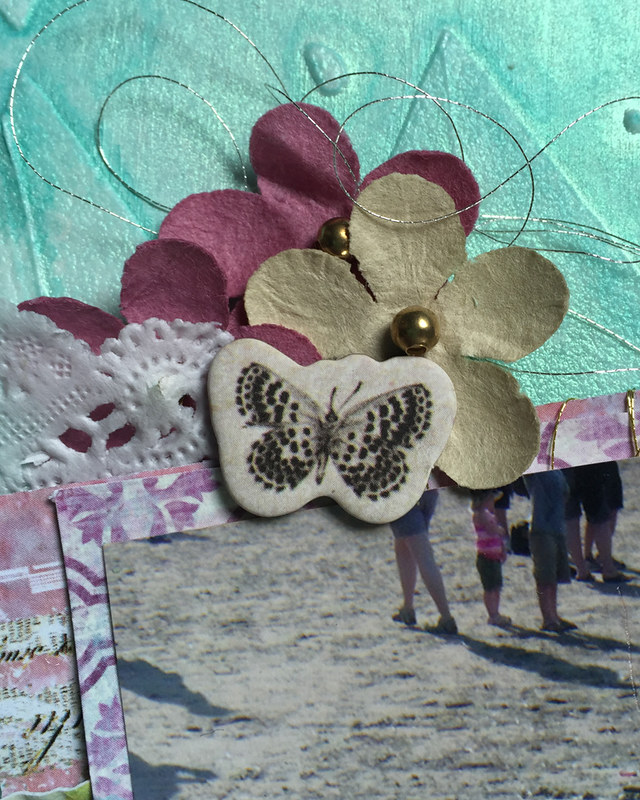
Here are some closeups of my embellishments.
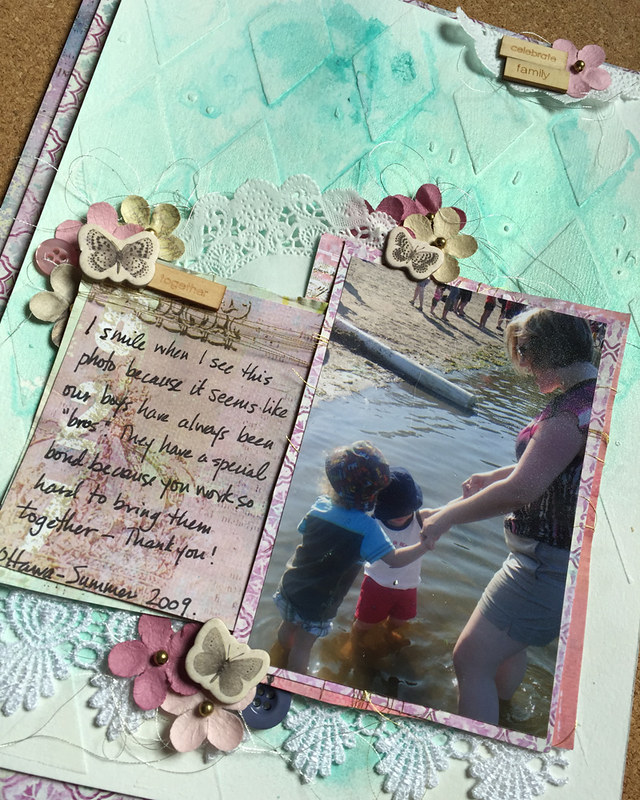
And a final look at the layout with a closeup of the journaling.
This layout is simple and was easy to make. Not every mixed media layout has to have lots of techniques or products or layers. That's one of the things I love about mixed media - it can be whatever your want it to be. It's your layout so you get to decide.
I hope you find some time this week to make your own mixed media layout. If you do, please leave a note in the comments and let me know where to find you. I love to see what other people are making.
Thanks for stopping by today.
Cathie
No comments:
Post a Comment