Showing posts with label mini album. Show all posts

Wednesday, 10 August 2016

How To Make a Travel Album: The Wrap Up

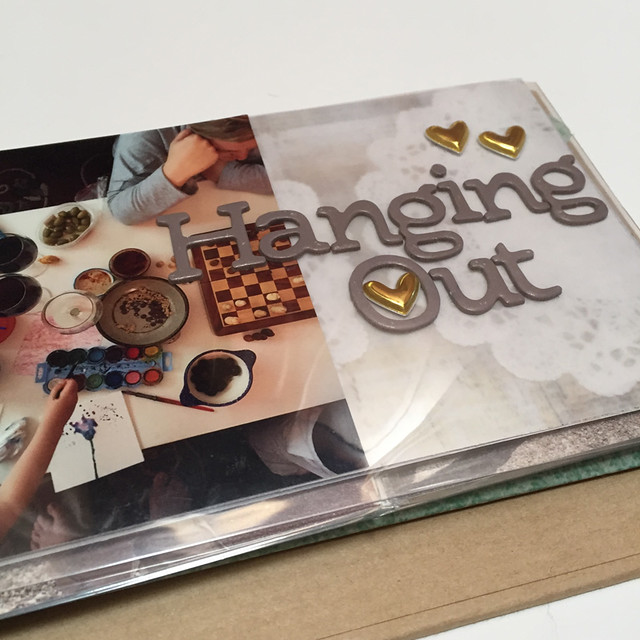
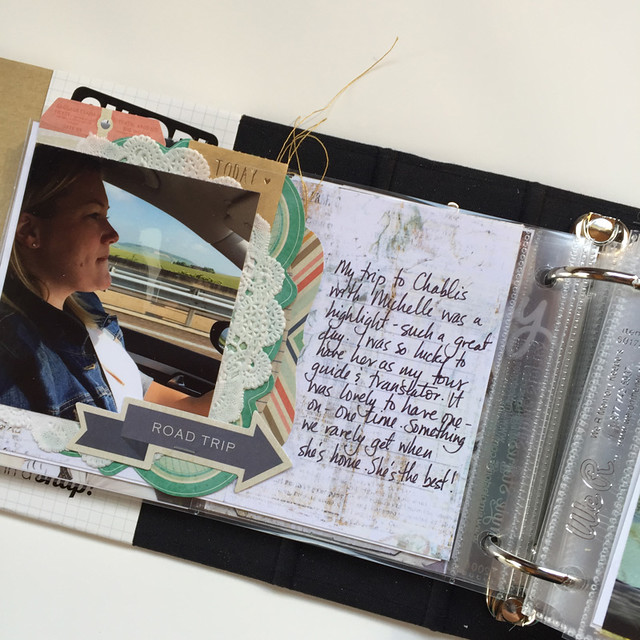
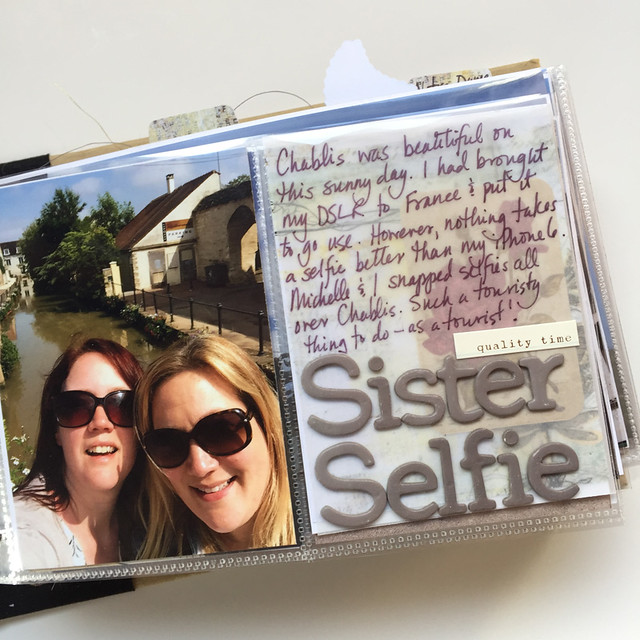
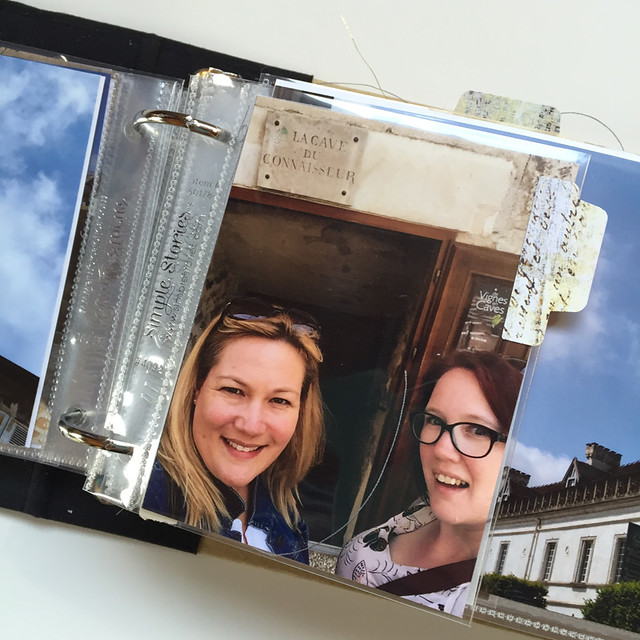
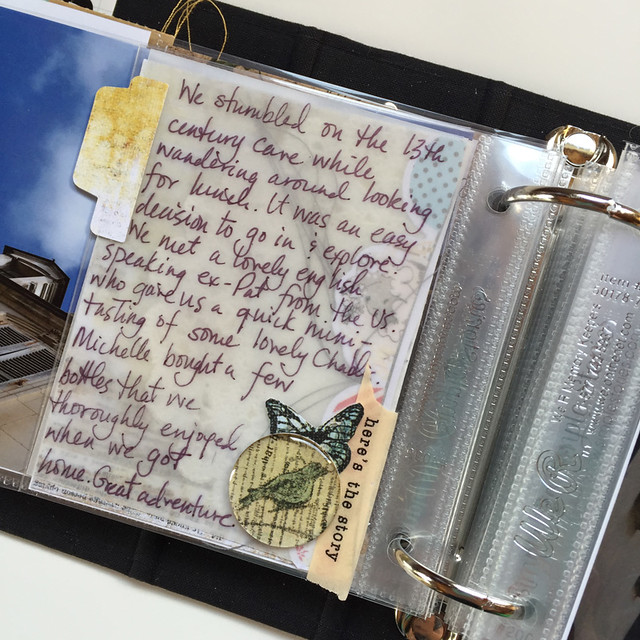
Today, I'm sharing the last few pics of my travel album before I call it done and put it away.

Aug 10_1


Aug 10_2

I have really enjoyed the process of putting this album together.  There wasn't much time between coming home from my trip and starting this album. All the details and stories were fresh and I was excited to scrap my photos because I had just come back from my trip. It was the most exciting project on my list and I think that excitement helped motivate me to get it done. 
Aug 10_3


Aug 10_4

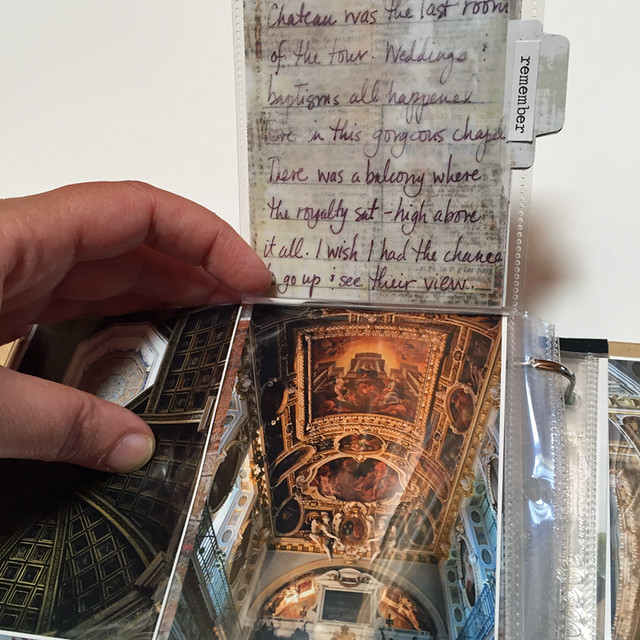
Taking my time with this album worked really well for me. Usually I try to speed through putting an album together at a crop or retreat. By breaking it down into manageable chunks, I didn't get tired of this album. I made sure that I spent time on it each week so that I didn't lose momentum or interest in the project. I just kept picking away at it until it was done.
Aug 10_5


Aug 10_6


Aug 10_7

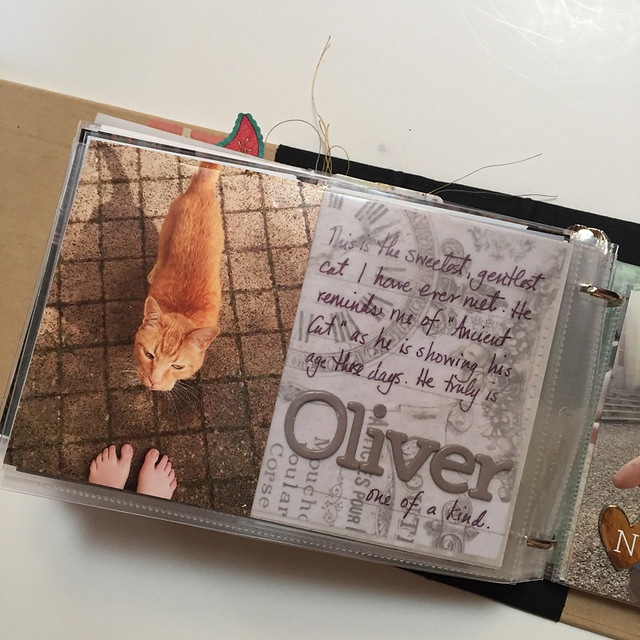
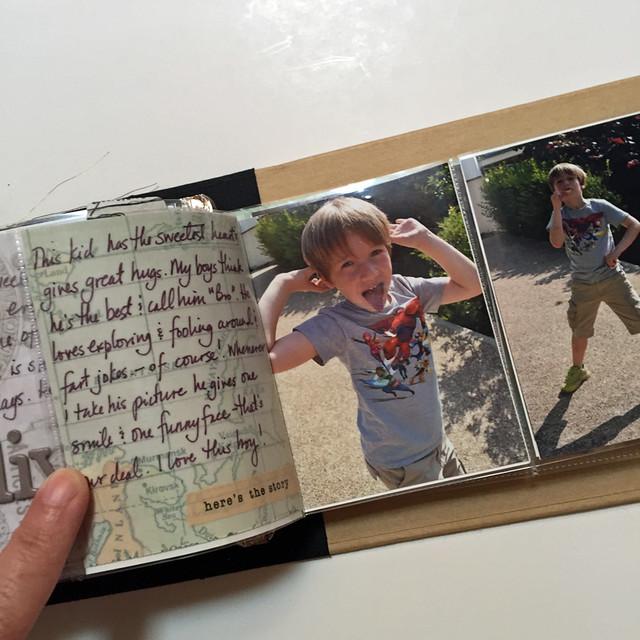
Having all my supplies close at hand was a big time saver. I wrote about the supplies I pulled for this album a few weeks ago.  I did use some of them but not nearly as many as I had hoped to. I had a lot of photos to use in a small album and that didn't leave me with a lot of room for embellishing. That's ok. After each major project, I sort through the left-over supplies and decide what to keep and what to donate or discard. This is one of the ways I keep my stash organized.
Aug 10_8


Aug 10_9


Aug 10_10

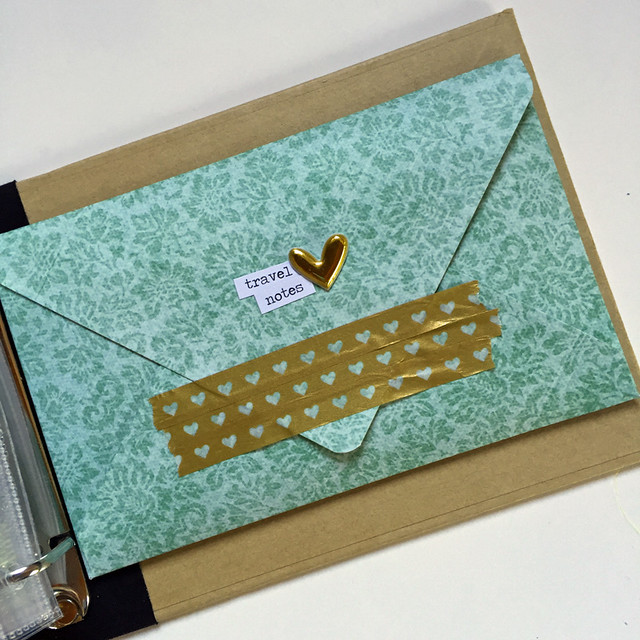
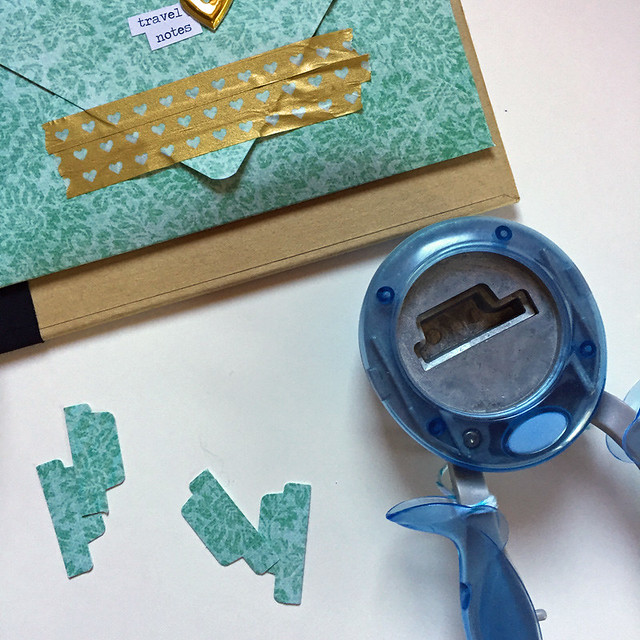
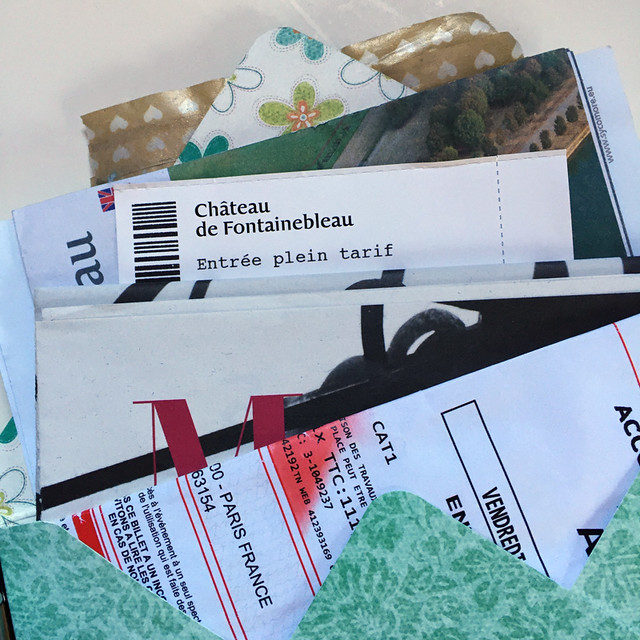
I made this envelope for the ephemera I gathered on my trip. I made the envelope using the We R Memory Keepers Punch Board. I love this product and use it all the time. I punched a few tabs from a scrap of the same paper and will sprinkle them throughout the album to tie it all together.
Aug 10_11


Aug 10_12

I think I'm still scrapbooking after 10 years because I enjoy the process. I have fun creating and I want to keep it that way. That's why I use the steps I have outlined the last few weeks every time I make a themed album. First, I get organized by picking the photos I want to use and the size of my album. Then I gather the supplies I want to use in my album. The next step is to put the photos in place or create the layout for album. In this case, I put everything in pocket page protectors. Then I add the stories or journaling. Saving the best part for last, I add the embellishments and finishing touches.

I have so enjoyed sharing my process and I hope there have been a few tips along the way that help you with your pages or projects. If you have any questions, please leave me a note in the comments.

Thanks for stopping by!

Cathie


Wednesday, 27 July 2016

Let's Make a Travel Album: An Update

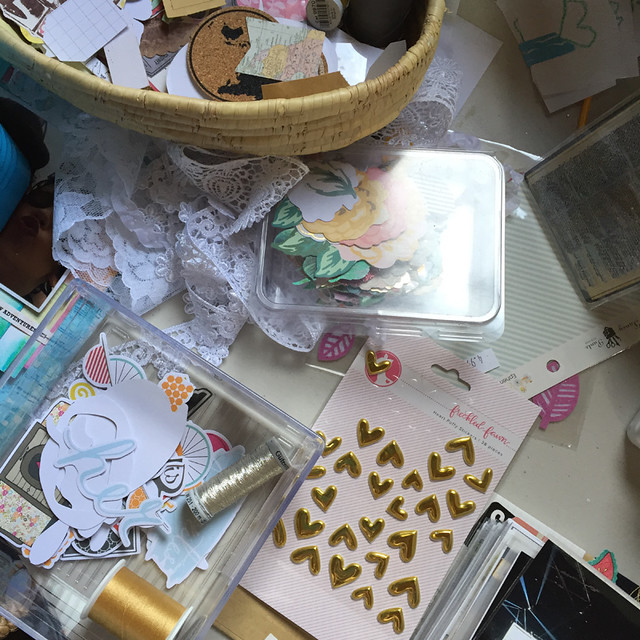
Making an album is messy work. The state of my desk is proof that I'm the kind of scrapper who likes to have everything out. It's no surprise that I'd rather scrap than put things away. Thankfully, I have a scraproom with a door.

July 27_1

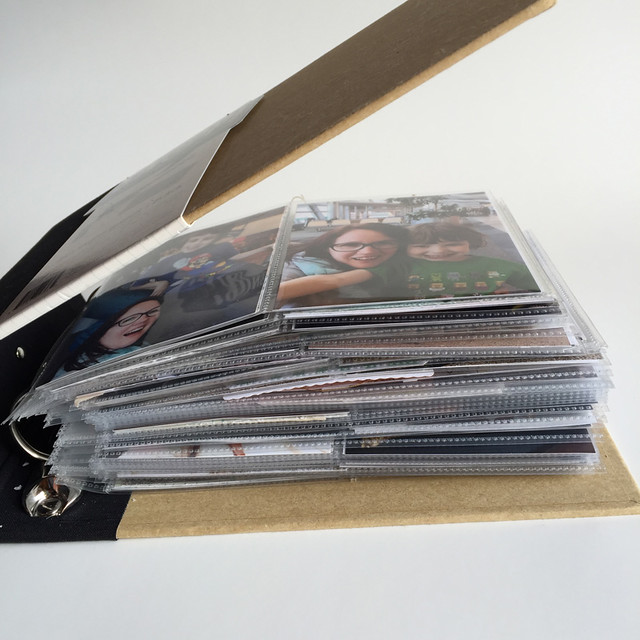
My travel album is almost done. Since last week, I added more journaling and embellishing. You can see how much thicker the album is with all the fun stuff added in.

July 27_2

Here's a look at where I am right now.

July 27_3

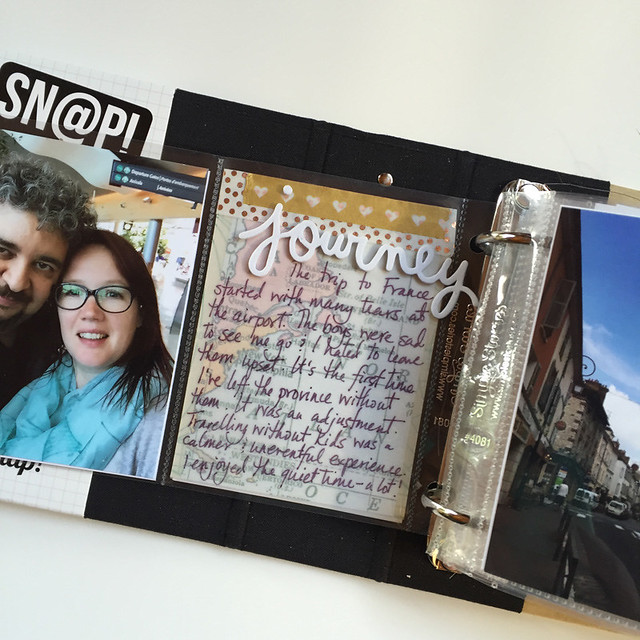
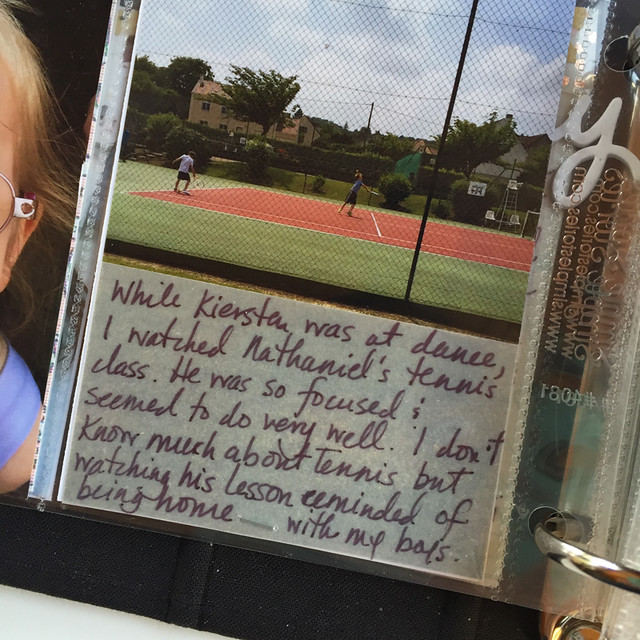
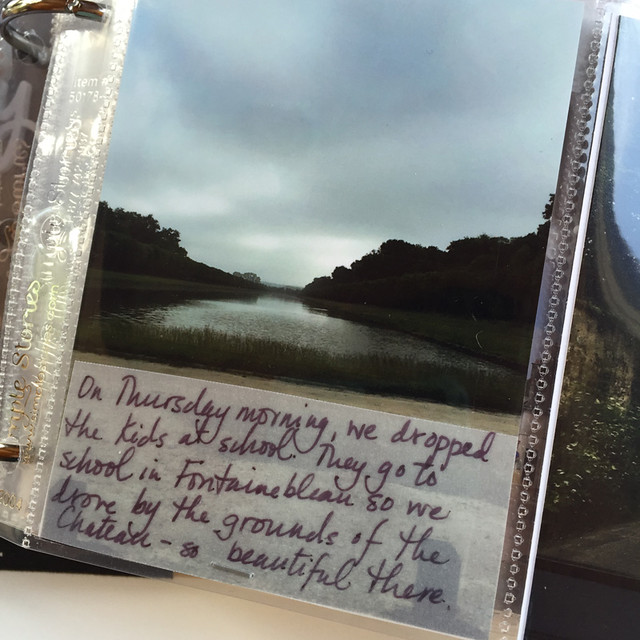
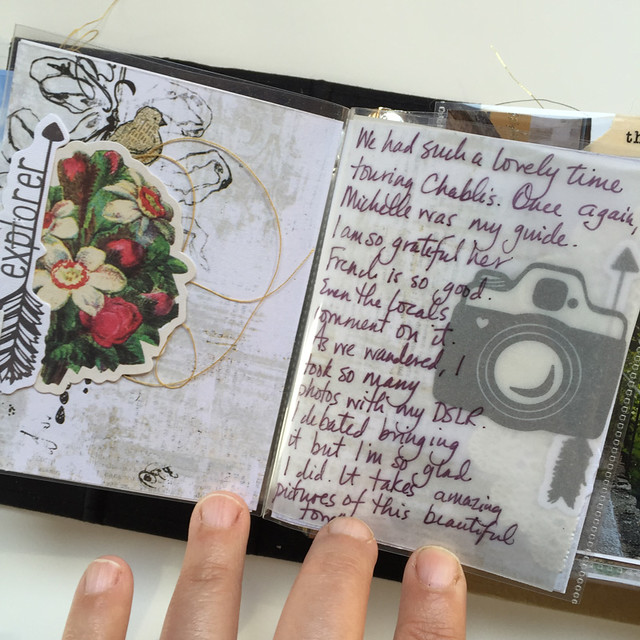
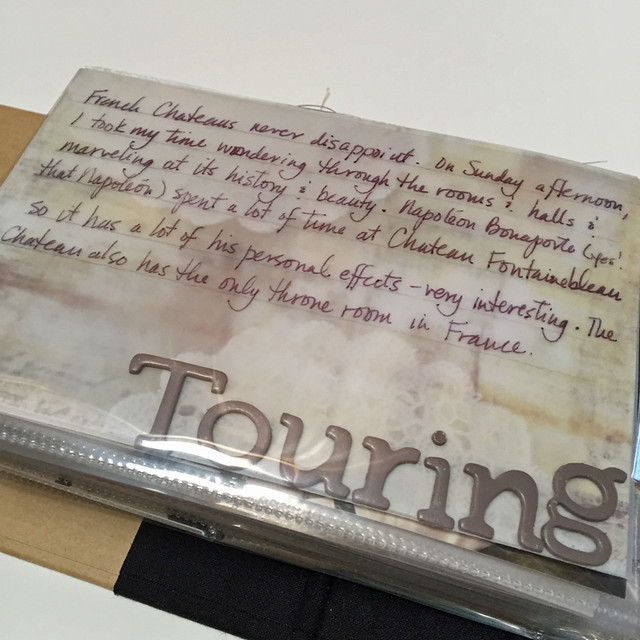
This is the first of my journaling pages. I'm writing on vellum with a Le Pen by Marvy Uchida. It writes beautifully and I haven't had any problems with bleeding or smearing.

July 27_4

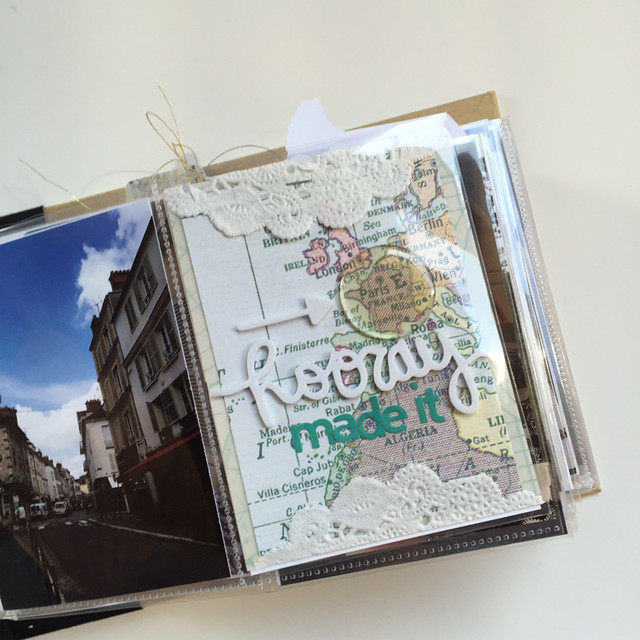
I really wanted to use that piece of map paper because Paris was on it. I didn't want to cover it with vellum so I used some embellishments and letter stickers to substitute for hand written journaling.

July 27_5

I put a piece of vellum over the lower third of the picture for journaling. It worked out really well and saved me any anxiety over making a mistake. I only had the one picture but I have plenty of plain vellum.

July 27_6

I'm also using labels and washi tape for journaling.

July 27_7


July 27_8


July 27_9


July 27_10


July 27_11


July 27_13


July 27_14


July 27_15

I shared how I made these collage pages and what they looked like without journaling last week. I like how you can easily read the writing and still see the elements under the vellum.

July 27_16


July 27_17

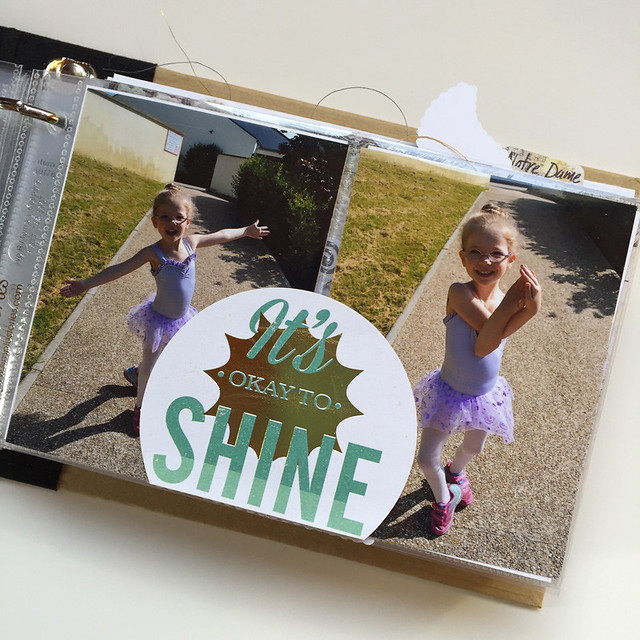
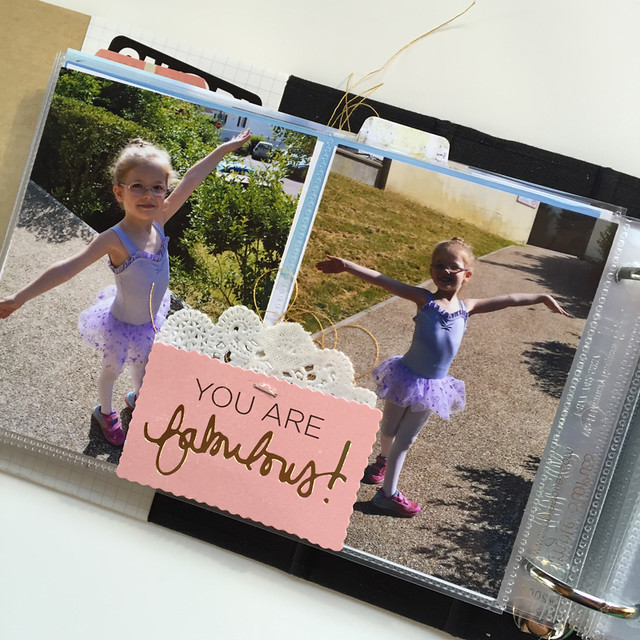
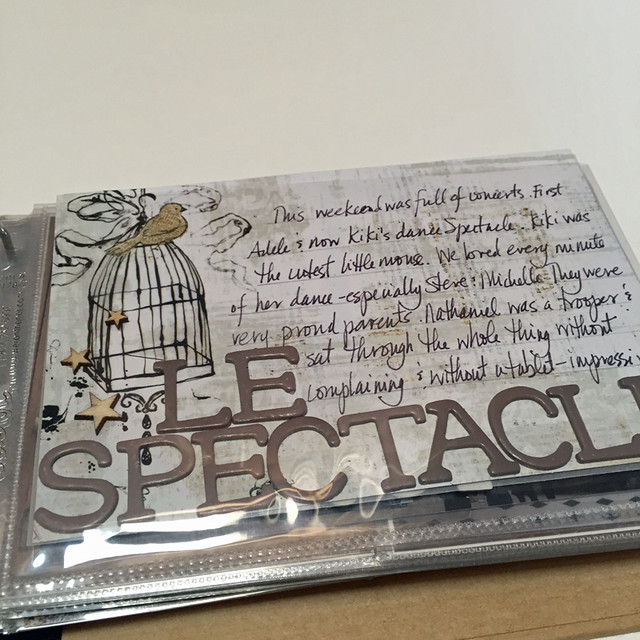
I used the diecuts as journaling for these pages of my niece. She was showing me some dance positions on her way to ballet class.

July 27_18

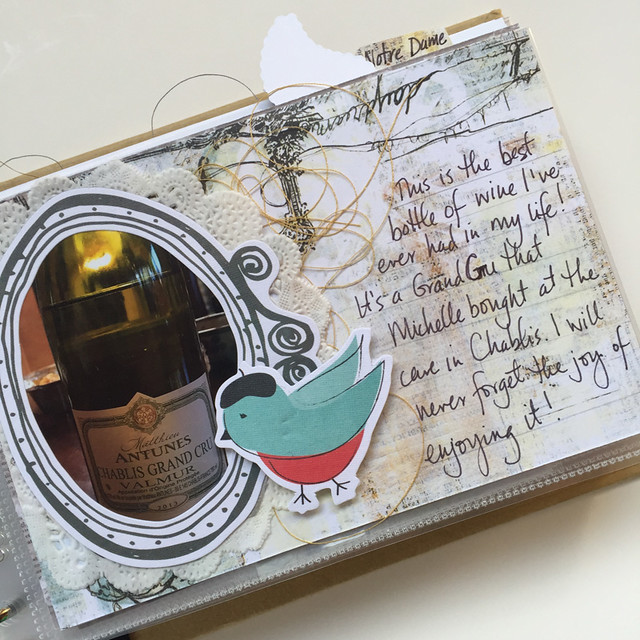
And how could I resist that little bird with a beret? Perfect for an album about a trip to France, right?

July 27_19


You can find out more about the supplies I'm using to make this album in this post or you can leave a note a comments. I'll update you next week on my progress. It's almost done so it's time to start thinking about my next pocket page project.

Thanks for stopping by today!

Cathie


Wednesday, 13 July 2016

Let's Make a Travel Album: Putting it All in Pockets

Here are all 45ish pages of my travel album. All the pictures are edited, printed, cut and in pockets.

July 13_1

July 13_2

July 13_3

July 13_4

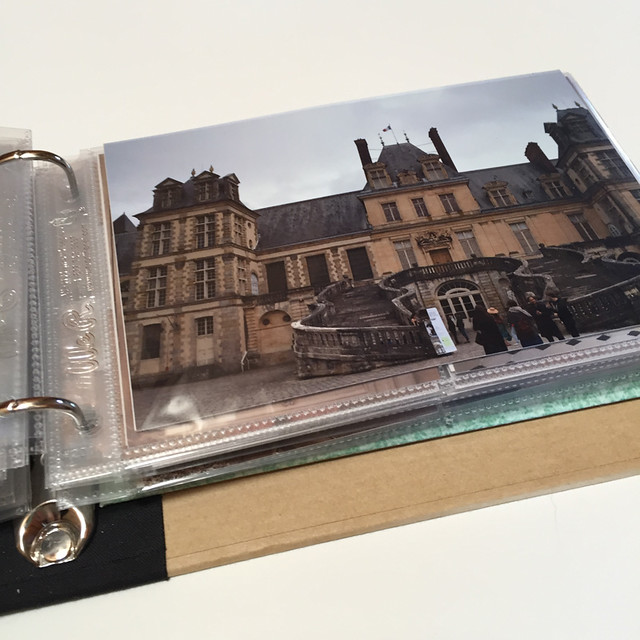
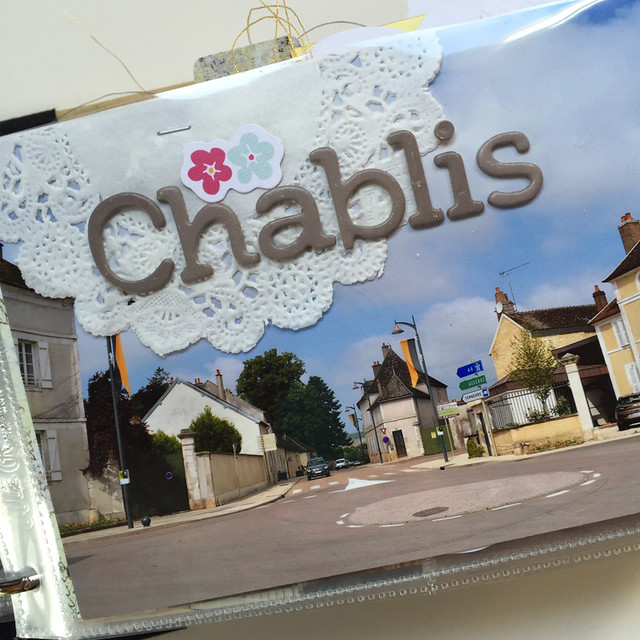
I wanted to create some interactive pages in this album. I have multiple pictures of some of the amazing places we saw - like Chablis and Chateau Fontainebleau. So,  I took out my Fuse tool by We R Memory Keepers and started creating an interesting way to showcase these photos.

July 13_7

Honestly, I was intimidated by my Fuse tool at first. It sat in the box for the longest time - untouched. I started using it in my December 2015 album and now I'm hooked. I don't use my Fuse everyday but I think it's pretty great and I'm glad I bought it. I also have the Heat Resistant Silicon Mat. I think this is great, too. You don't need it but I find it makes using the Fuse so easy.

Here are some of the interactive pages I have in my album.

This is a flip-up in the Chateau Fontainbleau section.

July 13_5

July 13_6

I created a fold-out which holds 8 3x4 photos I took in Chablis.

July 13_9

I have so many photos of Chateau Fontainbleau that I had to create a second interactive page. This is a double fold-out.

July 13_12

It flips out on the right...

July 13_11

and the left.

July 13_10

And there you have it. Next step is the embellishing and the journaling. It's my favorite part and I'm looking forward to it. I shared all the supplies I'm planning to use last week, if you're curious. This week, I'll be working with those supplies to take this album from photobook to scrapbook. Next week, I'll share an update of my progress.

As always, please leave a note in the comments if you have any questions or just to let me know you stopped by.

Thanks for stopping by!

Cathie


Wednesday, 6 July 2016

Let's Make a Travel Album: The Supplies

Last week, I started working on the travel album for my recent trip to France. The first step for me is about getting organized and I shared the steps I use to start a new album.

I now have all my pics printed and ready to go in my album.

July 6_1

I have also combed through my stash and pulled the supplies I want to use in this album. I didn't buy anything new because I have lots of supplies. This is a great opportunity to use some of my lovely supplies.

July 6_2

These enamel dots and paper clips from Freckled Fawn are the color inspiration for my supplies. I like to have a color palette for an album like this because it helps unify the whole thing.

July 6_5

July 6_3

There is a little bit of everything in there - Freckled Fawn, Bella Blvd, Teresa Collins, Pink Paislee and Crate Paper. Using the enamel dots as a reference, I was able to combine products from different manufacturers to create a kit of supplies that works together. I also selected products made from different materials - wood veneer, cork, metal, etc... because a variety of textures creates visual interest.

July 6_4

July 6_6

In the second basket, I'm storing a few more embellishments and my stamps. For some one who doesn't call herself a stamper, I sure have a lot of Kelly Purkey stamps.

July 6_7

Labels are essential. They're great for layering and journaling.

July 6_8

July 6_9

Some stickers...just in case.

July 6_10

This is my collection of travel embellishments. It's a mish-mash of products from many different manufacturers and collections. I just keep adding travel embellishments here and pick what I want when I need it. I do love picking through little collections of embellishments.

July 6_11

Last but not least, I have selected some washi tape from my stash. I picked washi that coordinated with the enamel dots but were different from each other. That way, I have lots of options while I'm scrapping.

The whole point of picking through my supplies and making a kit for this album is to limit the amount of time I have to spend finding supplies. I make it a rule to stick to the supplies in the kit. Of course, if you know me then you know that I will happily break that rule if I have to - like if I know I have the-perfect-thing-in-that-bin-over-there. So, I guess it's more a guideline than a rule.

This week, I'll start putting my album together. Next Wednesday, I'll come back and share my progress.

Thanks for stopping by today!

Cathie