I have really enjoyed the process of putting this album together. There wasn't much time between coming home from my trip and starting this album. All the details and stories were fresh and I was excited to scrap my photos because I had just come back from my trip. It was the most exciting project on my list and I think that excitement helped motivate me to get it done.
Taking my time with this album worked really well for me. Usually I try to speed through putting an album together at a crop or retreat. By breaking it down into manageable chunks, I didn't get tired of this album. I made sure that I spent time on it each week so that I didn't lose momentum or interest in the project. I just kept picking away at it until it was done.
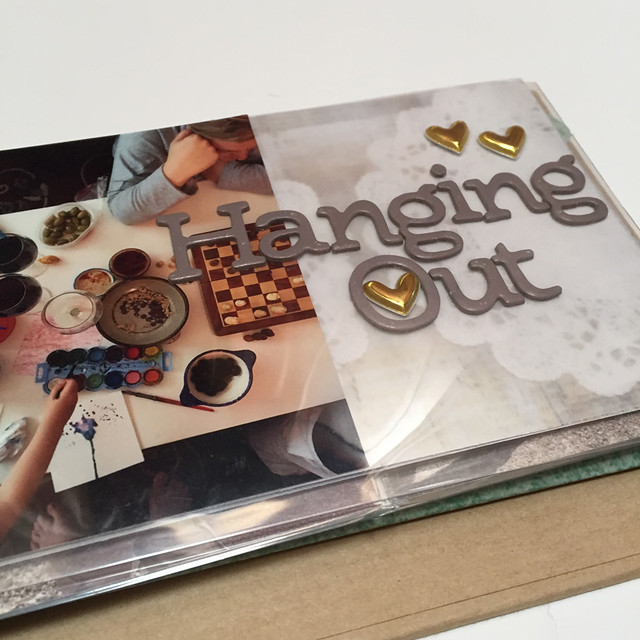
Having all my supplies close at hand was a big time saver. I wrote about the supplies I pulled for this album a few weeks ago. I did use some of them but not nearly as many as I had hoped to. I had a lot of photos to use in a small album and that didn't leave me with a lot of room for embellishing. That's ok. After each major project, I sort through the left-over supplies and decide what to keep and what to donate or discard. This is one of the ways I keep my stash organized.
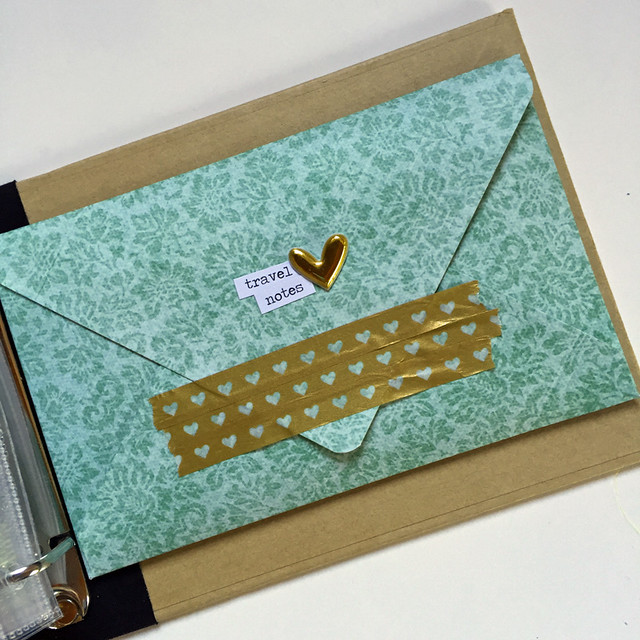
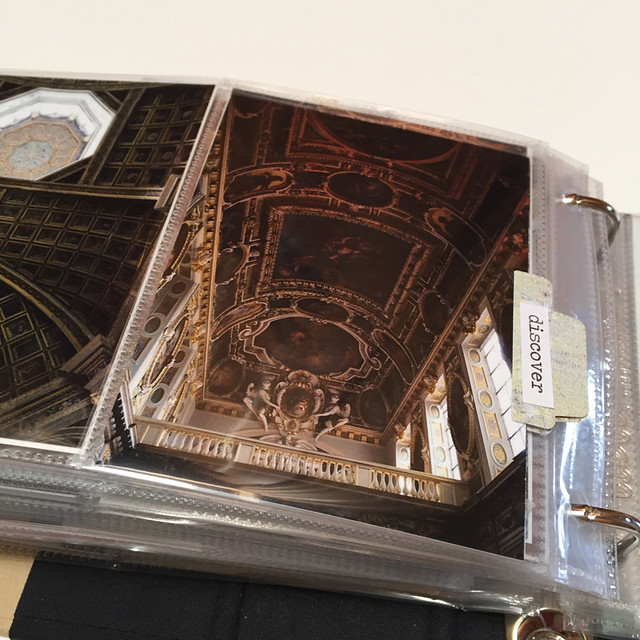
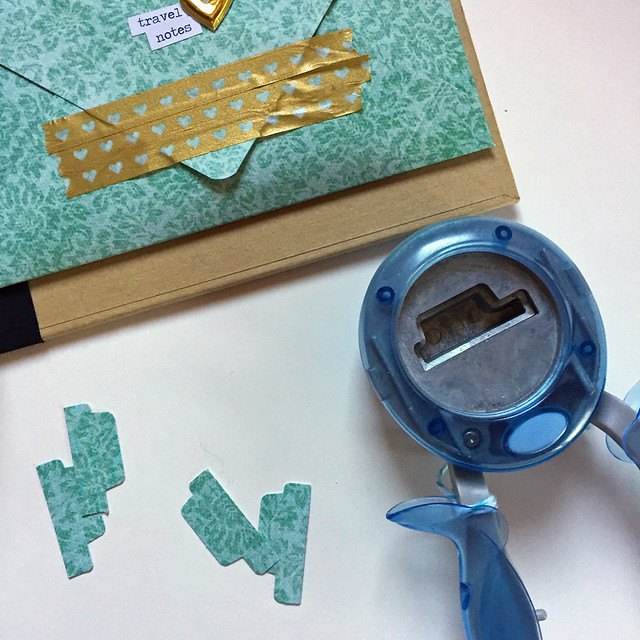
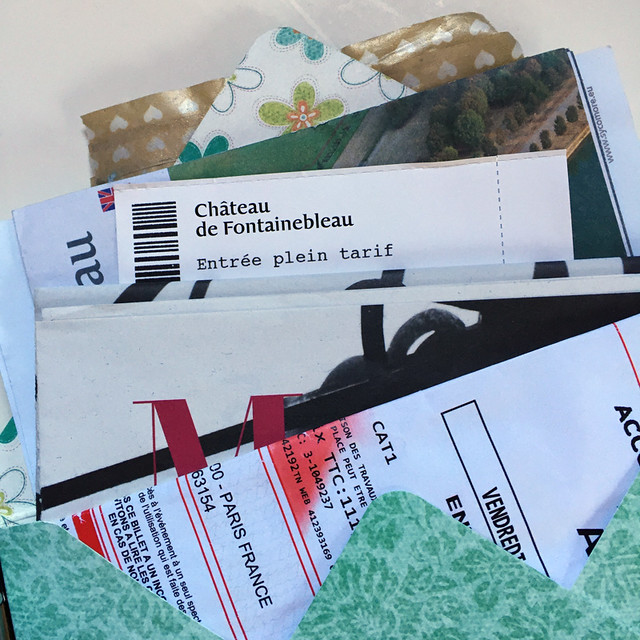
I made this envelope for the ephemera I gathered on my trip. I made the envelope using the We R Memory Keepers Punch Board. I love this product and use it all the time. I punched a few tabs from a scrap of the same paper and will sprinkle them throughout the album to tie it all together.
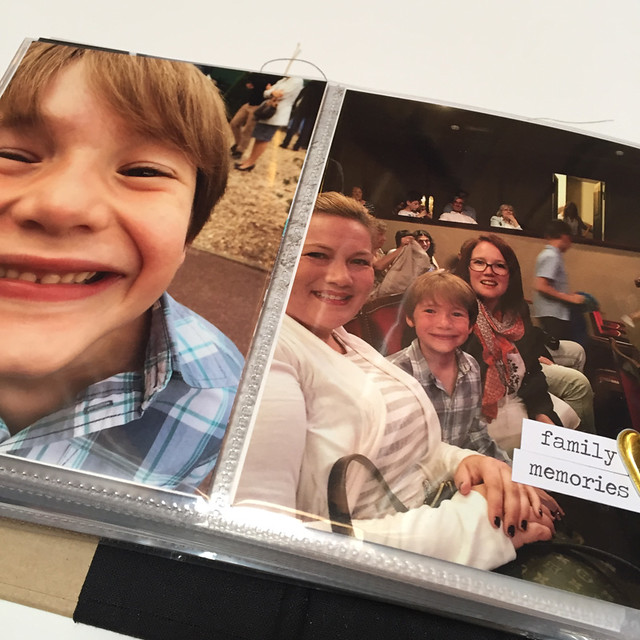
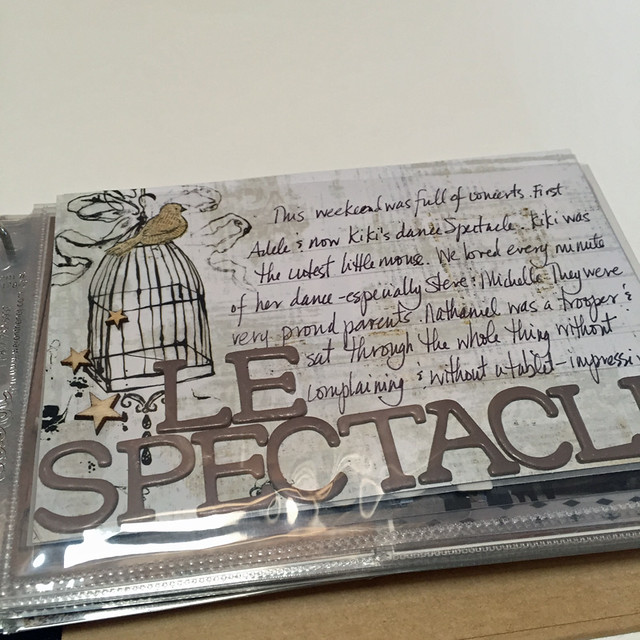
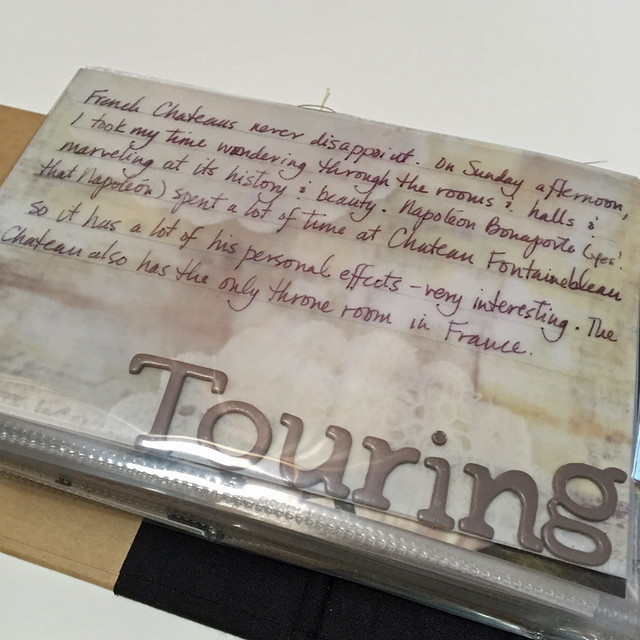
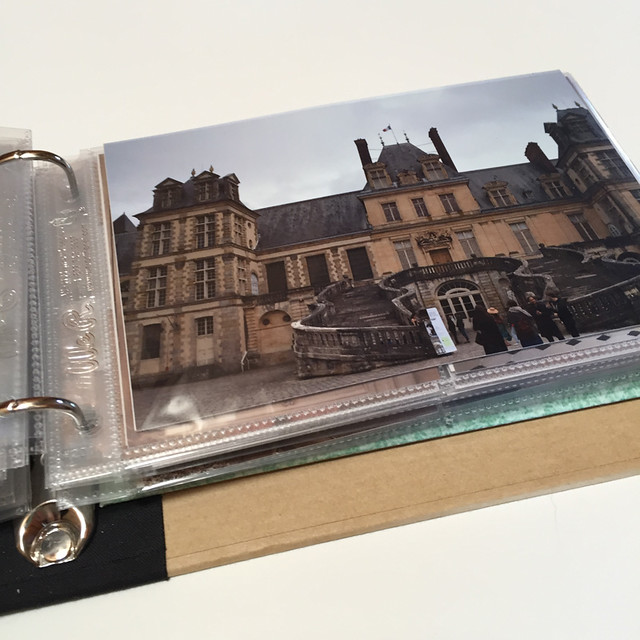
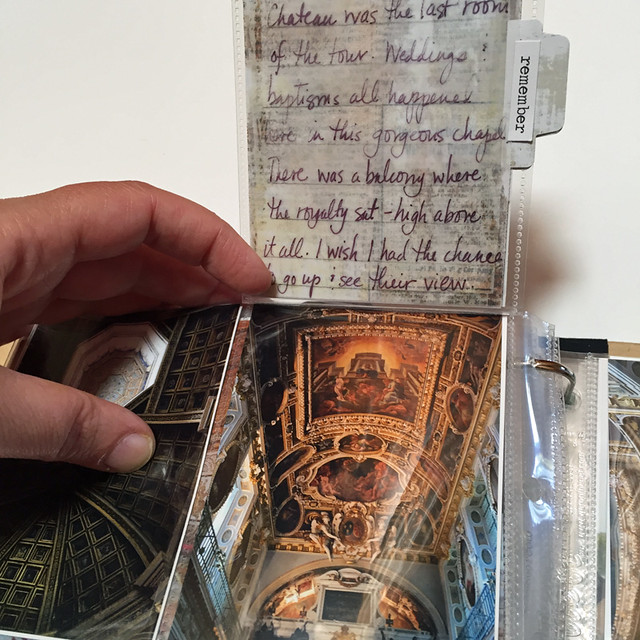
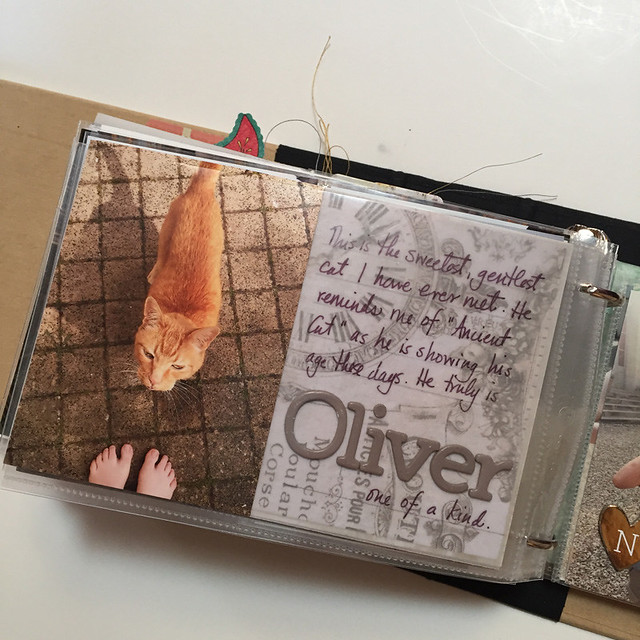
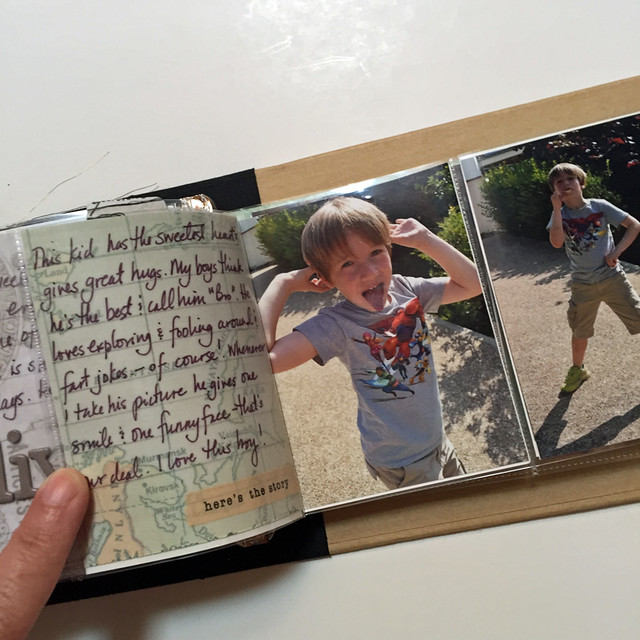
I think I'm still scrapbooking after 10 years because I enjoy the process. I have fun creating and I want to keep it that way. That's why I use the steps I have outlined the last few weeks every time I make a themed album. First, I get organized by picking the photos I want to use and the size of my album. Then I gather the supplies I want to use in my album. The next step is to put the photos in place or create the layout for album. In this case, I put everything in pocket page protectors. Then I add the stories or journaling. Saving the best part for last, I add the embellishments and finishing touches.
I have so enjoyed sharing my process and I hope there have been a few tips along the way that help you with your pages or projects. If you have any questions, please leave me a note in the comments.
Thanks for stopping by!
Cathie
No comments:
Post a Comment