Today I'm going to share how I made this mini-book-on-a page using The Paperie's September kit.
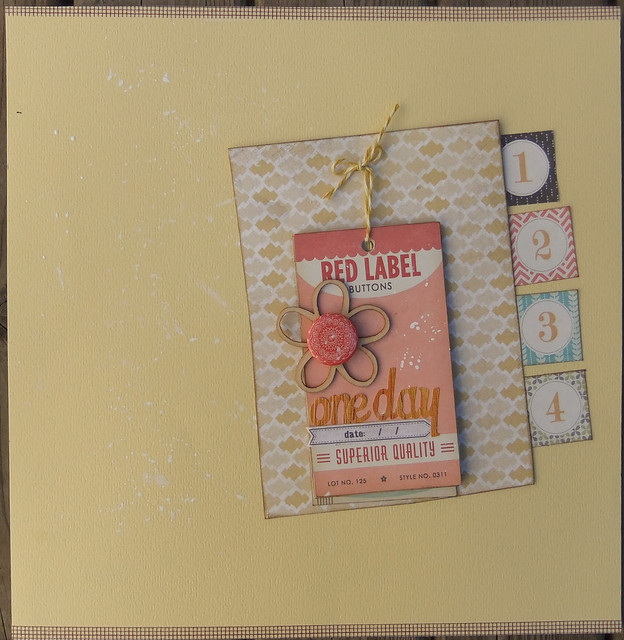
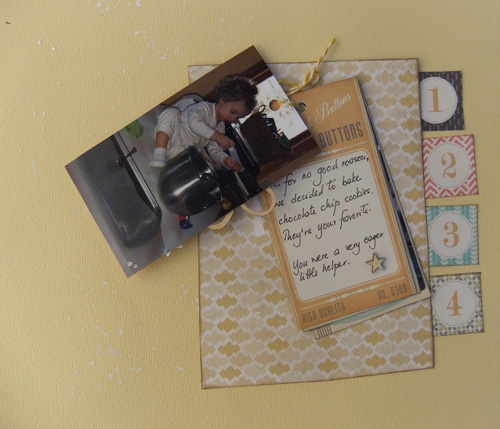
I was inspired to make the mini book as soon as I saw the My Mind's Eye diecut sheet. Those four big tags across the bottom were just begging to become a mini book.
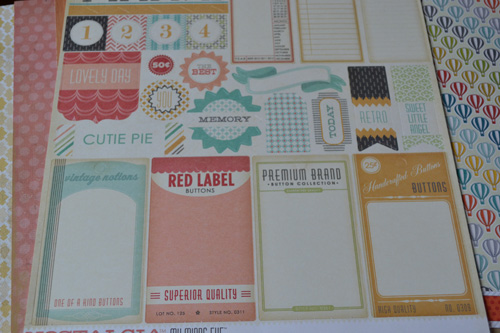
So, I popped them out and paired them with some cute pictures of Gabriel making cookies.
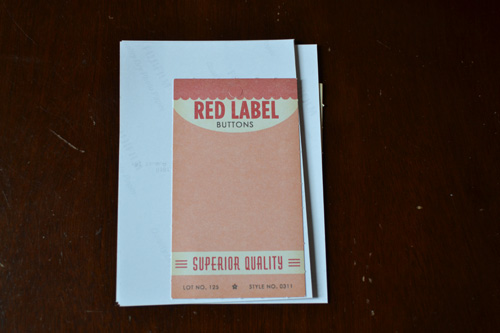
To make the inside pages, I stuck my photos directly to the back of each tag and trimmed away the excess - easy peasy. The tags are the perfect size for lots of journaling but you could easily add more pics and embellishments if you wanted. As you can see, I went pretty simple with my embellishing but I had a lot of journaling and didn't want the pages to be too busy.
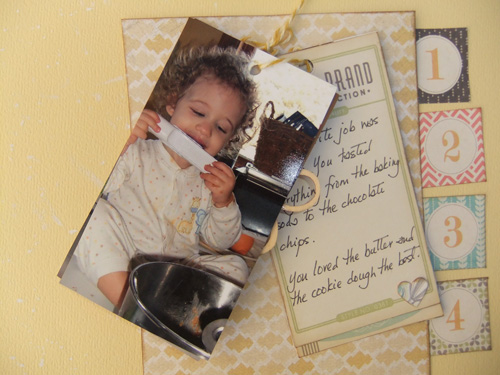
When I had all my pictures in place and my journaling written down, I bound the book using some My Mind's Eye twine from a previous Paperie kit. Then I wondered what would happen if I mounted the mini-book on some cardstock. So, I punched two holes in the patterned paper and threaded the twine through them to hold the mini book in place. I adhered the patterned paper to the cardstock using a lot of double sided tape - just to be safe.
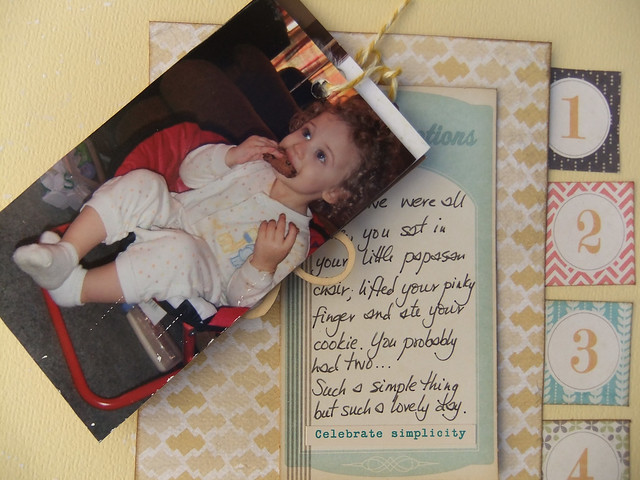
Now I can put this page right in my album. And when I do, I will cut the page protector so you can easily flip through the mini book instead of having to pull it in and out of the page protector.
And, in case you missed it, my friend, and fellow design team member, Krista posted some of her projects yesterday and you can (and should) check them out here.
And finally, another of my scrappy friends, Lori, just started her own blog. She is incredibly talented and makes the most beautiful pages. You can (and should) check out her blog, It's about time..., here.
Thanks for stopping by!
zove
Cathie
No comments:
Post a Comment