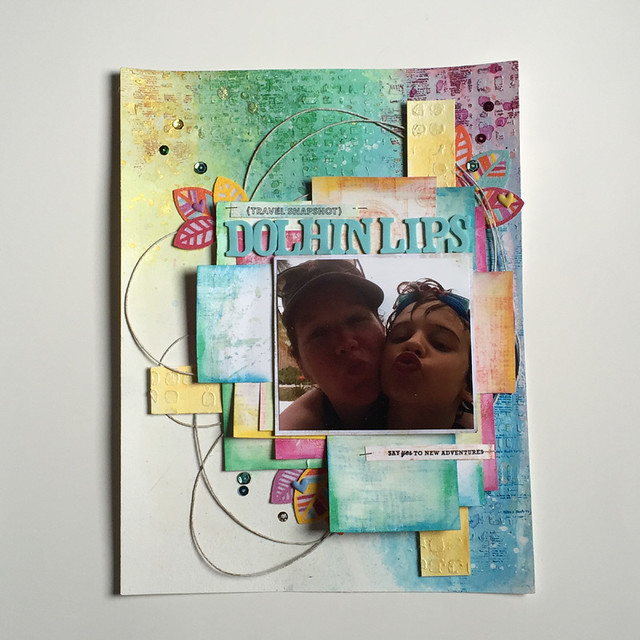
It might be the influence of the bright sunny days but I wanted to change things up this week. I wanted to use lots of bright colors, play with supplies I haven't used in a while and use a different size to create this week's layout.
Here's the supply list for this week's layout.
Heavy Gesso - Art Basics (Prima)
Modeling Paste - Art Basics (Prima)
Color Bloom Sprays (Prima)
Weaving Stencil (Prima)
Water Soluble Oil Pastels (Prima)
Mixed Media Silicon Brush (Prima) or palette knife
Background Stamp - Book (Prima)
Kelly's New Adventures (Clearly Kelly - Hero Arts)
Archival Ink (Ranger)
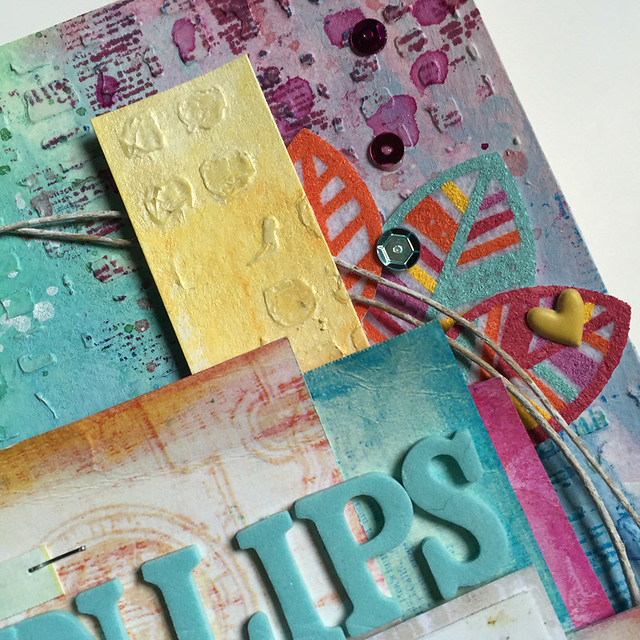
Felt Leaf Stickers - Freckled Fawn
Puffy Heart Stickers - Freckled Fawn Embellishment Kit
Tim Holtz Tiny Attacher
Blushing Floral Paper (Prima)
Canson Watercolor Paper
Twine
Sequins
Paint brush
Instructions
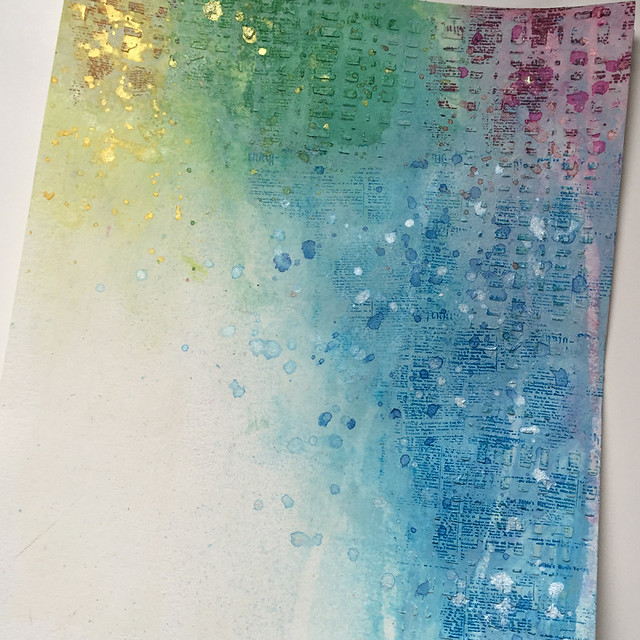
1. Apply modeling paste through a stencil. I applied the modeling paste along the top and along the right side of my watercolor paper. I set it aside to dry but you can also dry it with a heat gun.
Tip: Clean your stencil immediately after using modeling paste. If you let the modeling paste dry on your stencil it is really hard to remove and can damage your stencil. I use baby wipes to clean paste from my stencils.
2. Gesso. Add a coat of gesso to the background. Cover the modeling paste and paper with a thin coat of gesso. Use an old brush to work the gesso into the stenciled design. Set aside to dry or dry with a heat gun.
Tip: Don't coat the entire background paper. Leave a border plain - no gesso. Paint and sprays react differently to plain paper than they do to gessoed paper and it gives an interesting contrast to your background.
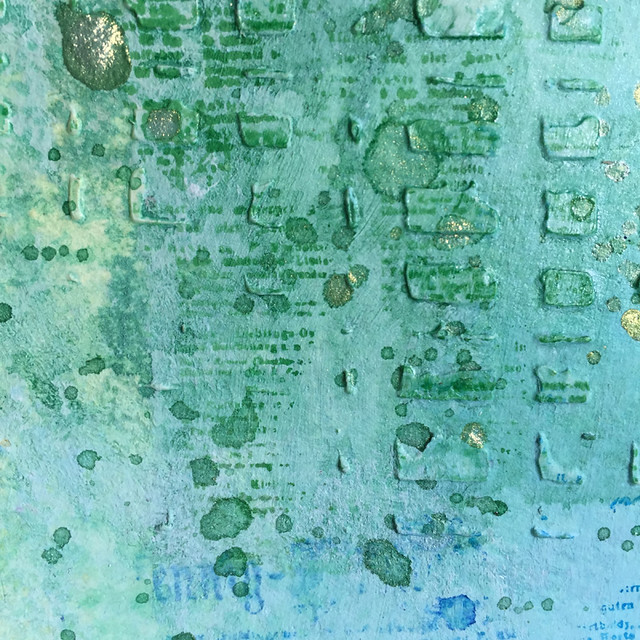
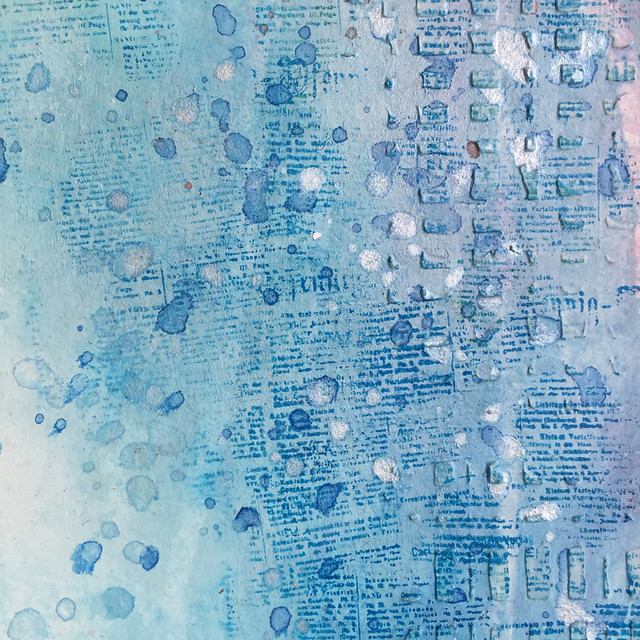
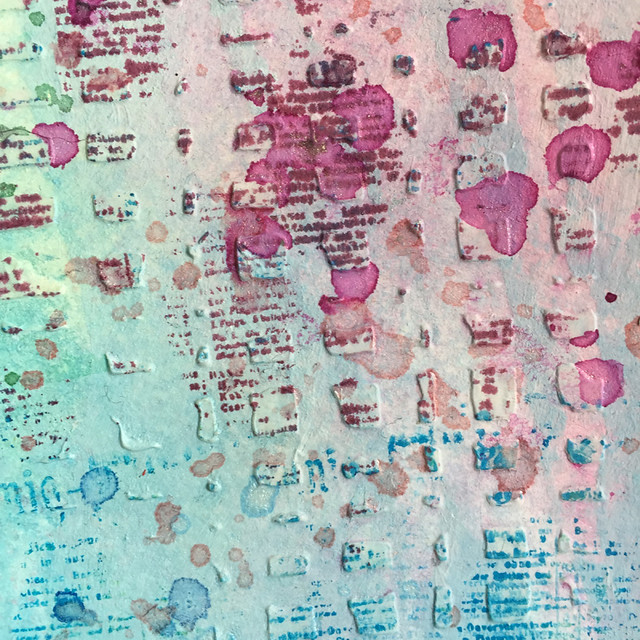
3. Spray ink. I sprayed my ink along the top of my paper. I started with yellow (Sunshine, Sorbet and Mustard) then green (Emerald), blue (Summer Sky, Cobalt) and pink (Boysenberry).
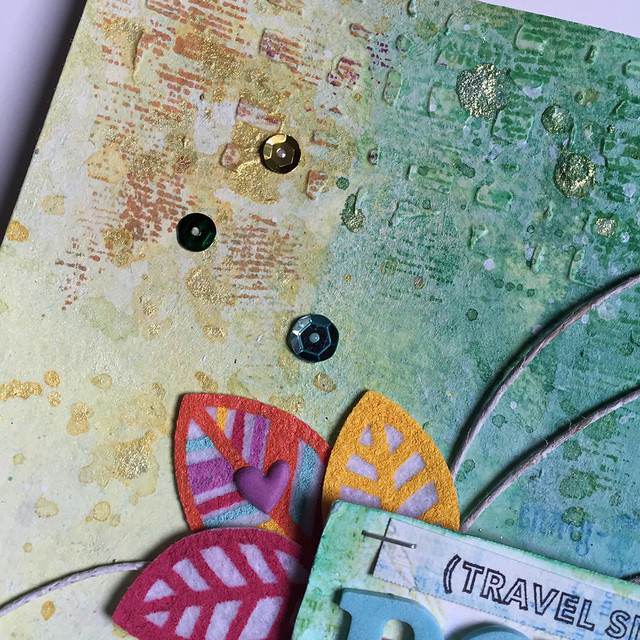
4. Apply oil pastels. I selected colors that matched my ink and rubbed it directly on my background. Once the colors were in place, I blended them with my finger. Here are the colors of oil pastels I used for each section starting with yellow: Yellow Orange, Yellow, Cadmium Green, Yellow Green, Light Blue, Sky Blue, Cobalt Blue and Magenta.
5. Blend with gesso. I got this idea from Mindy Lacefield. She used gesso to blend the oil pastels with a brush in a YouTube video and I wanted to try it. It gave everything a lovely pastel effect.
6. Stamp. I stamped in each color section using different Archival Inks (Orange Blossom, Emerald Green, Maganese Blue and Plum).
7. Ink splats. I used the same color inks that I had sprayed with to make splatters on my background.

This is what my background looked like before I started to add the embellishments.
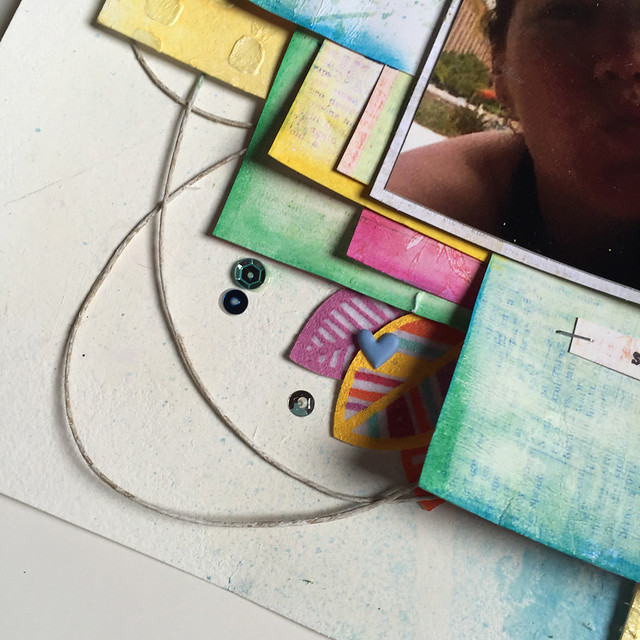
8. Embellish.
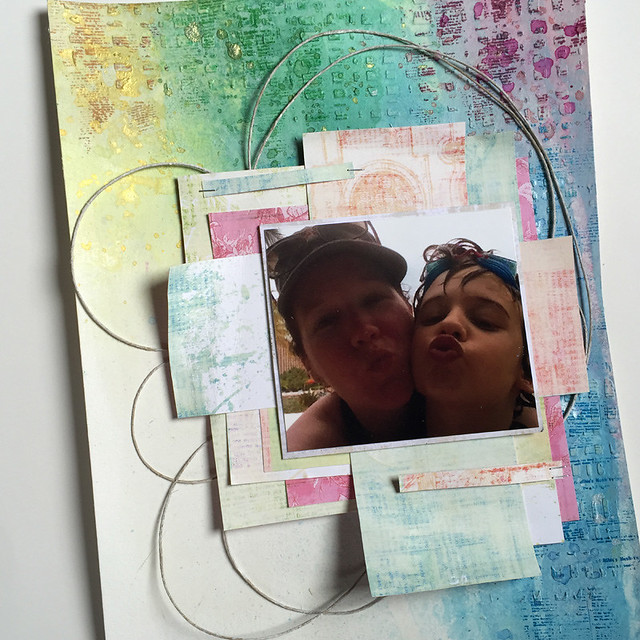
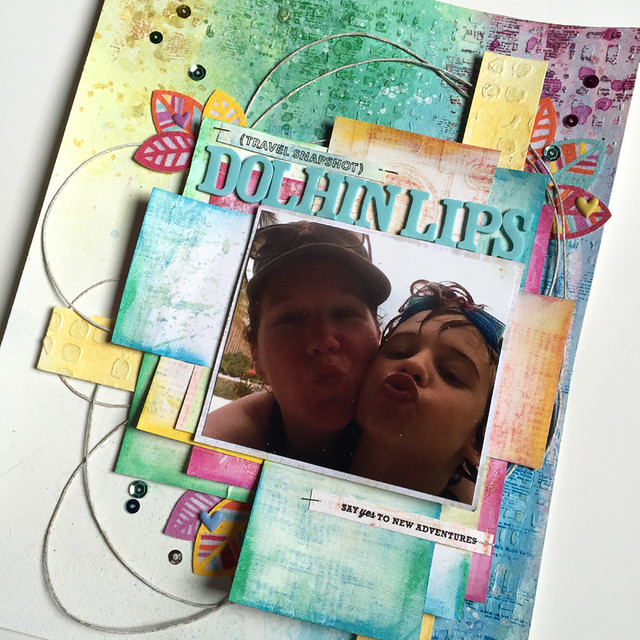
Here are some closeups of the embellishments.
One of the things I love about mixed media scrapbooking is that I can always change things up whenever I feel like I'm falling in a rut. All it takes is a new color palette or technique to inspire me to create something different. I enjoy learning, experimenting and creating and now I have a new layout I can enjoy and share with my family.
Thanks for stopping by today!
Cathie
No comments:
Post a Comment