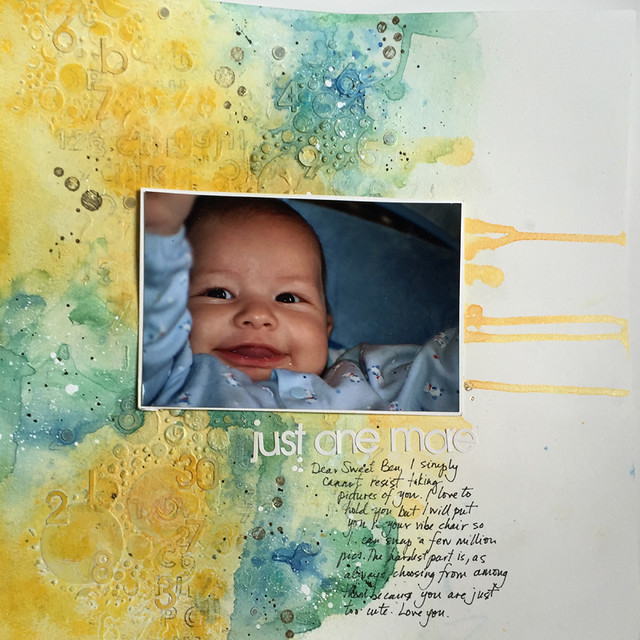
Today, I am sharing a layout from a class I taught in 2015. I don't usually share class instructions but I'm making an exception today so you can see the kind of projects we make in my in-person classes. I'm teaching a class at my LSS, The Paperie, and I've included some pictures from one of the layouts we will be making in this class at the end of this post.
Supplies:
Prima Art Basic Heavy Gesso
Prima Bubbles stencil
Prima 3D Matte Gel
Prima Water Soluble Oil Pastels
Prima Color Bloom Sprays
We R Memory Keepers Heat Wave Tool
Black Archival Ink
Background stamp
Cheese cloth
Palette knife
Foam brush/old brush
Canson Watercolor paper
1. Gesso background. Spread a thin coat of over the watercolor paper. I used a palette knife for this page but you can use a silicon brush or an old credit card - whatever you have handy.
2. Dry. You can use a heat gun to dry the gesso or you can set aside it to dry.
3. Stamp randomly on the background. When the gesso is dry, stamp randomly on the background. I used black Archival Ink with a set of small alphas from Kelly Purkey's line by Hero Arts - Kelly's Outline Letters - but you can use any background stamp you have on hand.
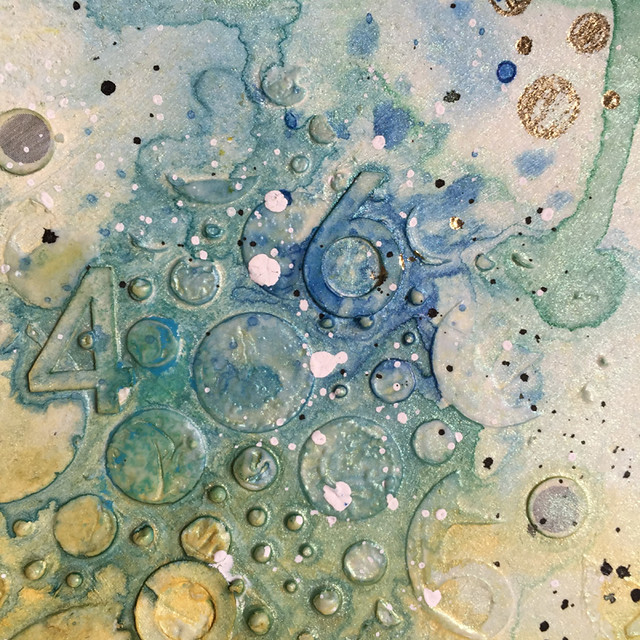
4. Apply 3D Matte Gel. Using a palette knife, apply the 3D Matte gel to the background through a stencil. The more gel you use the more dimension you will get but it will also take longer to dry.
5. Apply stickers. Apply stickers randomly to the background. This is great way to use up leftover alpha stickers like Q's and X's. Really press on the stickers so they stick to the page.
6. Apply a thin coat of gesso. Apply a thin coat of gesso to the entire background with a foam brush or old bristle brush. You need to use something that can easily go over all that dimension. Make sure you cover up all the stamping, stenciling and sticking that you have done so far. This is going to make sure the stickers stay stuck and it's going to help the color will go on evenly in the step.
7. Add color. In class, we used the Prima Color Bloom sprays. I love these sprays because they are easy to use and come in so many colors but you can use whatever you have on hand. Acrylic paint would be a great alternative. When you have your color down, set aside to dry or dry with a heat gun.

8. Add shading. I shaded around the edges of my layout and around the 3D Matte Gel circles using the Prima Water Soluble Oil Pastels. They blend easily into the background using just my finger.
9. Add gold foil. I used WRMK's Heat Wave pen and the Prima Bubbles stencil to add some gold foil circles. The foil is included in the package and then Heat Wave pen is easy to use. Let it warm up for 10-15 mins first and go slow when you're using it.
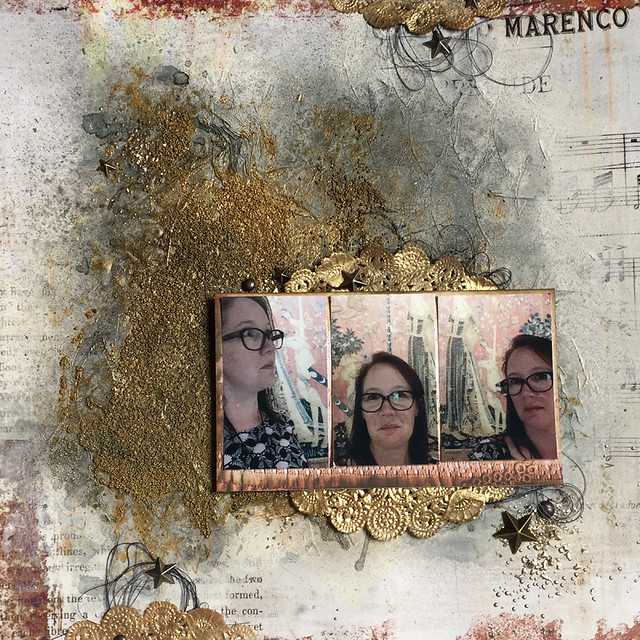
And finally, here's a look at one of the layouts I'll be teaching at my next class.
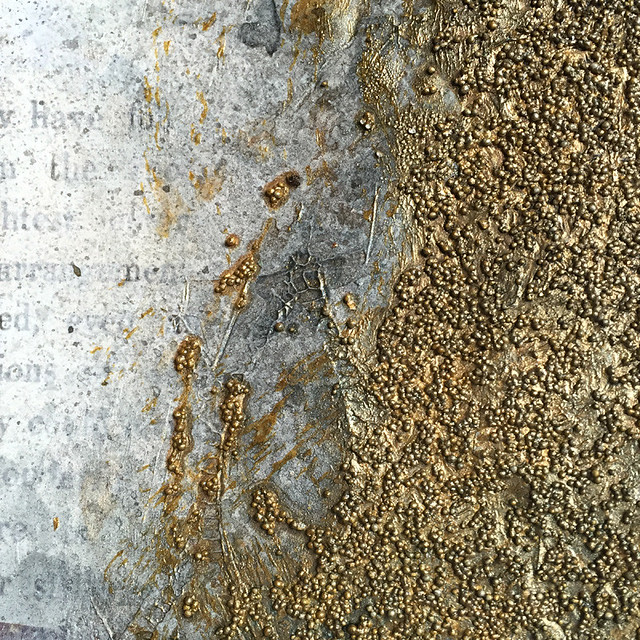
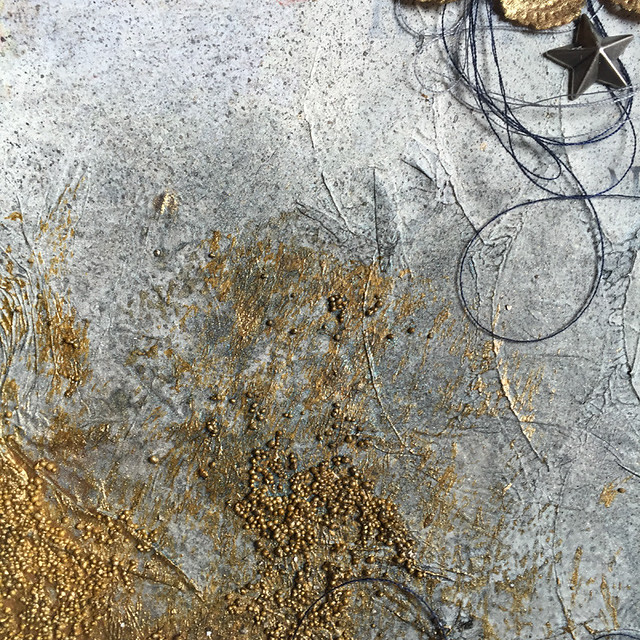
And here are a few closeups of that dimension.
If you have any questions about supplies or techniques used to make this page, please leave a note in the comments.
Thanks for stopping by!
Cathie
No comments:
Post a Comment