Welcome to Mixed Media Monday! Each week, I share a mixed media layout and include the instructions. The instructions contain the steps to make the project and contain any tips and tricks I have picked up along the way. If you ever have any questions about techniques or products that I used to make this layout, leave a note in the comments and I will get back to you. I know that mixed media can be intimidating but I think of it as a creative adventure. Yes, it requires practice and patience but the rewards are worth it - I promise!
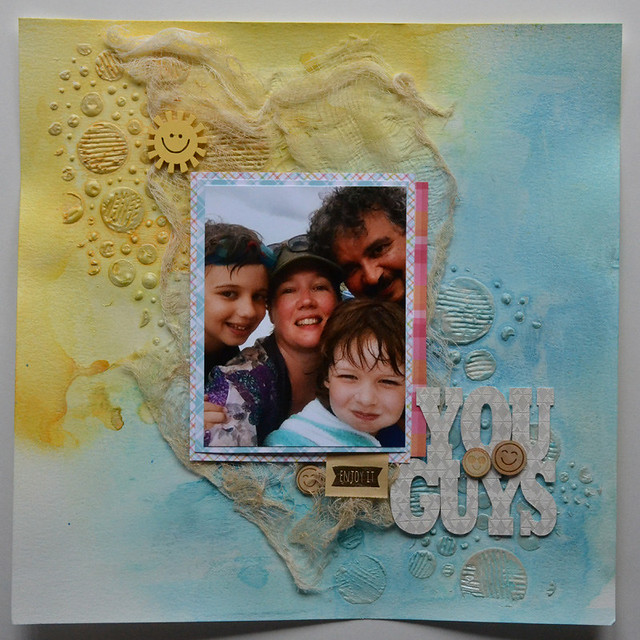
Today, I'm sharing a mixed media layout I made while playing with 2 new products - Art Basics Heavy Gel and Texture Powder.
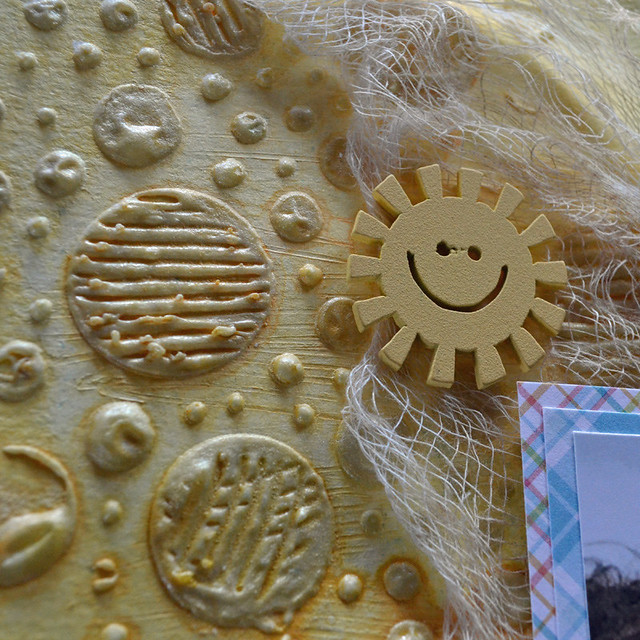
I had been looking forward to getting my hands on the Heavy Gel for a while but the Texture Powder was an impulse purchase. I love the effect of mixing the two products together. You can get different effects depending on how much of each product you use. You can use a heat gun to speed up the drying time. It causes the heavy gel to puff up like this...
Neat, right? Ok, Let's get to those instructions.
Supplies:
Prima Art Basic Heavy Gesso
Prima Art Basics Double Sided Texture Brushes
Prima Bubbles Stencil
Prima Heavy Gel
Prima Texture Powder
Prima Mixed Media Silicon Brush or palette knife
Freckled Fawn Embellishments (wood veneer emoticons and sun)
Lawn Fawn 6x6 Perfectly Plaid Petite Paper Pack (6x6")
Prima Color Bloom Sprays
Cheese cloth
Canson Watercolor paper
1. Gesso your paper. I spread the Prima Heavy Gesso using the Prima 2" silicon brush but you can also use a palette knife or old credit card. I always say in class, "Use what you have!"
2. Make marks in the wet gesso. I used the Prima texture brushes to make marks in the gesso. It's great to make marks in Heavy Gesso. It's so thick that is is easy to see your marks.
3. Set aside to dry. I prefer to set aside my pages to air dry but you can also use a heat gun if you prefer.
4. Mix Heavy Gel and Texture Powder. I use equal parts gel and texture powder. The more powder you use the grittier the mixture which means the more gel you use the smoother the mixture. I like a grittier mixture but that's me. You should experiment with proportions to see which combination appeals to you.
5. Apply to page using a stencil. I used my favourite Prima stencil called Bubbles. I laid it in place and then picked up the gel/powder mixture with my silicon brush and pulled it through the stencil.
6. Leave the stencil in place and make marks in the wet gel/texture powder mixture. It is important to leave the stencil in place as you make the marks. That way you're not spreading the wet mixture all over your page - unless that's what you want to do. I used the texture brushes again to make the marks in the gel/powder mixture.
7. Dry. I used a heat gun to dry the gel/powder. Normally, I would let this air dry but I used the heat gun because I wanted to see what would happen and discovered that Heavy Gel will puff up when dried with a heat gun.
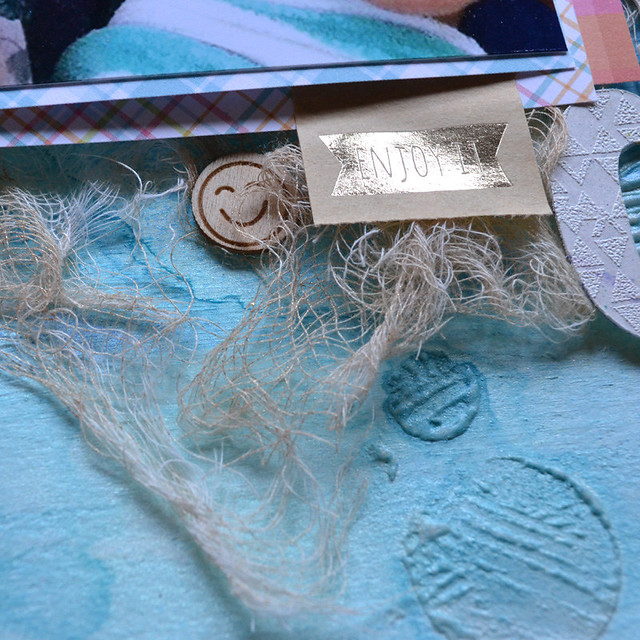
8. Spray with Color Bloom spray mists. I'm a big fan of the Prima Color Bloom sprays because they have a fixative that helps them stick to most surfaces. I used Sunshine, Sorbet and Yellow Mustard for the yellow area and Summer Sky, Soft Teal, Cobalt and Glistening Waves for the blue area.
9. Dry. I set this aside to air dry but you can use a heat gun if you wish.
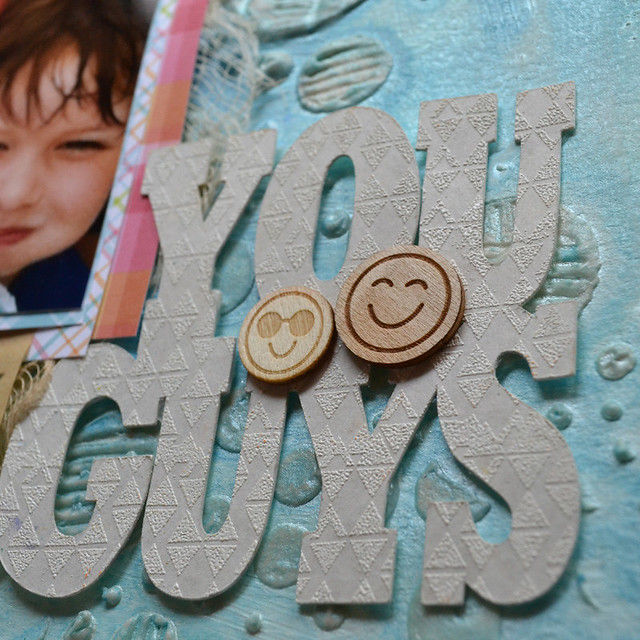
10. Embellish! This is the step that is up to you! Use what you have to make your page in your signature style. For me, I chose the Perfectly Plaid paper from Lawn Fawn because I love the bright colors. Then I picked through my stash for the wood veneer pieces. The title is a diecut I had cut for one of the classes I taught at my LSS, The Paperie a long time ago. I decided to stop hoarding it and use it!
You can see the shimmer of the Color Bloom Sprays in this pic. The Mica powder that Prima uses is shiny but subtle. I like that.

And there you have it. As always, if you have any questions about products or techniques used, please leave a comment and I'll get back to you right away.
Thanks for stopping by!
Cathie
No comments:
Post a Comment