Showing posts with label scrapbook. Show all posts

Monday, 15 August 2016

Mixed Media Monday: Be You.

Welcome to Mixed Media Monday! Each week, I share a mixed media layout and include the instructions. The instructions contain the steps to make the project and contain any tips and tricks I have picked up along the way. If you ever have any questions about techniques or products that I used to make this layout, leave a note in the comments and I will get back to you. I know that mixed media can be intimidating but I think of it as a creative adventure. Yes, it requires practice and patience but the rewards are worth it - I promise!  

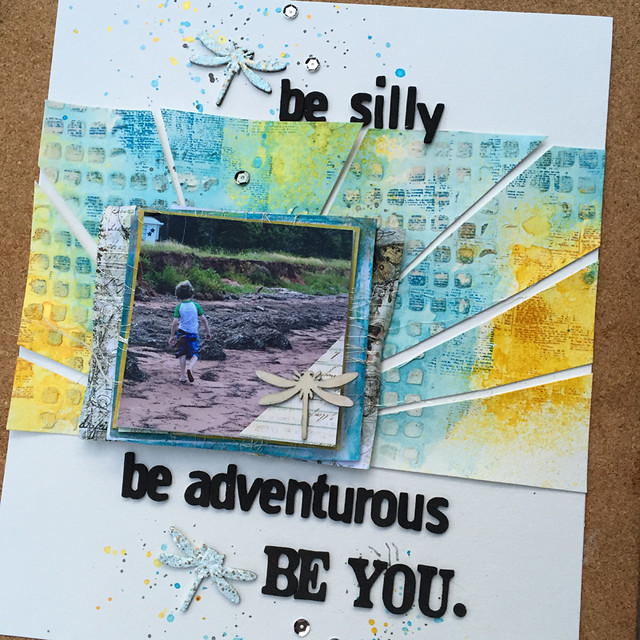
This week, my oldest son turned 9. I was inspired by his birthday to make a page for him. He's growing so fast and there are some things I want him to always remember.  My color choice was inspired by Prima's PPP challenge for August. There is no such thing as too much blue in my world so I knew I had to participate.

Aug 15_1


Here are the supplies I used to make this layout.

3D Matte Gel (Prima)
Heavy Gesso (Prima)
Texture Powder (Prima)
Pattern Paper - Salvage District, Bella Rouge, Royal Menangerie, Archivist and Epiphany Collections (Prima)
Grungy Grid Stencil - Finnabair (Prima)
Prima Color Bloom 2 - Fairy Pond, Dragonfly Blue and Spring Dandelion (Prima)
Background Stamp - Book (Prima Item #960964)
Archival Ink - Orange Blossom and Manganese Blue (Ranger)
Versamark Ink (Tsukineko, Inc.)
Embossing Enamel - Shabby Blue (Stampendous)
Thickers (American Crafts)
White Gold Thread (Guterman)
Watercolor Paper (Canson) 
Dragonfly Wood Veneer (Prima)
Palette Knife
Old Paint Brush
Sequins

Instructions:

1. Mix 3D Matte Gel with Texture Powder. Scoop some 3D Matte Gel and some Texture Powder on your craft mat and mix together with a palette knife. The more Texture Powder you use the grittier and more textural your paste will be. I shared how I make my paste in last week's Mixed Media Monday post.

2. Spread on watercolor paper through stencil with palette knife. I placed my stencil randomly on my background and spread a thin coat of the paste through my stencil. Then I set it aside to dry. You can use a heat gun to dry it but if you overheat or "cook" the 3D Matte Gel it will puff up and you will lose the effect of the Texture Powder.
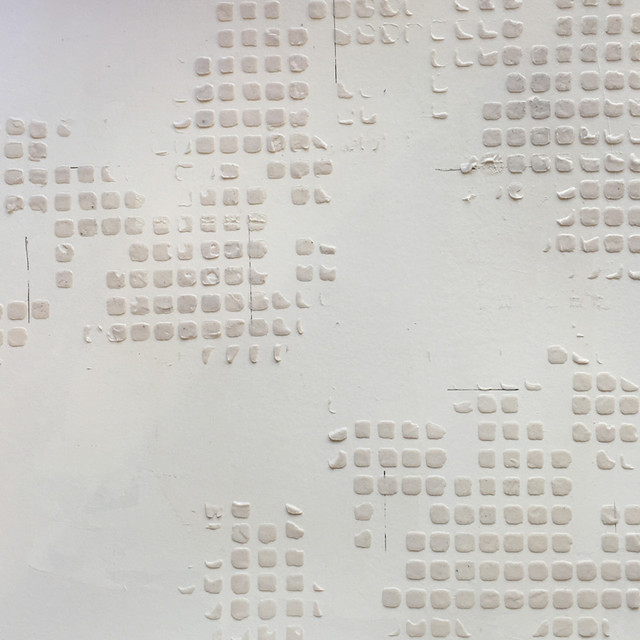
Aug 15_2

3. Spread a thin coat of gesso with an old brush. I always add a coat of gesso to my background. I like how the inks work and colors stay true when I use gesso.

4. Spray ink on background. I bought some of the new Prima Color Bloom sprays this week. They arrived with just the pigment and a mixing ball in the bottle. When I got home, I added water and started spraying right away. I couldn't tell the difference from the original sprays that are shipped as liquid ink. They are gorgeous but only available for a limited time. Although I hope they decide to keep Fairy Pond (below).
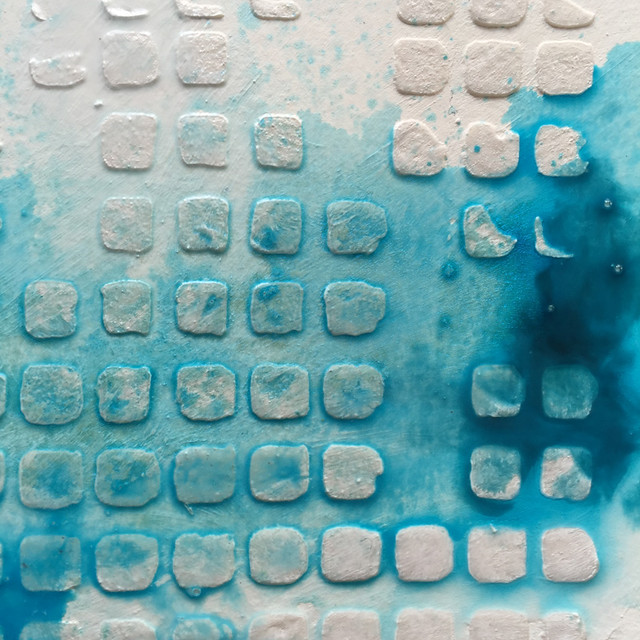
Aug 15_3

5. Stamp with background stamp. I like to stamp on my multi-colored backgrounds in the Archival Inks that match my background. It adds an interesting tone-on-tone effect.
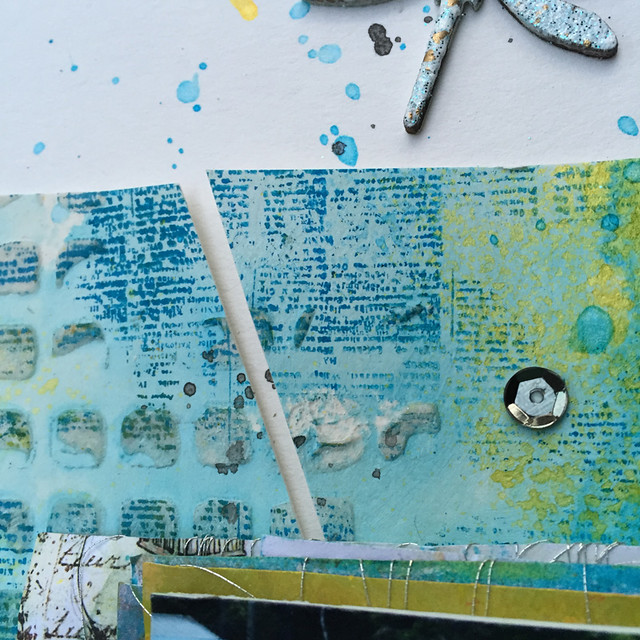
Aug 15_4

6. Create sunburst pattern. This week, I cut up my background to create a background pattern. I cut a strip from the 12x12 sheet. I flipped the paper over to the plain side and sketched out a sunburst pattern with a pencil. Then I numbered each section so I could put it back together in order on my background - a plain sheet of watercolor paper.
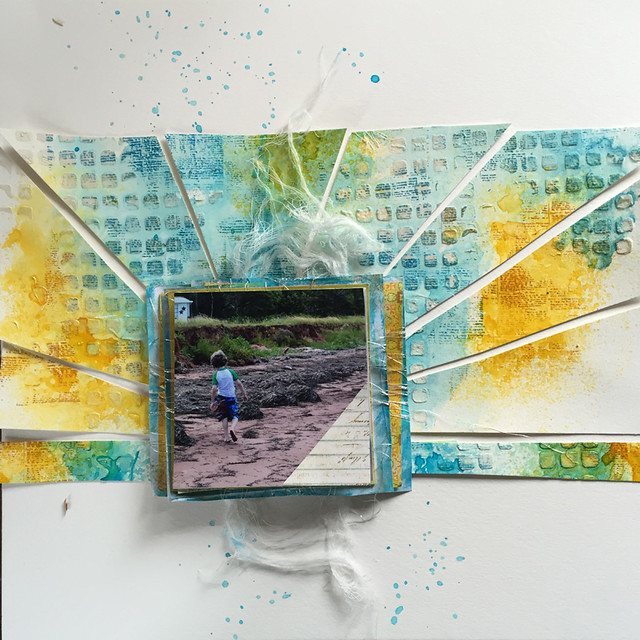
Aug 15_5

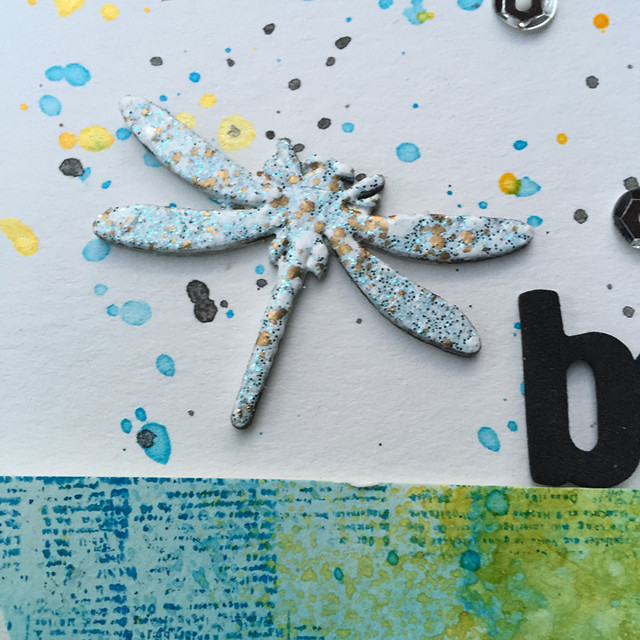
7. Embellish. To embellish this week, I added ink splatters and sequins, wound twine around the pattern paper and embossed wood veneer dragonflies.

To create the dragonflies, I pressed each one into my Versamark ink and then sprinkled on Embossing Enamel. The Versamark causes the Embossing Enamel to stick to the shape so it doesn't blow away  before I can emboss it with a heat gun. I heated the embossing enamel until it melted and set aside to cool. I love how it gives such a unique effect to the dragonflies.
Aug 15_7

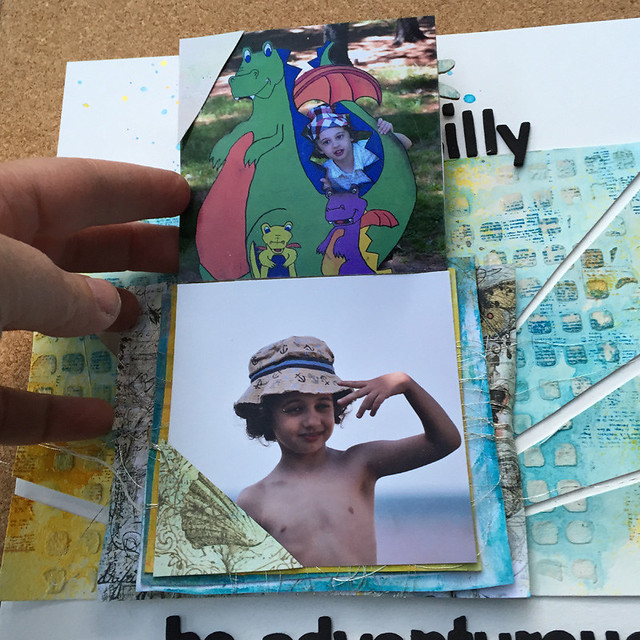
I also added a flip up to my layout.

Aug 15_6

This week's layout is special to me. I wanted to remind my son about how important it is to be silly and adventurous and to always be true to himself. So, I made my journaling the title of my page. I thought that if I wrote it in journaling he might not read it. This way, he can never miss it. I like to think of it as leaving a note for him in my scrapbook.

As always, you can leave a note in the comments if you have any questions about supplies or techniques used to make today's layout.

Thanks for stopping by!

Cathie

Monday, 18 July 2016

Mixed Media Monday: The Undone Pages

Welcome to Mixed Media Monday! Each week, I share a mixed media layout and include the instructions. The instructions contain the steps to make the project and contain any tips and tricks I have picked up along the way. If you ever have any questions about techniques or products that I used to make this layout, leave a note in the comments and I will get back to you. I know that mixed media can be intimidating but I think of it as a creative adventure. Yes, it requires practice and patience but the rewards are worth it - I promise! 

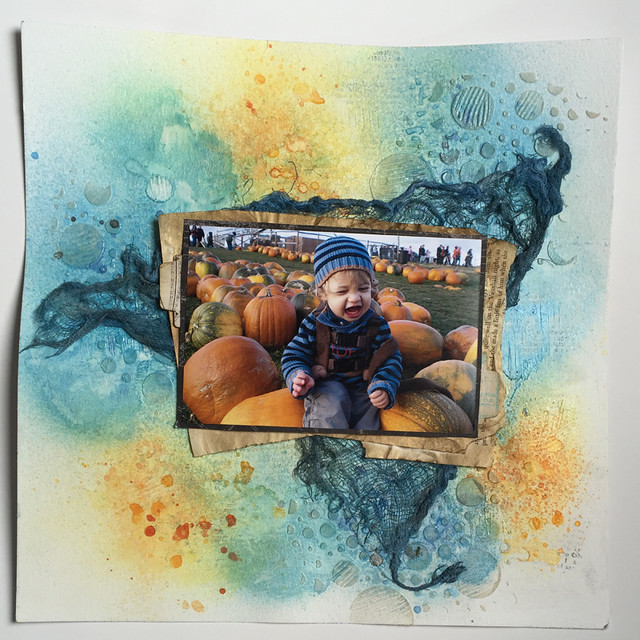
I recently found this not quite finished layout while tidying up in my office.

July 18_1

I really like it and that was the problem. I was afraid of ruining the layout so I didn't want to do anything else. When I found it again, I reminded myself that done was better than perfect and decided to finish it.


Here's my supply list...

Prima Art Basic Heavy Gesso
Prima Art Basics Double Sided Texture Brushes
Prima Bubbles Stencil
Prima Heavy Gel
Prima Texture Powder
Prima Mixed Media Silicon Brush or palette knife
Prima Color Bloom Sprays
Friend Definition - Hero Arts
Black Archival Ink
Walnut Stain Distress Ink
Canson Watercolor paper 
Ephemera Pack - After Dark Collection (Crate Paper)
Cheese cloth
Book paper
Twine

Here's how I made this week's layout.

1. Stamp. Stamp randomly on the background in Black Archival Ink. I used the Hero Arts Friend Definition Stamp. It's a text stamp so I use it a lot.


2. Gesso. Spread Gesso on the watercolor paper.  I used the Prima Silicon Brush but a palette knife or old credit card works just as well.

3. Make marks. Make marks in the wet gesso using the Prima Double Sided Texture brushes or old credit cards or paper tubes. Whatever you have on hand that can make a mark will be fine. When you're happy with your background, set it aside to dry.


July 18_3


4. Mix Heavy Gel with Texture Powder. I make my mixture equal parts Heavy Gel and Texture Powder because I like the extra texture it gives when it's dry. I scoop out a blob of gel onto my craft mat and then scoop an equal amount of Texture Powder into the gel. Then I mix it together - thoroughly.

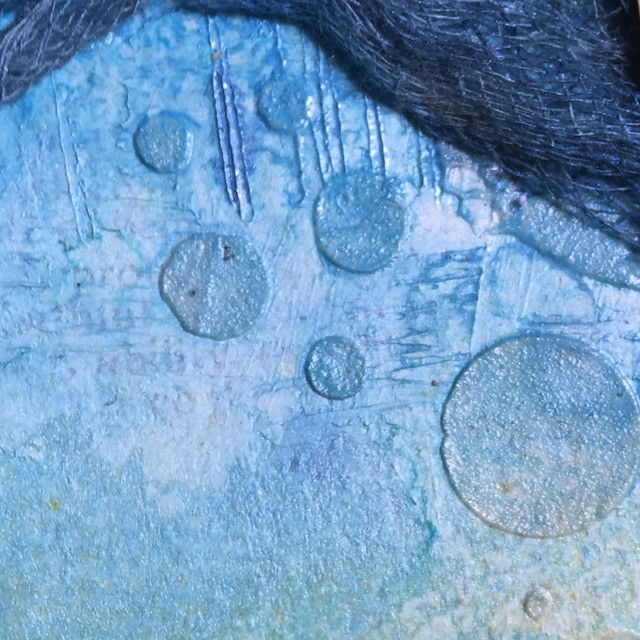
5. Stencil. Use a palette knife or silicon brush or old credit card and pull your Gel/Texture Powder mixture through a stencil. Leave the stencil in place.

6. Make marks through the stencil. Use a mark-making tool, like a texture brush, to make marks in the gel while it's well. Remove the stencil and set it aside to dry.

7. Spray background with ink. When your stencil pattern is dry, spray your background with spray ink. I'm still using the Prima Color Bloom sprays. For this layout, I used Summer Sky and Glistening Waves for the blue section and Sunshine, Sorbet and Yellow Mustard for the yellow/orange section. Set aside to dry.

July 18_4

8. Spray cheesecloth with ink. I love cheesecloth and use it on my layouts a lot. I didn't want to keep it white so I sprayed it with Color Bloom Sprays - Cobalt, Precious Stone and Vintage Coal.

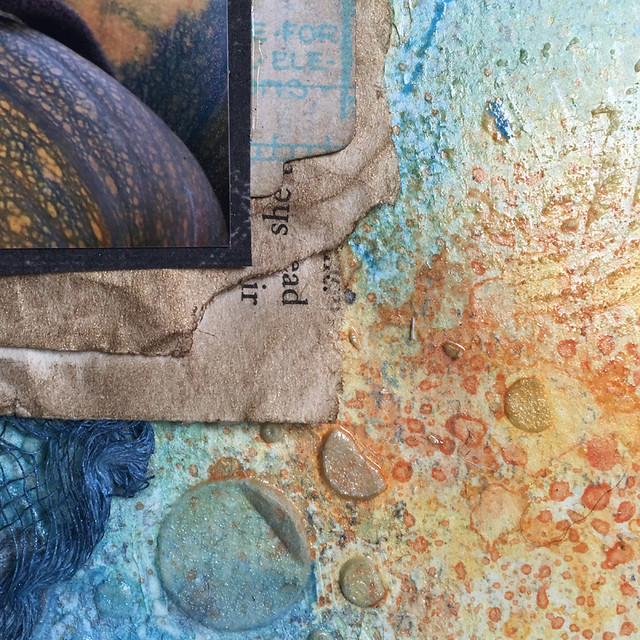
9. Embellish. This was where I picked up when I decided to finish this layout. I added some extra bits and pieces from the After Dark Collection by Crate Paper and twine around the photo.

July 18_7

July 18_8

Here's a look at the finished layout.

July 18_6


It only took a little bit of embellishing and the journaling to finish the layout. The journaling was tricky because this layout needed journaling but I wanted the photo to remain the focus. When I'm not sure what I want to say, I write out my journaling on scratch paper. This helps me figure out what I really want to say without ruining any supplies in the process. It's a win-win process that works for me every time.

If you have any questions about supplies or techniques used to make this layout leave a note in the comments.

Thanks for stopping by.

Cathie


Wednesday, 29 June 2016

Let's Make a Travel Album: Getting Organized

In early June, I took a trip to France to visit my sister and her family. It was an amazing trip and I am excited to scrapbook the experience. Travel albums are one of my favorite albums to make and I always finish them. Over the next two weeks, I am going to share the process I use to put together a travel album. Maybe there are some ideas that you can use in your next travel or mini album.

Step 1: Pick an album. I like to pick my album first. This will determine how many pages my album will have and how big my pictures can be. For example, in my Bahamas album, I wanted to have lots of enlargements so the 6x12" size was great. You can see pics of my Bahamas album here and here.

I'm planning to use this 4x6 mini binder from Sn@p by Simple Stories. I like the smaller size of this album and I haven't used it before. Sometimes it's fun to change things up and mini albums are easy to share and quick to make. Although "quick" is a relative term for scrapbookers, right?

Step 2: Pick the photos you want to print and the stories you want to tell. I made notes about some of the stories I want to tell on the plane home. I've decided to chronologically scrap this trip and highlight the special stories from each day. Now,  I could spend hours looking at all 500+ photos but instead, I set myself a limit of 40 mins. If I miss anything, I can go back and add it later.

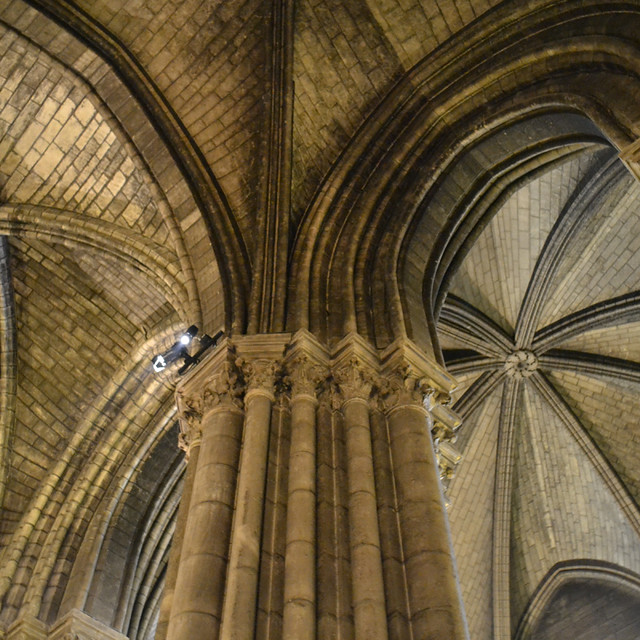
In 40 mins I was able to select 162 photos that I want to use.  I was able to omit so many pics because I have a habit of taking multiple pics of the same shot. In places with low light, like Notre Dame Cathedral or outside in the bright light, I'm never sure how things are going to turn out so I play with my camera settings and photo composition. It's fun and I really don't mind sorting through the multiples. I just pick the photo that looks best to me and go with that one for editing and printing.

Step 3: Edit and print your pictures. This is probably my least favorite step but it's an important one. I mainly edit for size. I rarely do anything with the filters or actions. I use Photoshop Elements 10 and it suits me fine. Here's a look at some of the pics I'm planning to use in my album.


June 29_1
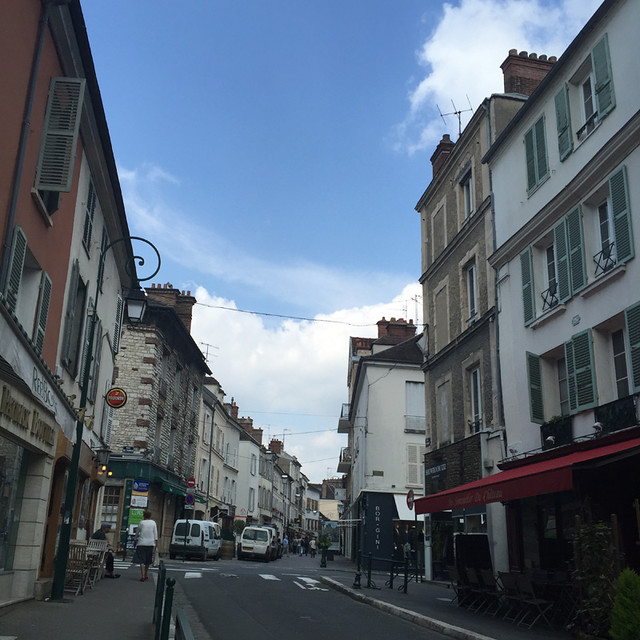
My first day in France and I have blue skies in Fontainebleau.

June 29_2
My adorable niece, Kiersten, after dance class.

June 29_3
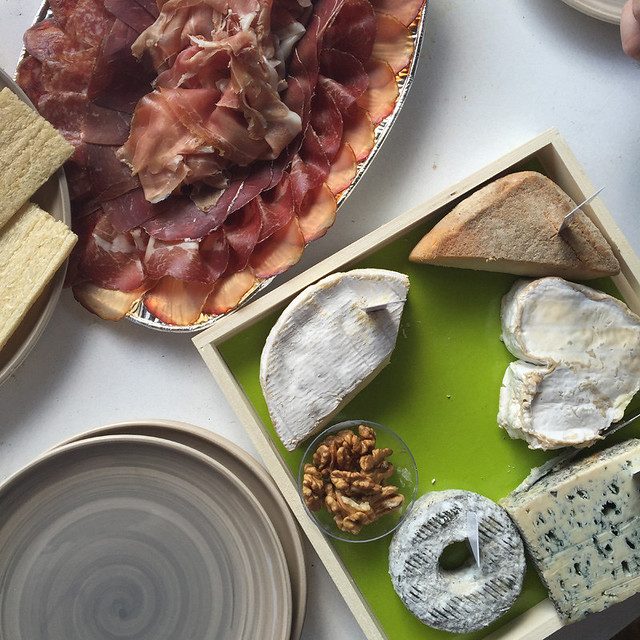
Hors d'oeuvres.

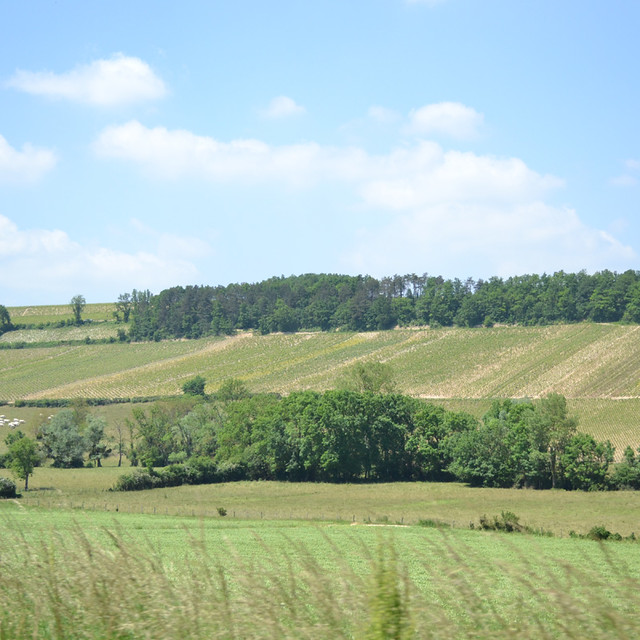
June 29_4
On Thursday, my sister and I went to Chablis.

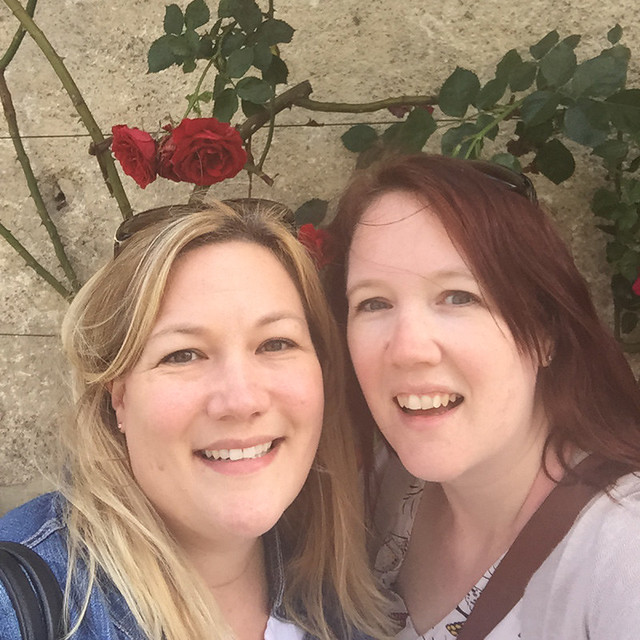
June 29_5
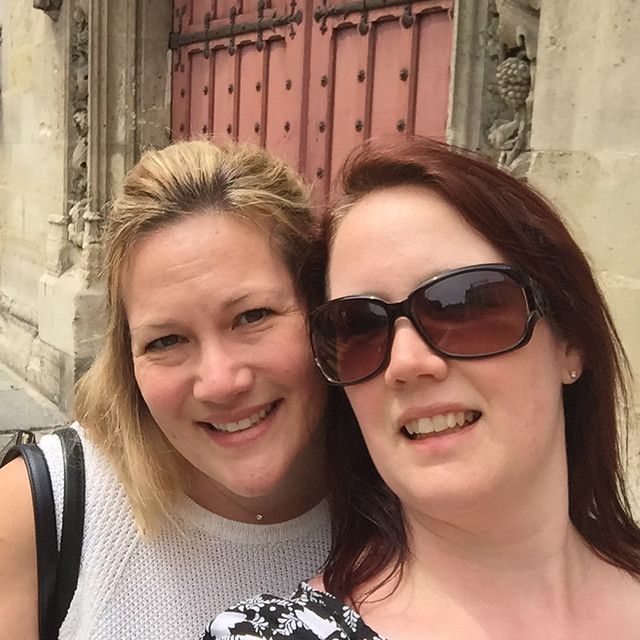
Sister Selfie!

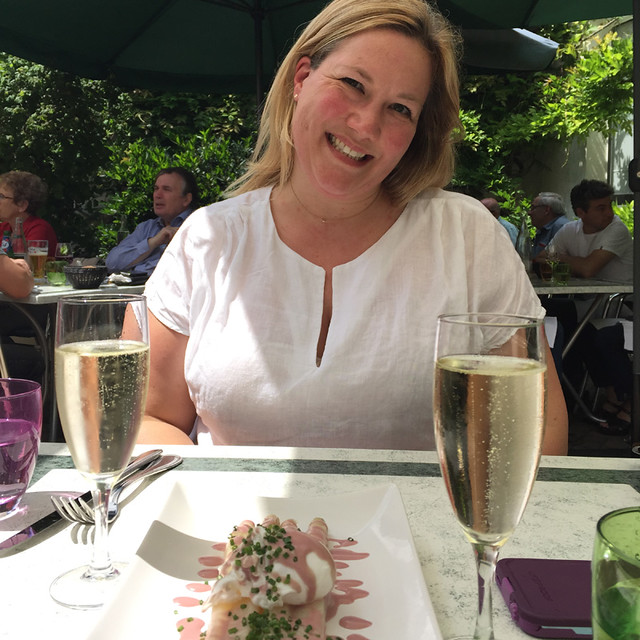
June 29_6
We stopped for a lovely lunch in Chablis complete with champagne!

June 29_7
Notre Dame

June 29_10

June 29_11
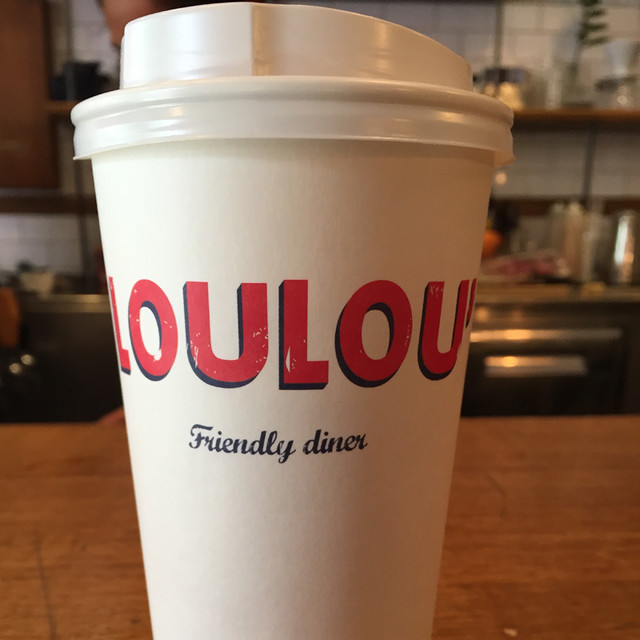
The best cappuccino to go.

June 29_8
Musee de Cluny - a medieval museum.

June 29_9
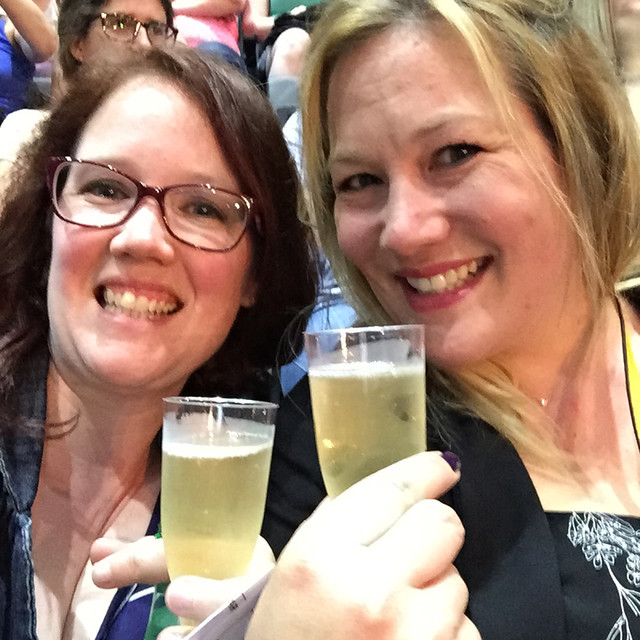
Champagne while we wait for Adele.

June 29_12

June 29_13
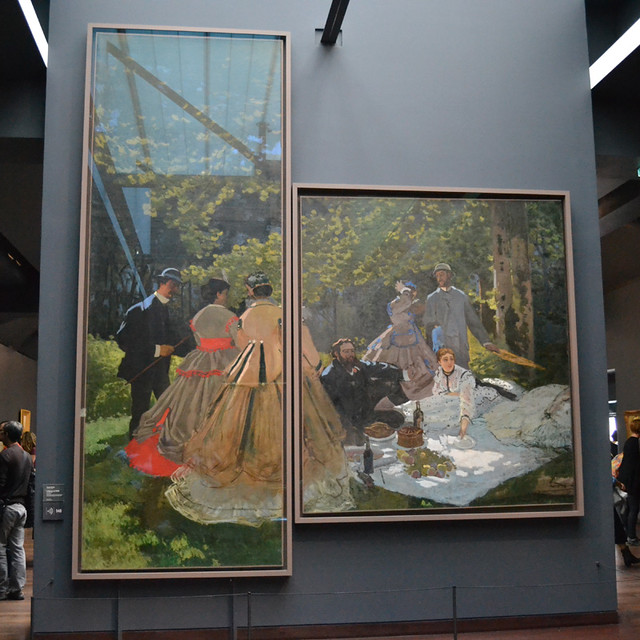
Saturday morning with Monet at the Musee d'Orsay

June 29_14
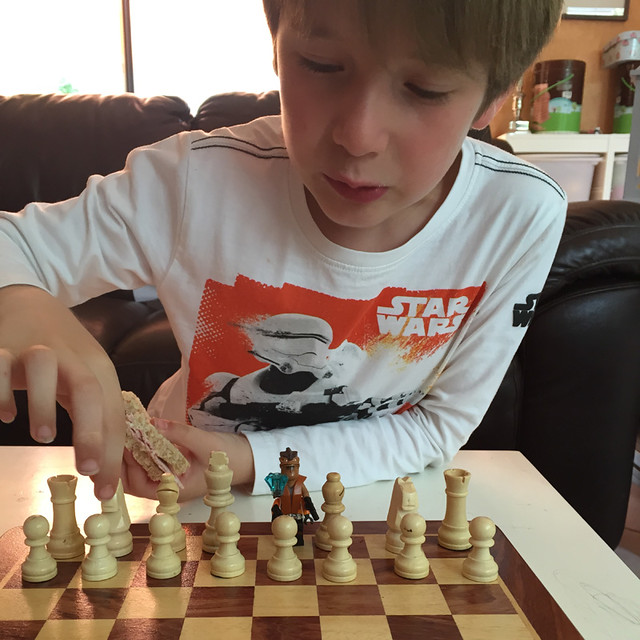
Saturday afternoon chess with my nephew, Nathaniel.

June 29_15
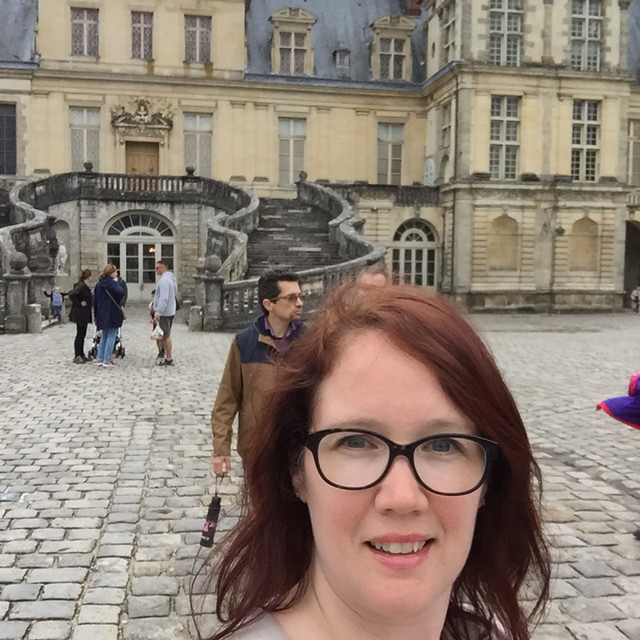
I spent Sunday afternoon at Chateau Fontainebleau.

June 29_16
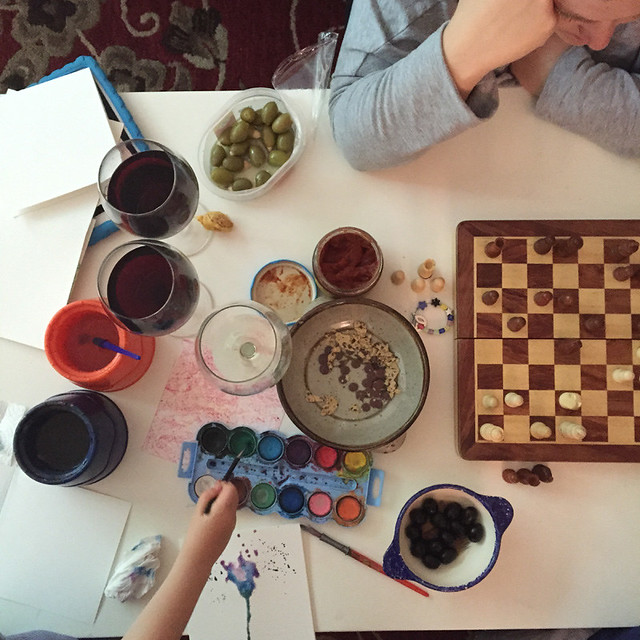
Hanging out and playing chess and painting before supper.


And that's where I am with this album. I will edit and print my photos this week and then put everything in the album to share with you next Wednesday. I hope you'll come back and check on my progress. I need you guys to help keep me accountable.

Thanks for stopping by!

Cathie


Tuesday, 21 July 2015

Storing Diecuts, Bits and Pieces

I am a sucker for diecuts. For me, they are loot bags - full of colorful and fun inspiration. I like to open a whole pack and use them all but that doesn't mean I don't have leftovers. Who doesn't? What's strange, at least to me, is that diecut packaging isn't much good for storage once the diecuts are open.

Happily, I have a pretty simple solution for storing any left over diecuts...teacups!


I have a bunch of these pretty teacups left over from my blue glass collecting phase back in the 90's.  I never did use them much for tea but I just couldn't ever let them go. Luckily, they are great for holding diecuts.


Best of all, if you have saucers...they stack.


The saucers are also great little trays.


It's easy to dump a cup's contents onto the saucer, pick what I want and then pour the contents back into the cup when I'm finished.


Here's to using what you have to store what you love!

Thanks for stopping by!

Cathie