Showing posts with label mixed media layout. Show all posts

Monday, 19 September 2016

Mixed Media Monday:He & She

Welcome to Mixed Media Monday! Each week, I share a mixed media layout and include the instructions. The instructions contain the steps to make the project and contain any tips and tricks I have picked up along the way. If you ever have any questions about techniques or products that I used to make this layout, leave a note in the comments and I will get back to you. I know that mixed media can be intimidating but I think of it as a creative adventure. Yes, it requires practice and patience but the rewards are worth it - I promise! 

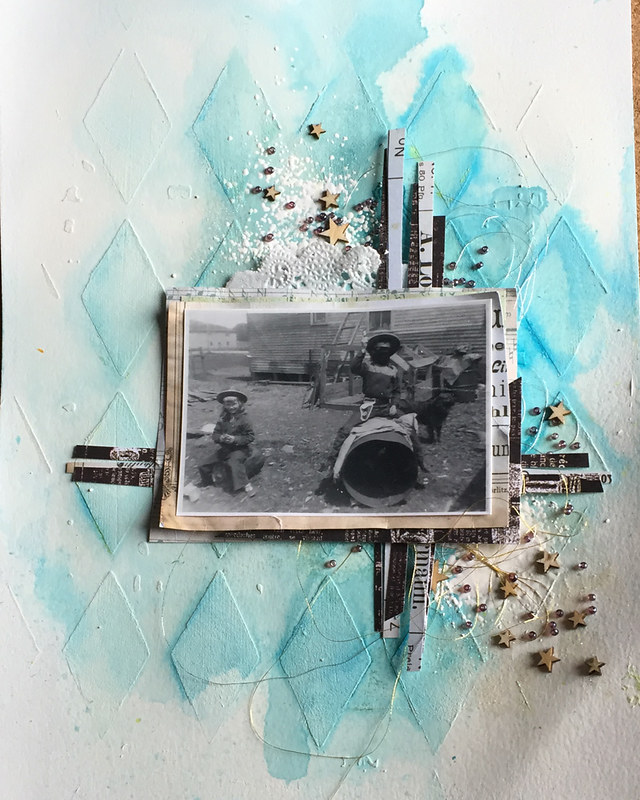
This week, I decided to scrap a photo that has been sitting in my "to-do" pile for ages. It's a photo of my mom with her older brother. They were best friends as kids and they are still are today. It's the perfect story to scrapbook. Here's a look at this week's layout.
Sept 19_1

I decided to use the new Prima Color Bloom 2 Sprays instead of heritage colors like browns and greys. This color blue is my mom's favorite color and it worked so well with the photo. This isn't the original photo, by the way, it's a reprint. I have scanned some of my family's older photos so that they are not lost if anything happens to the original and so that I can scrapbook them without worrying about damaging the photo.

Supply List:

Heavy Gesso - Art Basics (Prima)
Watercolor Paper  (Canson)
Harlequin Stencil  (Prima)
Mixed Media Silicon Brush  (Prima)
Light Modeling Paste - Art Basics (Prima)
Soft Gloss Gel - Art Basics (Prima)
Color Bloom 2 Spray Inks - Dragonfly Blue and Fairy Pond
Water Soluble Oil Pastels (Prima)

Pattern Paper: Archivist and Finnabair Collections (Prima)
Thread: White Gold and Gold (Guterman)
Embossing Enamel - Chunky White (Frantage)
VersaMark Ink Pad - Tsukineko

Art Sugar : White - Art Ingredients (Prima)
Glass Beads: Licorice - Art Ingredients (Prima)
Wood Veneer Stars - discontinued (Studio Calico)
Doily
Old Paint Brush

Instructions:

1. Gesso. Apply gesso to background using a silicon brush or palette knife. 

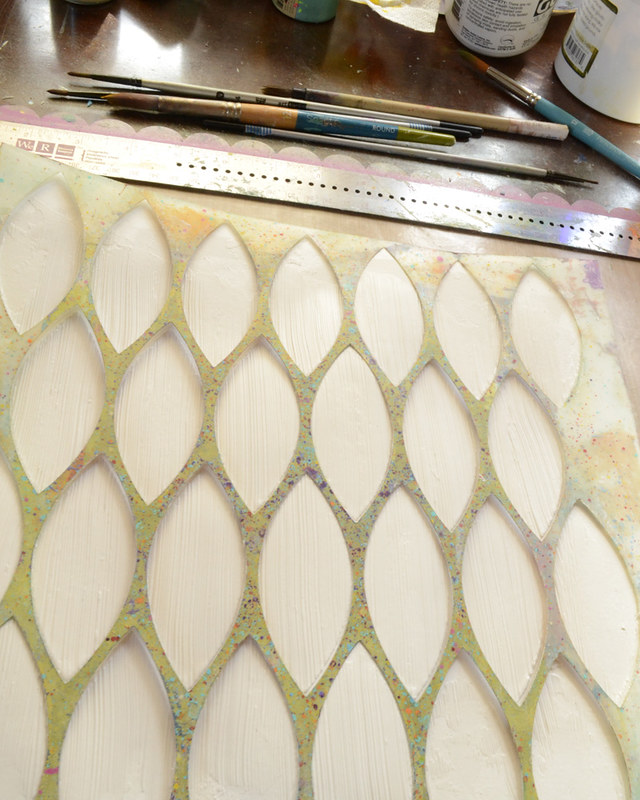
2. Apply modeling paste through stencil. I used my silicon brush to put Light Modeling Paste on my background through the Harlequin stencil. Set aside to dry.

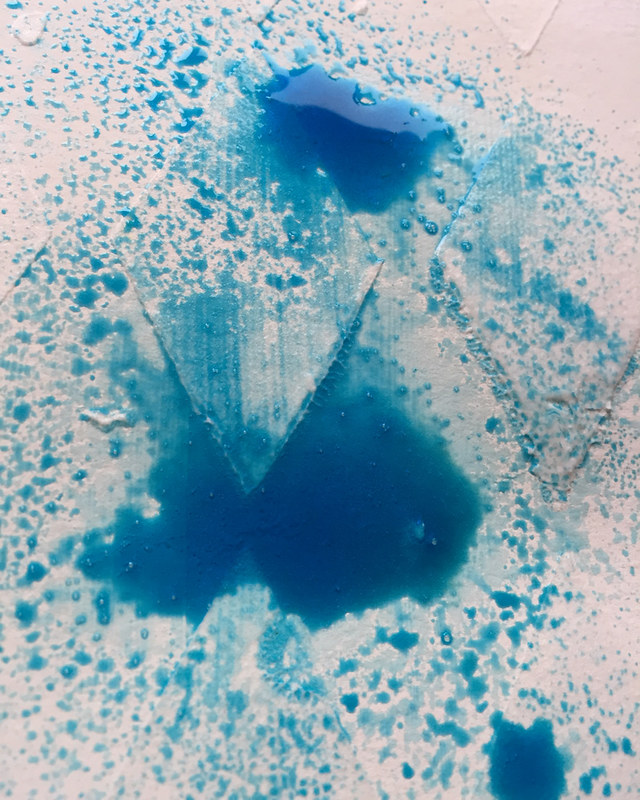
3. Spray ink. I started spraying the lighter Fairy Pond spray ink first. I like the colors to blend and the trick is to use a lot of ink. Spray until there are pools of ink on the page. Then I added a little of the darker Dragonfly Blue to the background. Then set aside to dry or dry with a heat gun.
Sept 19_2

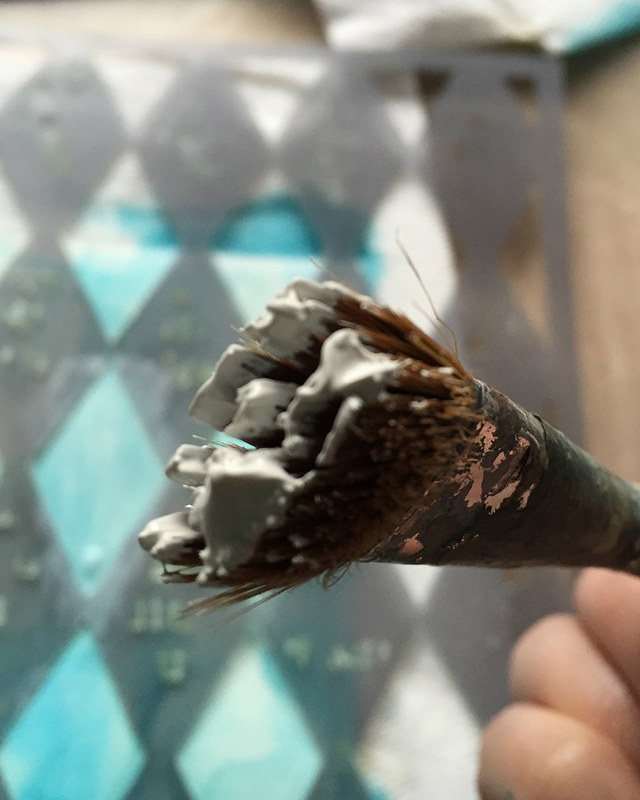
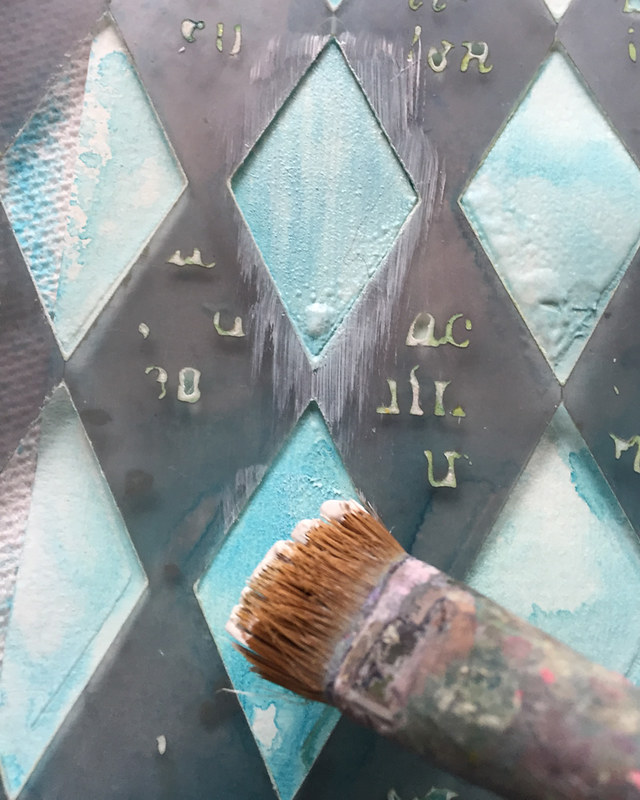
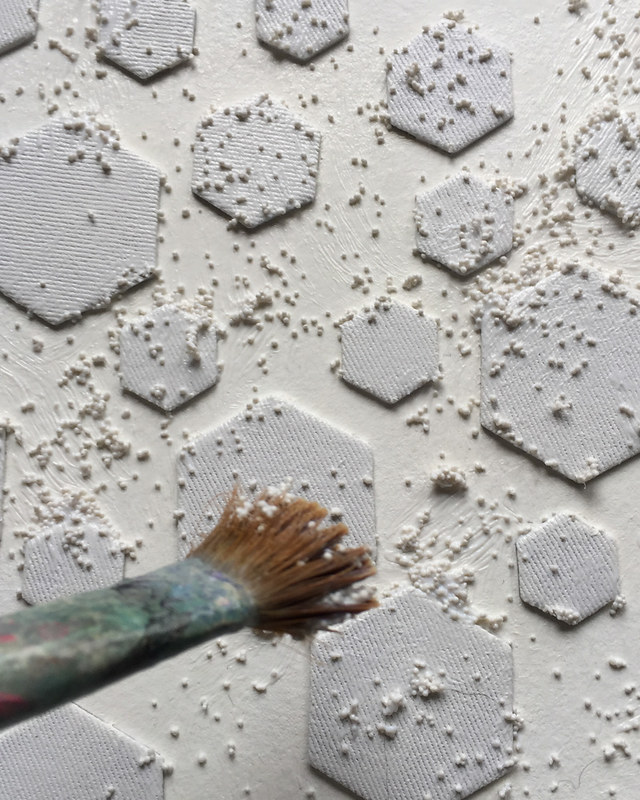
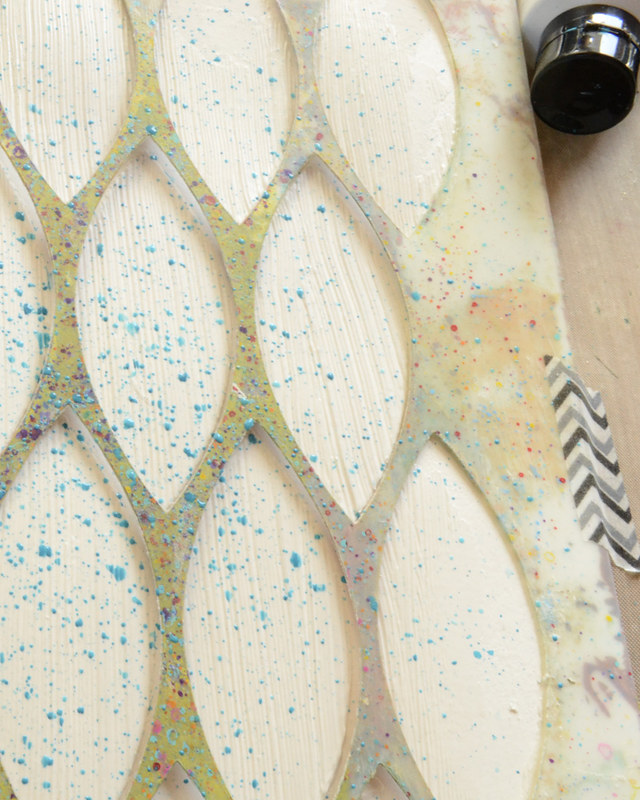
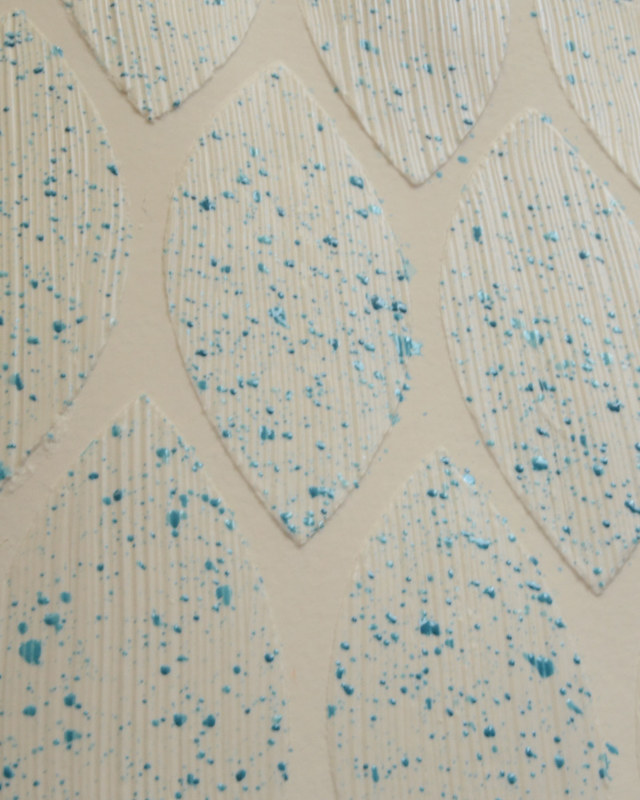
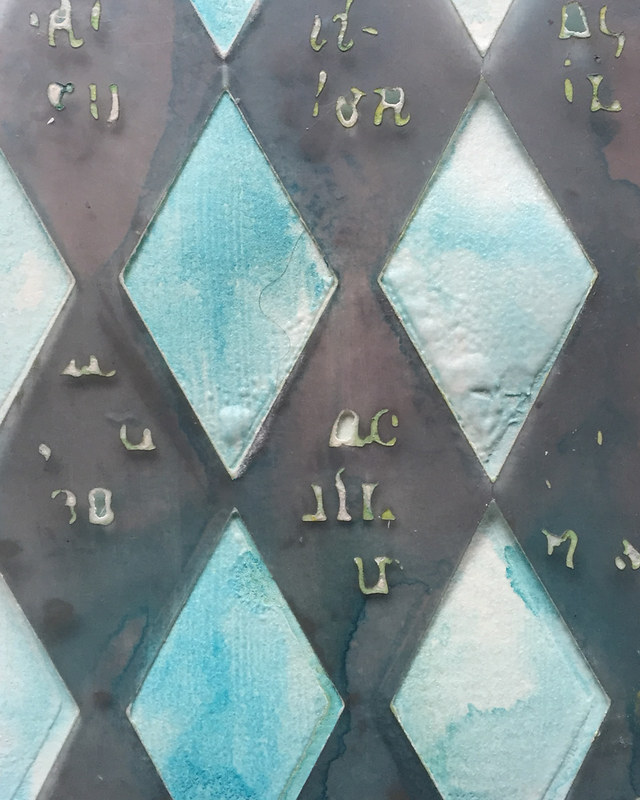
4.  Gesso Ghosting - New Technique. Place your stencil back over the background and paint with gesso. I used an old paint brush to paint the gesso on the background. The spray ink was dry and I used the same stencil that I had used in Step 2. I only wanted gesso on the raised the image so the stencil worked as a mask and helped me control where I painted the gesso. This creates a subtle tone on tone effect but I love it.

Tip: Your ink must be completely dry before you start this step. It won't work if the ink is wet. 

ps: I'm sure I'm not the first one to every try "gesso ghosting". I'm calling it a new technique because it's new to me and it's the first time I'm sharing it here. 
Sept 19_3

Sept 19_4

Sept 19_5

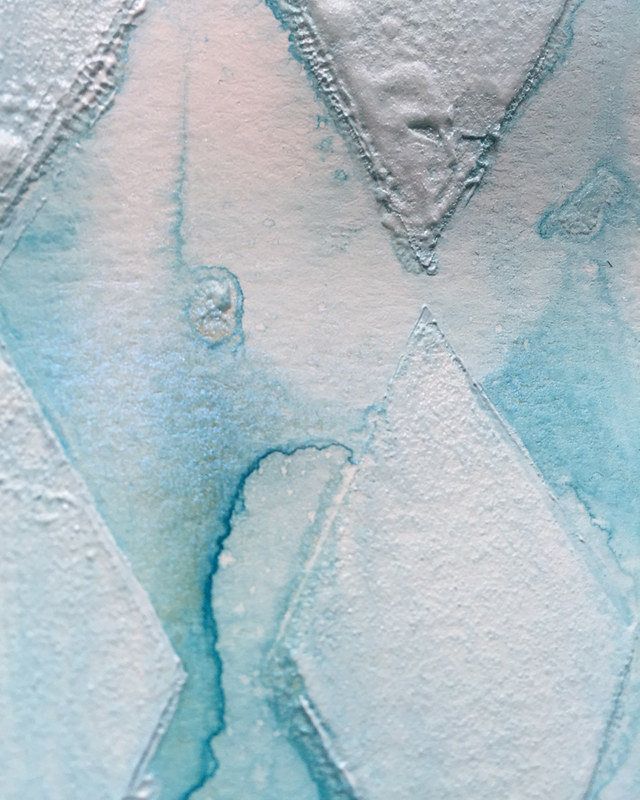
Here's what it looks like when you're done.
Sept 19_6

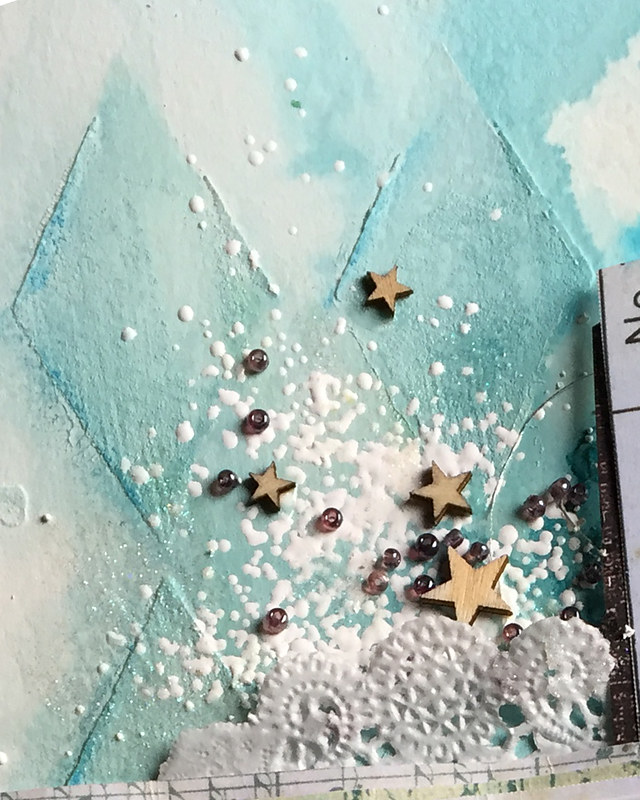
5. Embellish. This week, I added some shading around the diamonds with the Prima Water Soluble Oil Pastels. I colored directly on my background and blended it in with my fingers.  I also added some Chunky White Stampendous Embossing Enamel. I didn't want to add white ink because the Prima Color Bloom 2 sprays react whenever they get wet. If I used white ink, the Color Bloom sprays would have reacted with the ink and turned it blue. I pressed my VersaMark pad onto my background and sprinkled the embossing enamel on top. Then I used my heat gun to melt the embossing enamel.
Sept 19_7

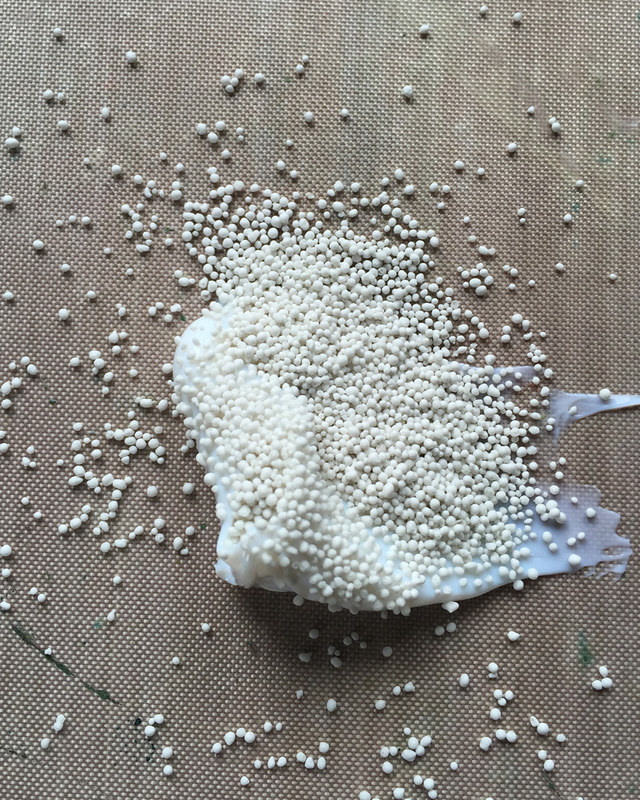
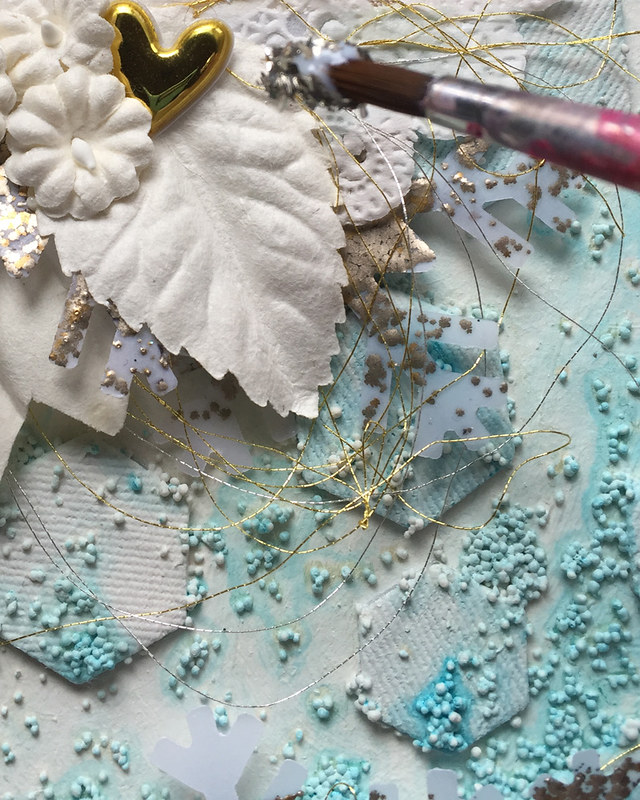
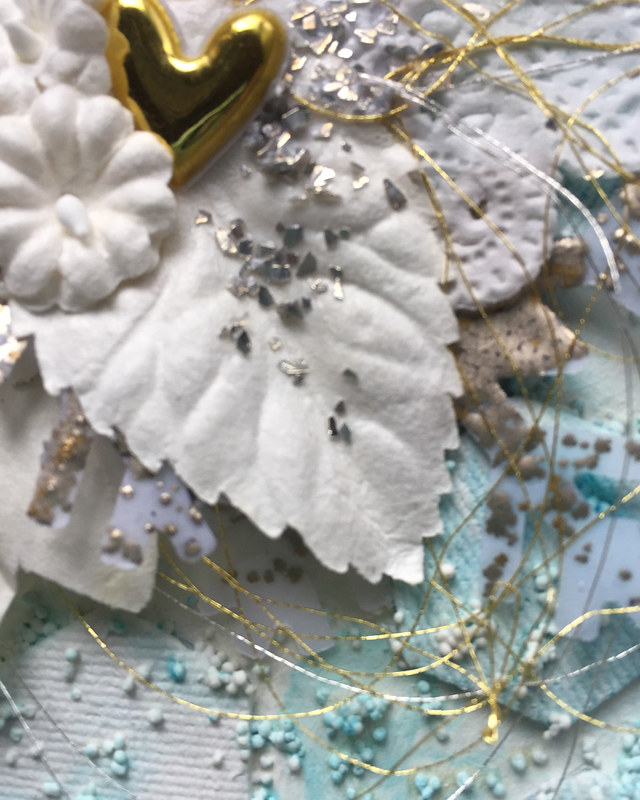
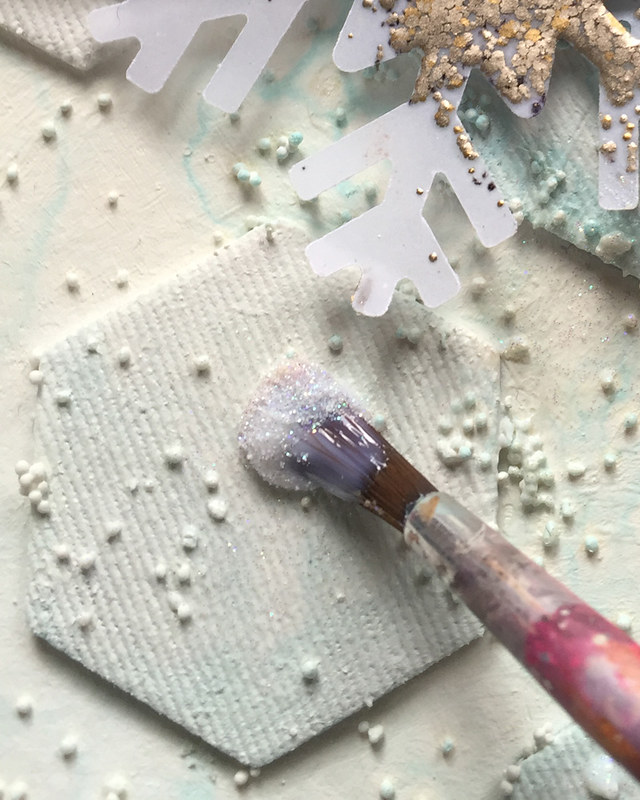
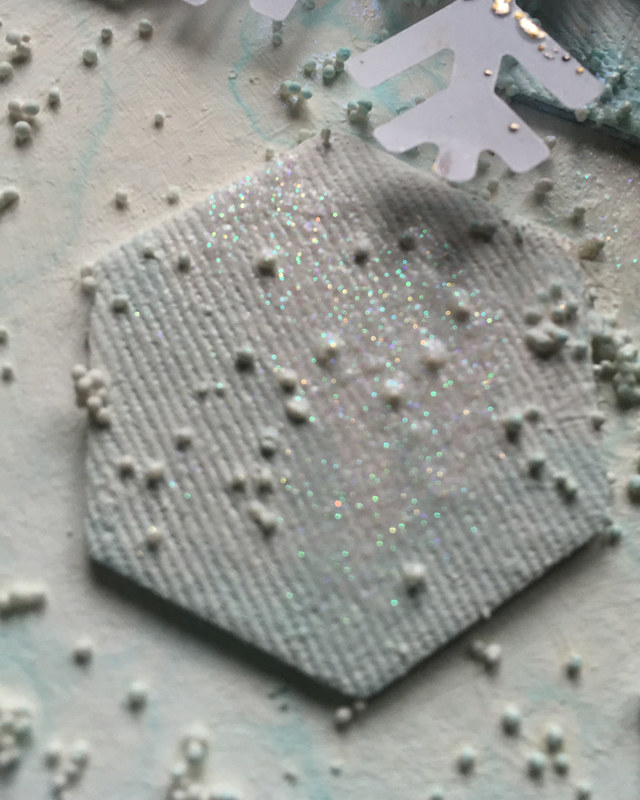
I added the beads, wood veneer stars and white Art Sugar with some Soft Gloss Gel on a brush. It's so easy to control where things are going when you use a brush. I didn't want to overload the layout with embellishments so I stopped there.

I'm so happy with how this page turned out. I can hardly wait to show it to my mom. Maybe I'll get her to add some journaling to the back. Wouldn't that be great?

I hope you find some time to make something this week.

Thanks for stopping by.

Cathie

Monday, 12 September 2016

Mixed Media Monday: Together

Welcome to Mixed Media Monday! Each week, I share a mixed media layout and include the instructions. The instructions contain the steps to make the project and contain any tips and tricks I have picked up along the way. If you ever have any questions about techniques or products that I used to make this layout, leave a note in the comments and I will get back to you. I know that mixed media can be intimidating but I think of it as a creative adventure. Yes, it requires practice and patience but the rewards are worth it - I promise!  

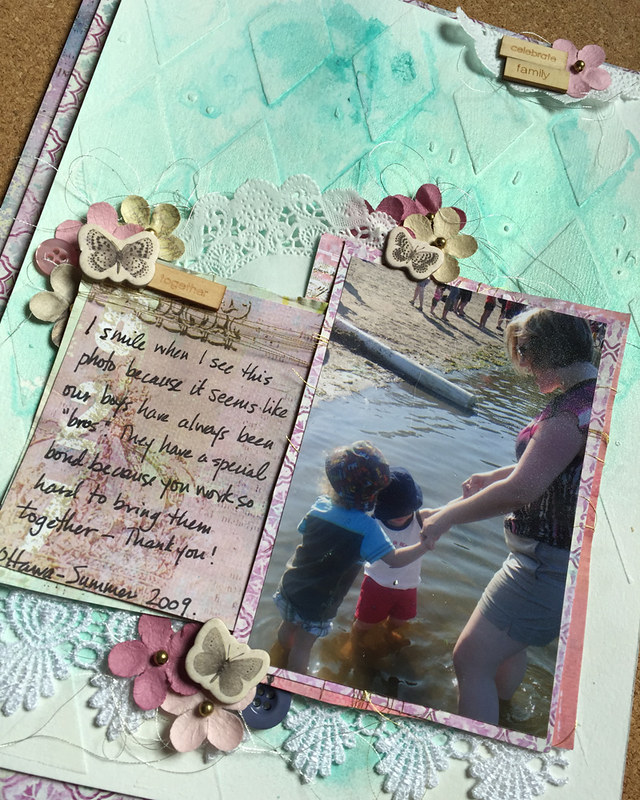
This week, I found my inspiration on Prima Marketing's website. I decided to use their "Build A Page" sketch for their September Challenges. These is so much mixed media inspiration with these challenges each month and there is something for everybody. You should check out the cards and tags too - they are amazing.

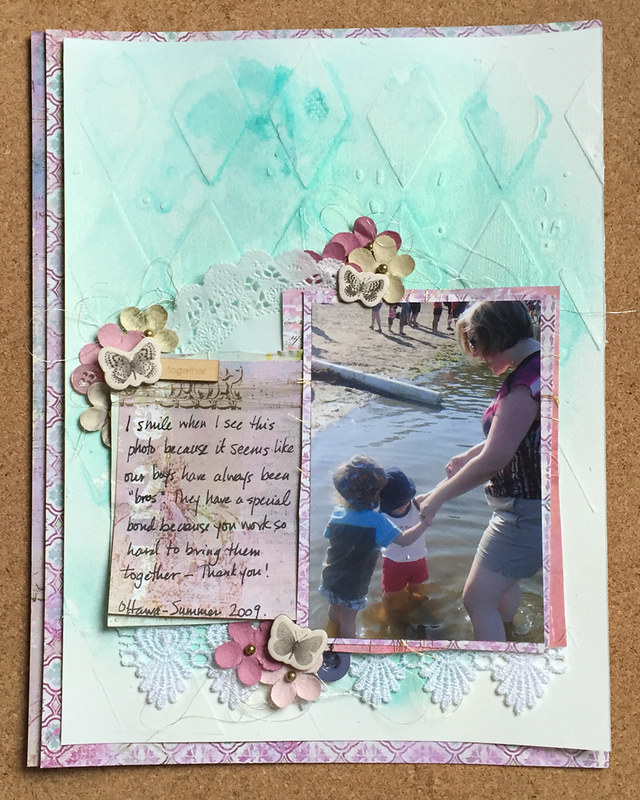
Here is this week's sketch-inspired layout.

Sept 12_1

I wanted to make a simpler layout this week. I have had this photo of my sister with her son and my son waiting to be scrapped for years.  This week I was finally able to put it all together.

 Here are the supplies and steps I used to make this week's layout.

Supplies:

Heavy Gesso - Art Basics (Prima)
Watercolor Paper  (Canson)
Harlequin Stencil  (Prima)
Mixed Media Silicon Brush  (Prima)
Light Modeling Paste - Art Basics (Prima)

Color Bloom Spray Ink - Glistening Waves (Prima)

Pattern Paper: Garden Fable
Butterfly Flowers (Prima)
Chipboard Butterflies - Archivist Collection (Prima)
Thread: White Gold (Guterman)
Wordfetti Wood Veneer (Jillibean Soup)
Lace
Paper Doily
Buttons: Pink, Navy Blue

Instructions:

1. Gesso. Apply gesso to background using a silicon brush or palette knife.  Gesso makes the watercolor paper non-porous so that the spray ink doesn't sink into the paper. I use spray ink on a lot of my mixed media layouts so that's why my first step is almost always to put gesso on my paper.

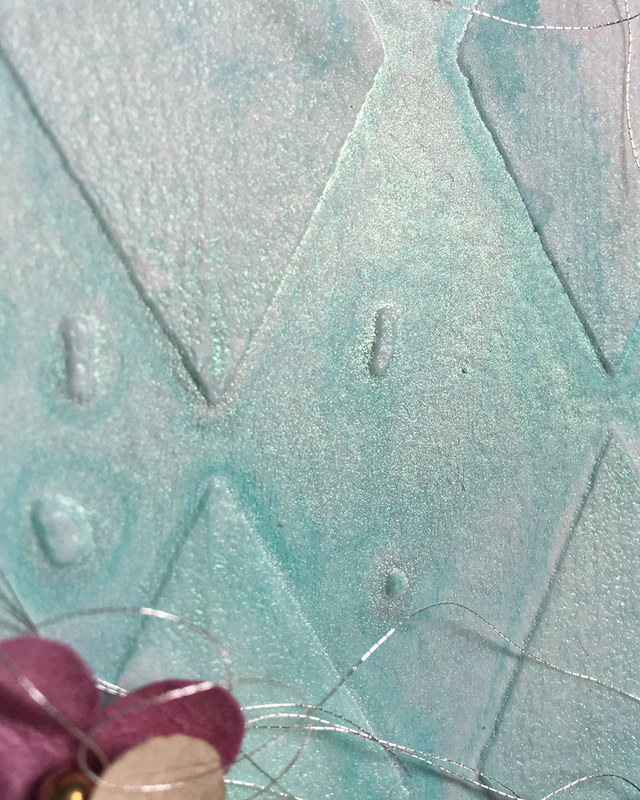
2. Apply modeling paste through stencil. I used my silicon brush to put Light Modeling Paste on my background through the Harlequin stencil. Set aside to dry.

Tip: You can dry Light Modeling Paste with a heat gun but you have to be careful not to overheat or it will puff up. Sometimes, I will overheat the modeling paste on purpose to create this effect but today I decided to let it dry on it's own.

Sept 12_3

3. Spray Ink.  I am an over-sprayer. I like to spray lots of ink and let it move and blend on the background. I sprayed a lot of ink on the background and set it aside to dry. When the Color Blooms are dry they have the most gorgeous shimmer.

Sept 12_7

4. Assemble background.  I cut down the watercolor paper from 8.5x11" to 8x10". Then I layered some pattern paper behind to make the layout 8.5x11". This step is completely optional but I did it to recreate the frame shape in sketch - even if it is an asymmetrical frame.

Sept 12_4

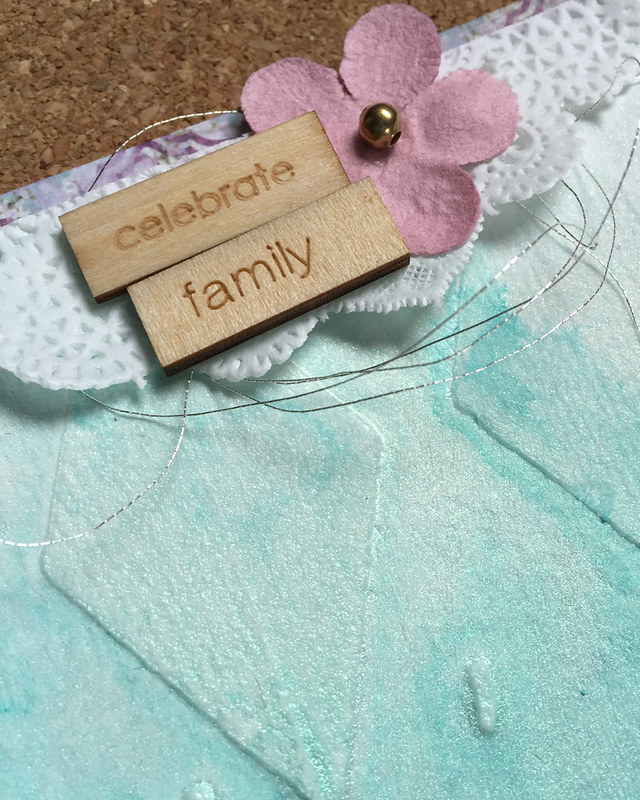
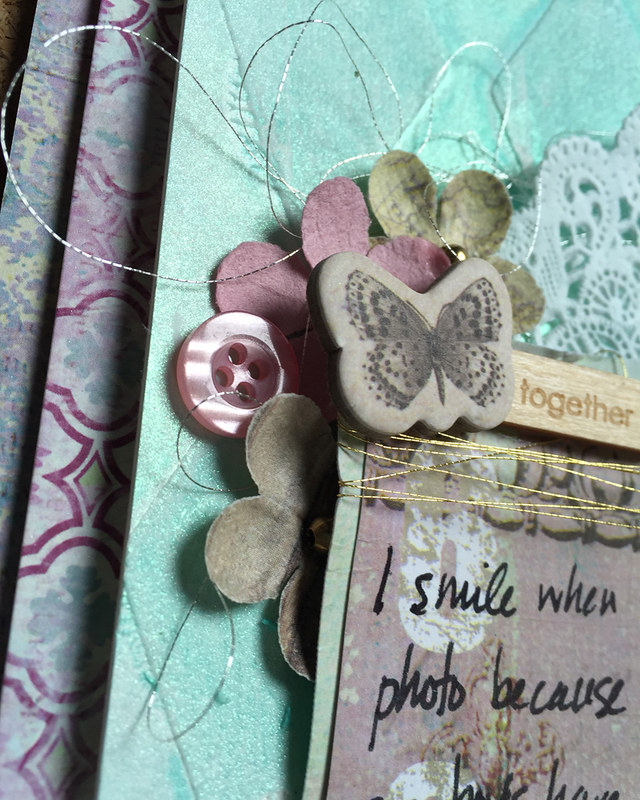
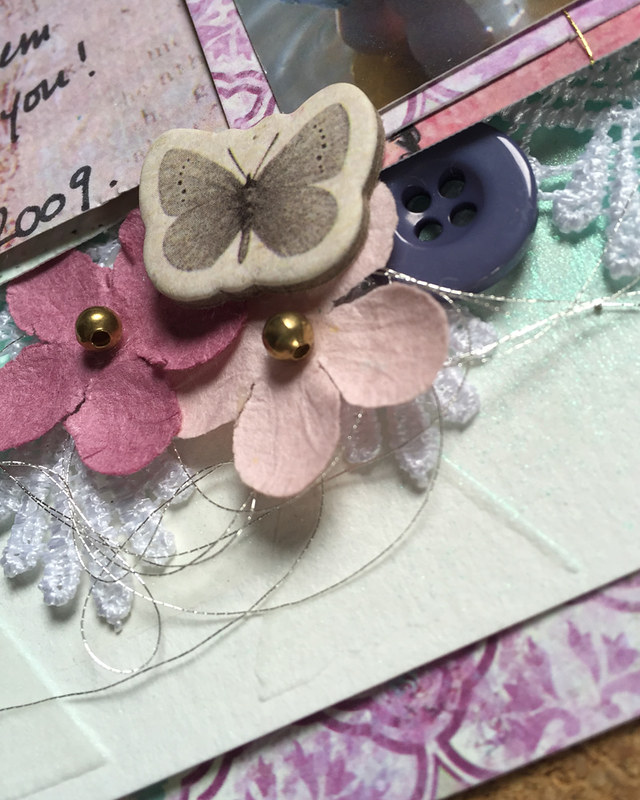
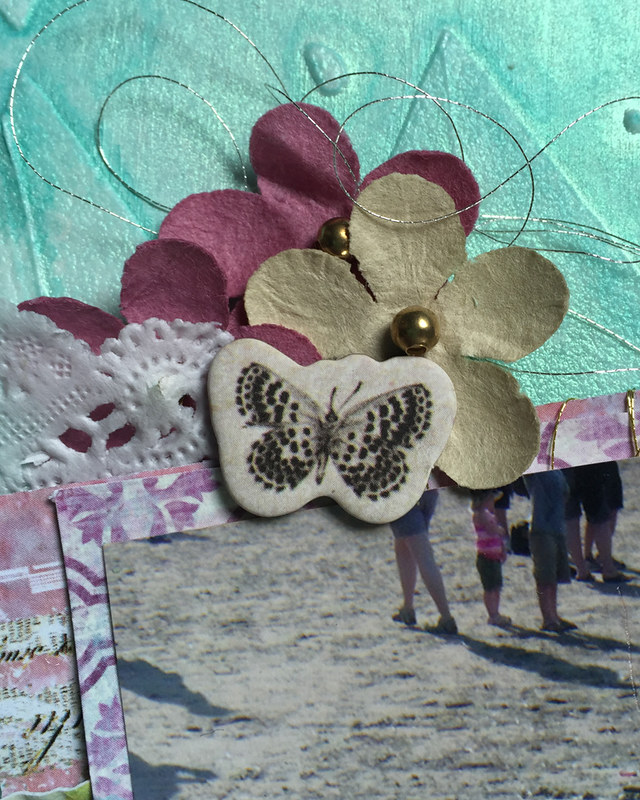
5. Embellish. As always, this step is completely up to you. Use whatever you have in your stash that works with your layout. I picked some white gold thread and lace, some buttons and 3 chipboard butterflies because that's what worked for my layout.

I am almost finished with that pack of Prima flowers. I am going to miss them when they're gone. I love to use them on all my layouts lately.

Here are some closeups of my embellishments.

Sept 12_5

Sept 12_6

And a final look at the layout with a closeup of the journaling.

Sept 12_2

This layout is simple and was easy to make. Not every mixed media layout has to have lots of techniques or products or layers. That's one of the things I love about mixed media - it can be whatever your want it to be. It's your layout so you get to decide.

I hope you find some time this week to make your own mixed media layout. If you do, please leave a note in the comments and let me know where to find you. I love to see what other people are making.

Thanks for stopping by today.

Cathie

Monday, 5 September 2016

Mixed Media Monday: Snow Day

Welcome to Mixed Media Monday! Each week, I share a mixed media layout and include the instructions. The instructions contain the steps to make the project and contain any tips and tricks I have picked up along the way. If you ever have any questions about techniques or products that I used to make this layout, leave a note in the comments and I will get back to you. I know that mixed media can be intimidating but I think of it as a creative adventure. Yes, it requires practice and patience but the rewards are worth it - I promise! 

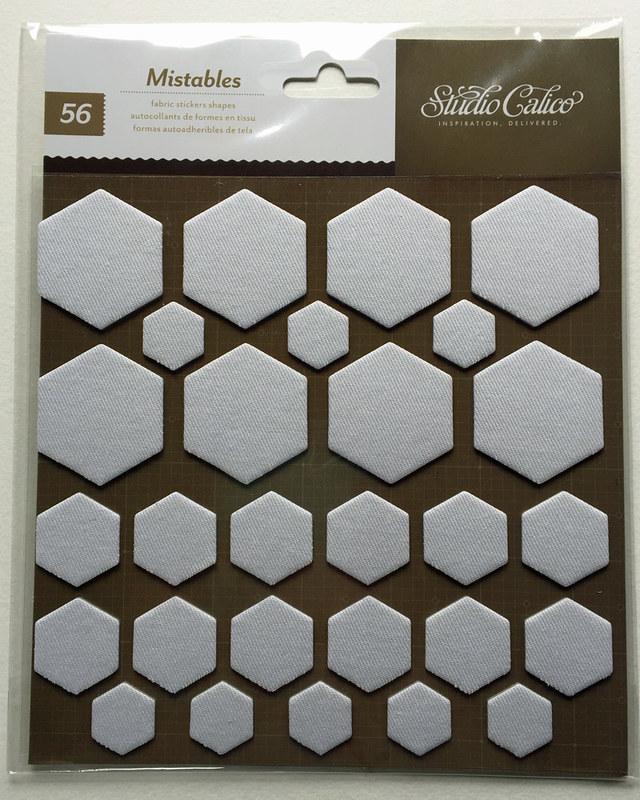
This week, I was inspired by this pack of Studio Calico Mistables.

Sept 5_3


I was cleaning up my desk and found them in a pile. They are from 2012 but I still liked them so I decided to challenge myself to use them on this week's Mixed Media Monday layout.

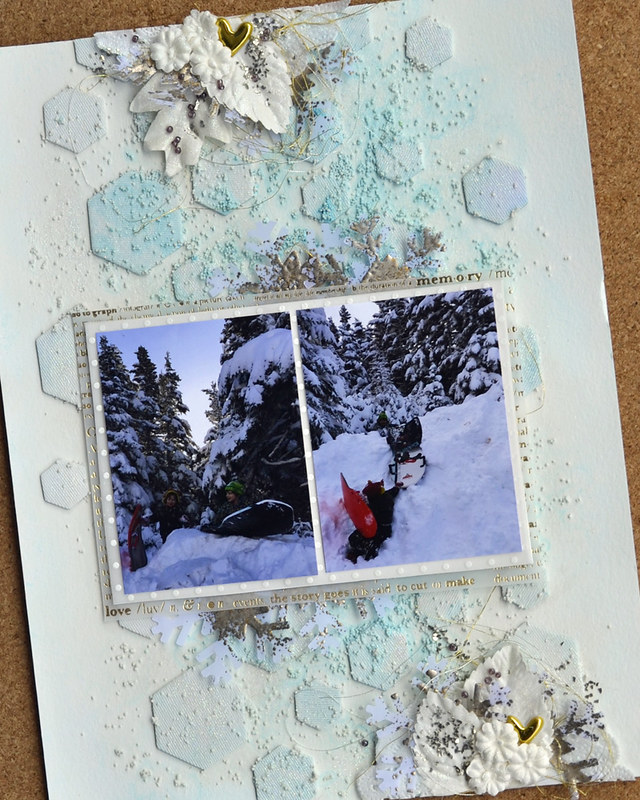
Here's a look at at the layout.

Sept 5_1


I love how this layout turned out and I'm excited to share the supplies and steps I used to make it.

Supplies:

Heavy Gesso - Art Basics (Prima)
Watercolor Paper  (Canson)
3D Matte Gel - Art Basics (Prima)
Soft Gloss Gel - Art Basics (Prima)
Color Bloom 2 Spray Ink - Fairy Pond (Prima)

Mini Art Stones - Art Ingredients (Prima)
Glass Beads - Licorice - Art Ingredients (Prima)
Glass Glitter - Sterling - Art Ingredients (Prima)
Art Sugar (fine glitter) White - Art Ingredients (Prima)

Snowflake Punch (EK Success) 
VersaMark Embossing Ink (Tsukineko)
Embossing Enamel - Aged Silver (Stampendous)
Flowers - Rodanthe (Prima)
Thread - Gold and White Gold (Gutermann)
Heart Puffy Stickers (Freckled Fawn)
Vellum
Palette Knife
Old Paint Brush
 

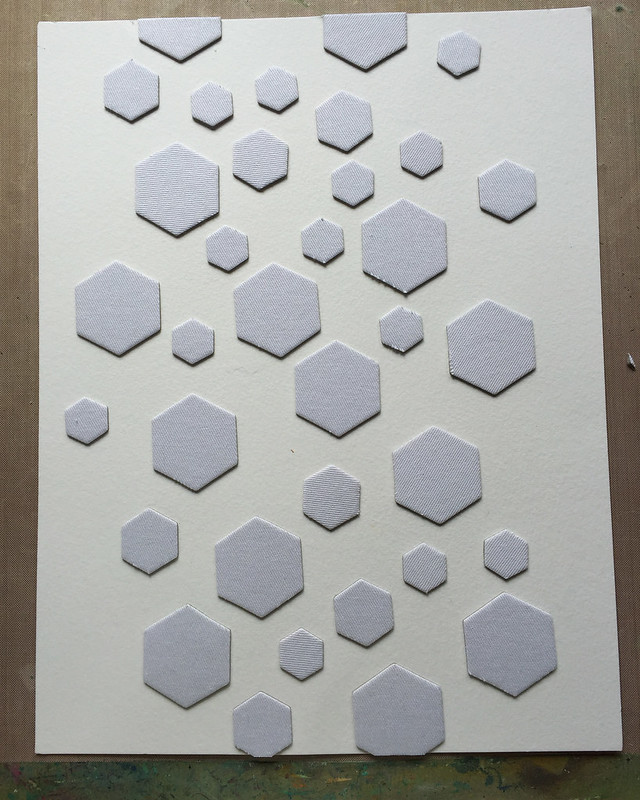
1. Place your embellishments on the page. I call this "Put Them All on the Page" and it's my favourite trick when it comes to using up products in my stash. This week, I just kept adding Mistables until I had a background that I liked. It took 35 pieces to make this background.

Sept 5_4

2. Mix Mini Art Stones with 3D Matte Gel. Scoop some 3D Matte Gel using a palette knife onto your craft sheet. Then gently pour the Mini Art Stones on top. I mixed them together using a palette knife. 

Sept 5_5

3. Spread on background using an old paint brush. I wanted to break up the strong lines of the hexagons so I brushed the Mini Art Stones mixture on with a brush. I just kept moving everything around until I like how it looked. Then I set it aside to dry.

Sept 5_6

4. Mix Art Stones with Heavy Gesso. I mixed the Mini Art Stones with Heavy Gesso as I did in Step 2. 

5. Apply Gesso mixture with old paint brush.  I applied the Gesso mixture with my old brush making sure that I covered the whole background with gesso. 3D Matte Gel would act as a resist to my spray ink. By covering the whole background in gesso, I am covering up the 3D Matte Gel and making sure there isn't a resist effect. 

6. Add spray ink.   I spritzed the background with Fairy Pond spray ink and lots of water. This watered down the ink to give me the color I wanted.

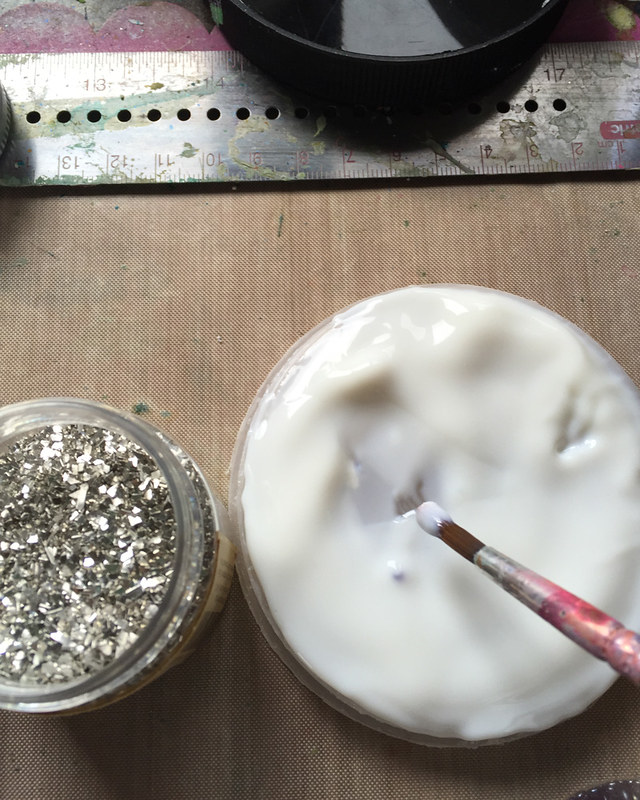
7. Embellish.  This week, I used beads and glass glitter and fine glitter. The trick for adding these supplies to your layout without messy fingers is so simple. Simply dip your brush in Gloss Gel - I used Soft Gloss Gel but 3D Gloss Gel would be even better...

Sept 5_7

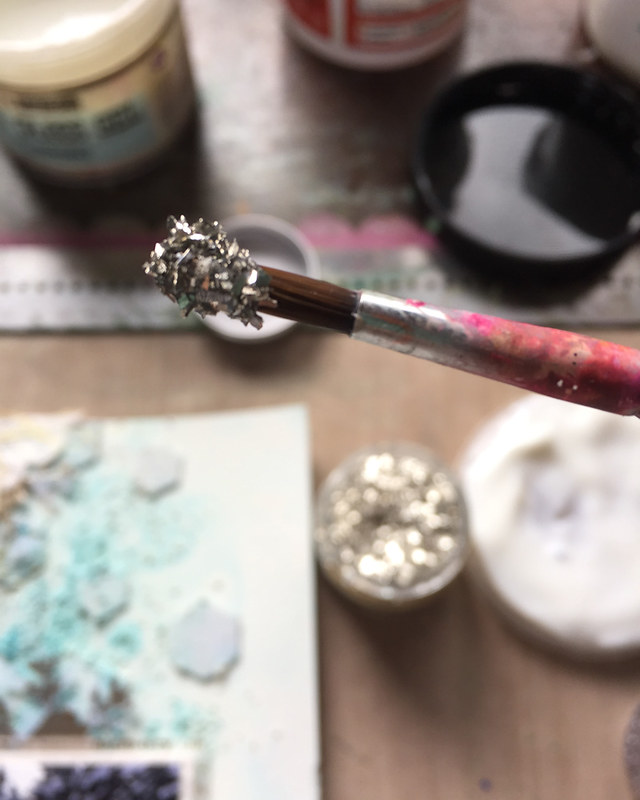
Then dip your brush into the glitter or beads or whatever. The glitter will stick to your brush like this.

Sept 5_8

Then you can brush the glitter or beads into place using your brush. As long as the medium is wet, you can keep moving things around until you are happy.

Sept 5_9

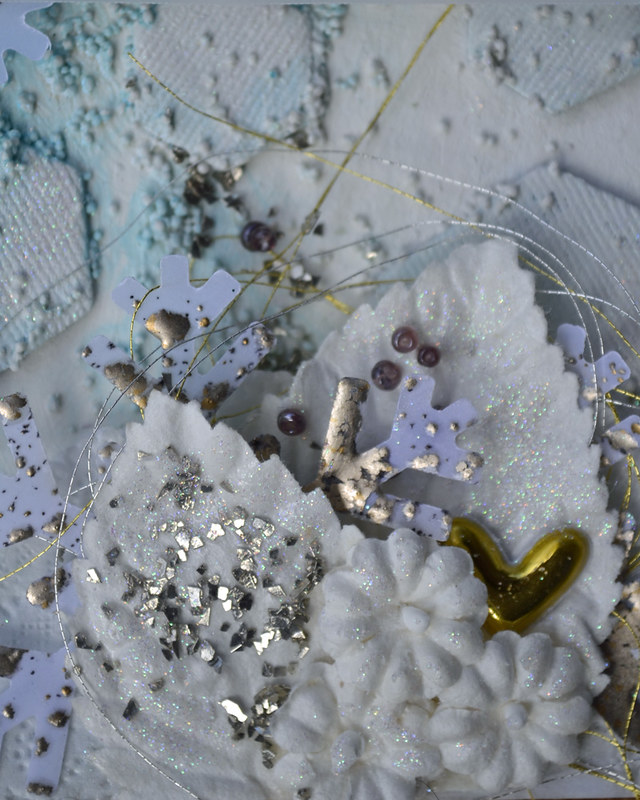
Here's a look at the leaves once the glass glitter is in place.

Sept 5_10

And here's a look at the same technique using Art Sugar - it's a super fine glitter that works great with this technique.

Sept 5_11

It leaves the most lovely shimmer behind when it's dry.

Sept 5_12

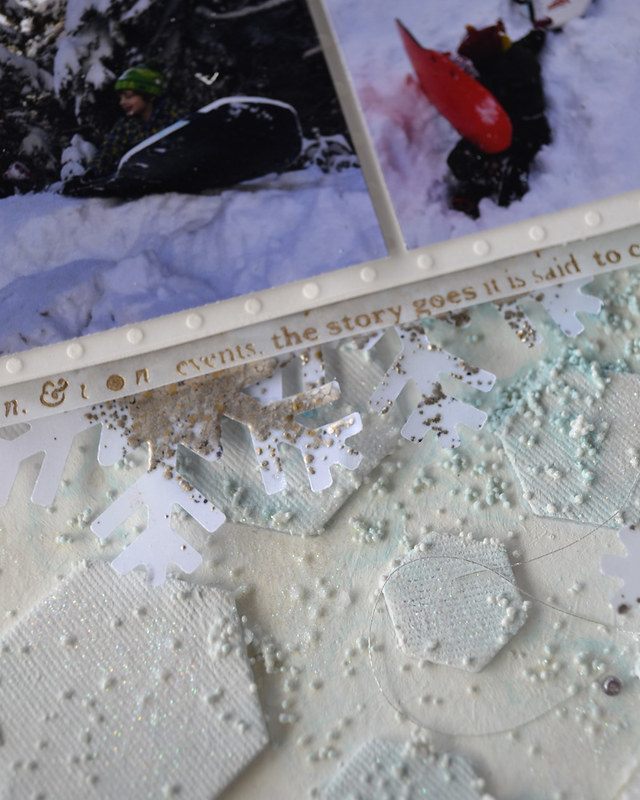
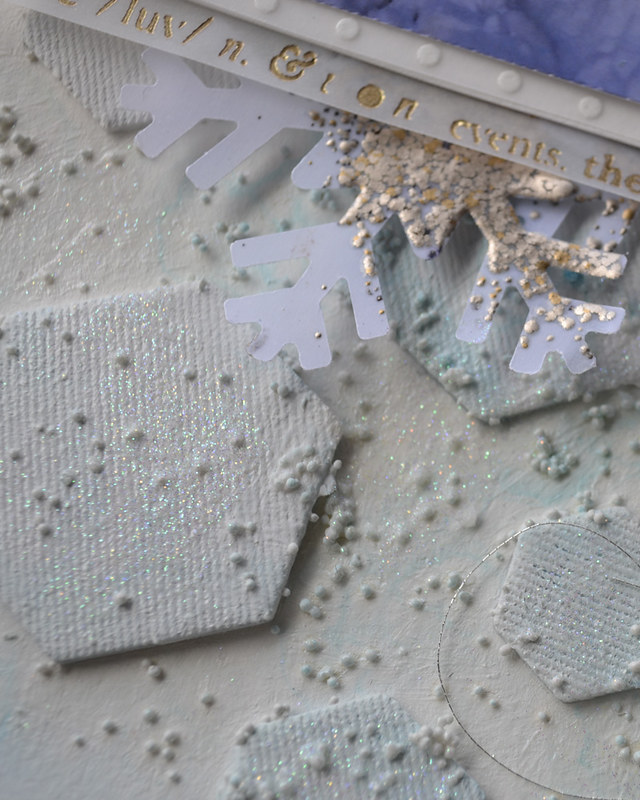
To create the snowflakes, I punched vellum with my snowflake punch. Then I pressed the snowflake shape into my VersaMark ink pad. I sprinkled the snowflake with Embossing Enamel and then heated it with my heat gun.

Sept 5_13

Here's a look at the texture you can make with beads, the Art Sugar, the glass glitter and the embossed snowflakes. It's the little details that add up to creative impact.

Sept 5_15


Sept 5_2

You may not have a pack of Mistables in your stash but I'm sure there's something you've been keeping. Putting everything on the page is a great way to use these products. I always say that it's more fun to look at a scrapbook layout then it is to flip through unused products. I hope you're inspired to give it a try.

As for me, I liked how this page turned out so I'm planning to use the leftover Mistables on a card front. When I do, I promise to share the results here.

Thanks for stopping by!

Cathie
Monday, 29 August 2016

Mixed Media Monday: We 3

Welcome to Mixed Media Monday! Each week, I share a mixed media layout and include the instructions. The instructions contain the steps to make the project and contain any tips and tricks I have picked up along the way. If you ever have any questions about techniques or products that I used to make this layout, leave a note in the comments and I will get back to you. I know that mixed media can be intimidating but I think of it as a creative adventure. Yes, it requires practice and patience but the rewards are worth it - I promise! 

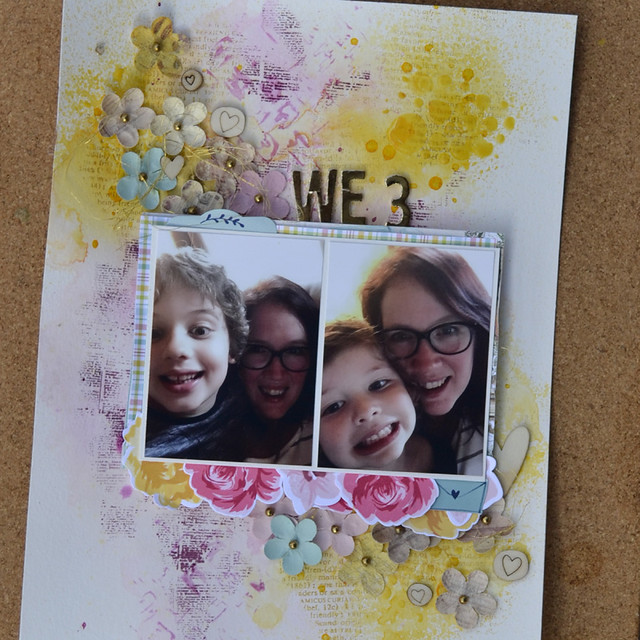
This week, I am sharing another page I made for my yearlong album. I make one chronological album a year and I am always "behind". I wrote about this album and the class that inspired my approach to this project last week. I am catching up on the pages that haven't I finished - a few layouts and some pocket pages.

This week's layout was inspired by some selfies I took with my kids on Mother's Day in May. I wanted to use some of the new Prima Color Bloom sprays to create a page that felt like a bright, flowery spring day. Spray inks are one of my favourite supplies and I can't help but try out the new colors when they are released.

Aug 29_1


Here are the supplies I used to make this week's layout.

Heavy Gesso - Art Basics (Prima)
Watercolor Paper  (Canson)
3D Matte Gel - Art Basics (Prima)
Bubbles Stencil (Prima)
Basket Weave Stencil (Prima)
Color Bloom Spray Inks - Cotton Candy, Spring Dandelion, Wild Raspberry (Prima)
Archival Ink - Plum (Prima)
Golden Glitz Pigment Ink - Delicata (Tsukineko)

Amy Tangerine Sticker Book - Better Together (American Crafts)
Book Stamp - Item # 960964 (Prima)
Friend Definition Stamp (Hero Arts)

Altenew Stamps
Gold Thread (Guterman)
Perfectly Plaid 6x6 Paper pad (Lawn Fawn)
Woodland Thickers - Dear Lizzy (American Crafts)
Palette Knife
Butterfly Flowers -  (Prima)
Heart Wood Veneer (Studio Calico)


Instructions:

1. Apply a thin coat of gesso to the watercolor paper. I usually gesso my background because a thin coat of gesso makes watercolor paper non-porous. That means that my spray ink won't soak into the paper so I can get it to blend before it dries.  A thin coat of gesso doesn't take long to dry so I usually set mine aside but you can also dry with a heat gun.

2. Add spray ink. For this background, I started with Cotton Candy and Wild Raspberry Color Bloom sprays. I dried the background with a heat gun before adding some Spring Dandelion to brighten up the background. I dried the background in between colors so they didn't blend. I wanted to keep the colors separate for this background.

Aug 29_2


Aug 29_3

3. Add ink splatters. To create my ink splatters, I unscrewed the top of the spray bottle and tapped the ink nozzle to create splatters on my background. I used Wild Raspberry on the pink section and Spring Dandelion on the yellow section. Then I set it aside to dry.

Aug 29_4


Aug 29_5

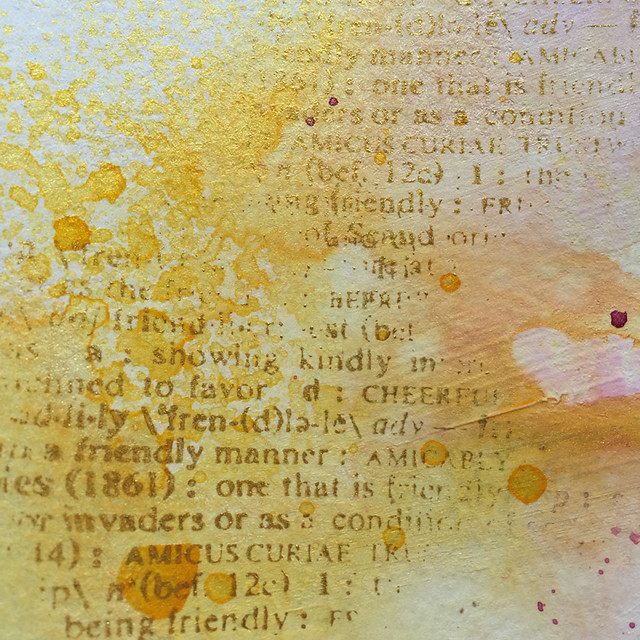
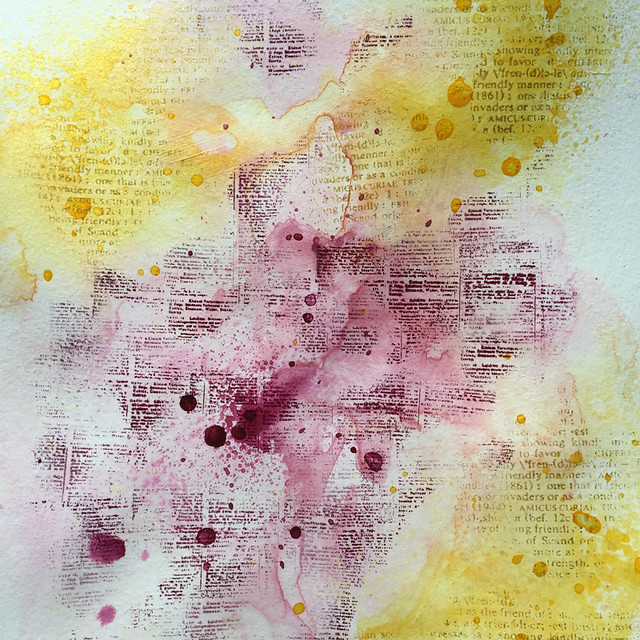
4. Stamp on the background. I used two stamps and two different colors ink for my background. I used the Hero Arts Friend Definition background stamp with the Delicata Golden Glitz ink on the yellow section. I used the Prima Book stamp with Archival Ink in Plum on the pink section to create a tone-on-tone effect.

Aug 29_6


Aug 29_7

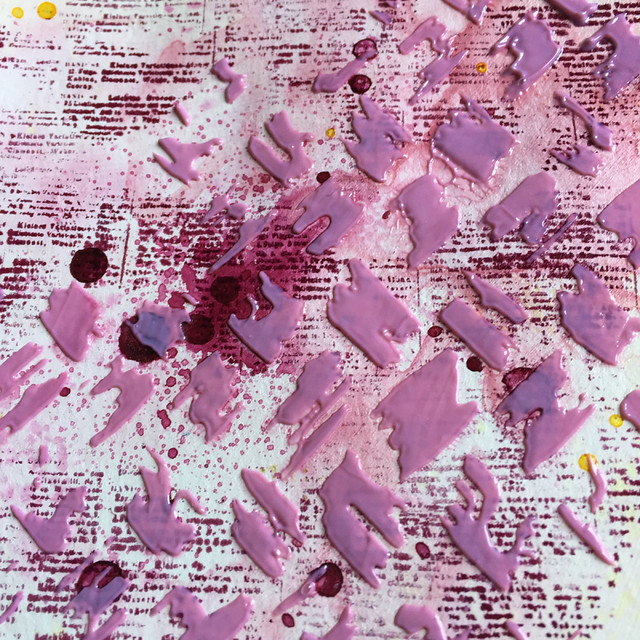
5. Color 3D Matte Gel with spray ink. I wanted to see how the Color Bloom sprays worked with the 3D Matte Gel so I mixed up 2 batches of colored gel. To color the gel, I scooped a small blob onto my craft, spritzed twice with my spray ink and mixed it with a palette knife.

6. Apply Colored 3D Matte Gel to background. Once I had the color the way I liked it, I spread it onto my background using a stencil and a palette knife.Then I set it aside to dry.

Here is the Wild Raspberry paste before it dried...

Aug 29_8

Here is the Spring Dandelion gel after it dried.

Aug 29_8b

Here's a look at the background.

Aug 29_9

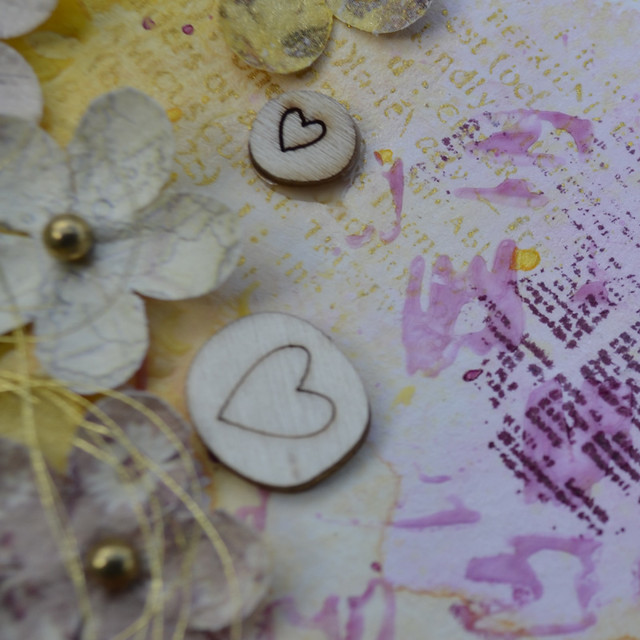
7. Embellish. I like to layer paper and stickers behind my photo before adding more embellishments to my background. This week,  I also added some Altenew flowers that my friend, Tina, had stamped and diecut. She had a few extra lying of these lovely blossoms laying around so she gave them to me and I was so happy to have them for this layout. I also added lots of Prima flowers because what is a Mother's Day page without flowers?

Aug 29_10


Aug 29_11


Aug 29_12


Aug 29_12

I love the new Color Bloom sprays - they make me happy. Prima has changed the shape the spray nozzle and it's an adjustment but not a big deal. You have to add water when you get them home as they are shipped unmixed - just pigment powder in the bottle. I liked mixing my own colors and they are so bright and beautiful when you add water.

I have been having a lot of fun creating 8.5x11" mixed media layouts lately. Changing the size of my layouts from 12x12" to 8.5x11" has been a great source of inspiration the last few weeks and I'm going to stick with this size for the time being.

Thanks for stopping by!

Cathie


Monday, 22 August 2016

Mixed Media Monday: Featuring the Tim Holtz Splatter Brush
Welcome to Mixed Media Monday! Each week, I share a mixed media layout and include the instructions. The instructions contain the steps to make the project and contain any tips and tricks I have picked up along the way. If you ever have any questions about techniques or products that I used to make this layout, leave a note in the comments and I will get back to you. I know that mixed media can be intimidating but I think of it as a creative adventure. Yes, it requires practice and patience but the rewards are worth it - I promise! 

This week, I am catching up on my 2016 Keeping Track Of Life album or KTOL for short. I took a look at my album last week and realized I have so much work to do. Keeping Track of Life is an in-person class taught by my friend, Krista at my local store, The Paperie. The class is similar to Project Life except it's a month-at-a-glace approach to scrapbooking with a layout added for fun instead of a week-by-week approach.

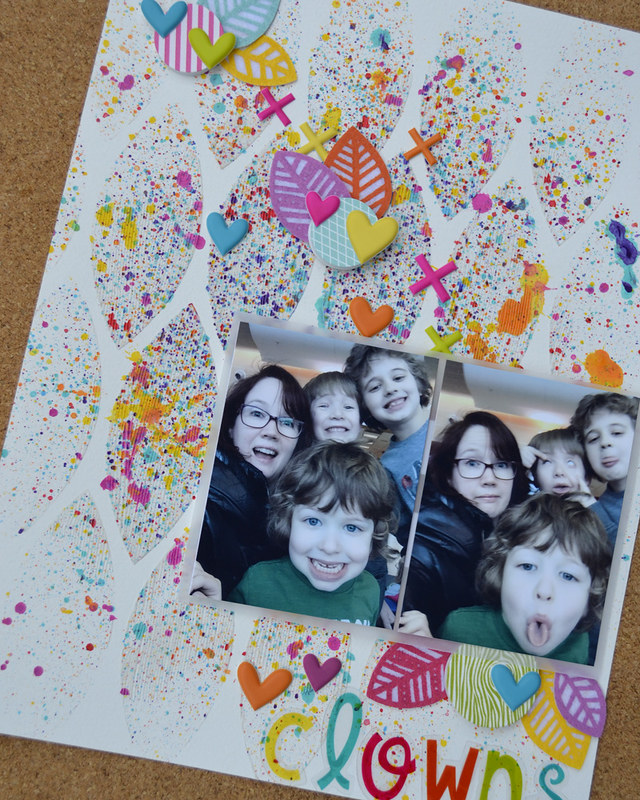
In February, I missed class due to a snowstorm. Although Krista's instructions are included in the class, I decided to take the opportunity to add a mixed media layout to my album. Here it is!


Aug 22_2


I made this background using the Tim Holtz Splatter Brush. I used it in a class I taught a few months ago and fell in love with it. It makes the most amazing splatters and is so easy to clean but I'm excited to show you how it makes the most amazing marks in wet medium.

So, let's get started with the supply list and the instructions for this week's layout.

Here are the supplies I used to make this week's layout.

Heavy Gesso - Art Basics (Prima)
Watercolor Paper  (Canson)
Modeling Paste - Art Basics (Prima)
Stencil: Blazonry TCW280 - Balzer Designs (The Crafter's Workshop)
Palette Knife
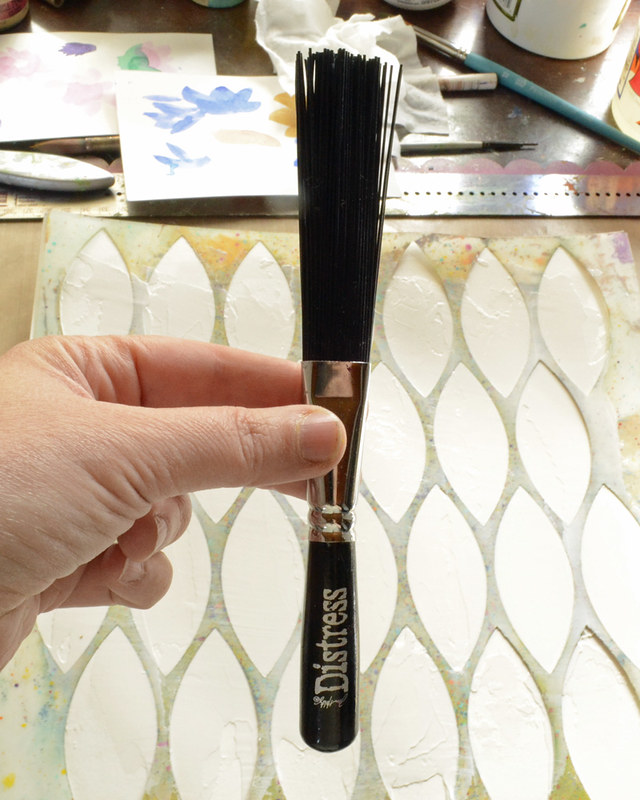
Splatter Brush - Tim Holtz Distress (Ranger)
Heavy Body Paint - Dina Wakley Media (Ranger)
Embellishment Kit - February (Freckled Fawn)
Felt Leaves  (Freckled Fawn)
Vellum

Instructions:

1. Apply a thin coat of gesso to the watercolor paper. This is always the first step of my process if I'm using acrylic paint or spray ink. A coat of gesso makes watercolor paper non-porous and that means that paint doesn't soak into the paper so I can remove mistakes with a wet baby wipe - sometimes.  A thin coat doesn't take long to dry so I usually set mine aside but you can also dry with a heat gun.

2. Apply a thin coat of modeling paste through a stencil. I love dimension so I use modeling paste in a lot of my layouts. Modeling paste holds marks really well which is perfect for the next step.

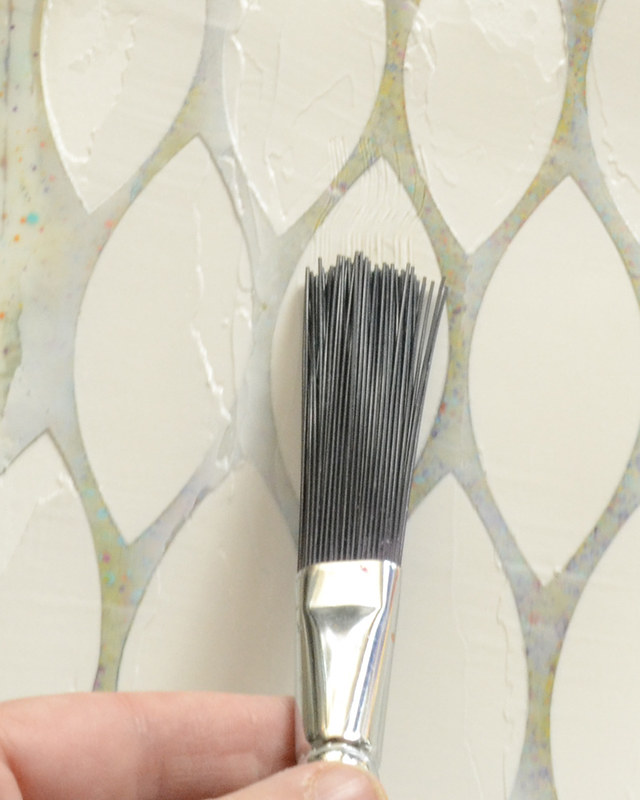
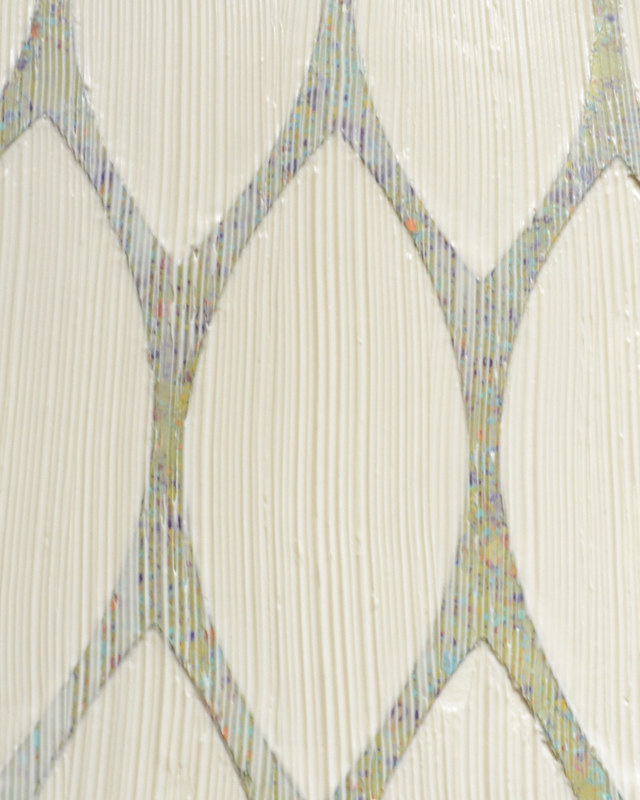
3. Drag the Splatter Brush through the modeling paste. The Splatter Brush isn't only for splatters...

Aug 22_4

If you lightly drag it through modeling paste, it makes the most amazing marks.

Aug 22_5

Leave your stencil in place to act as a mask.

Aug 22_6

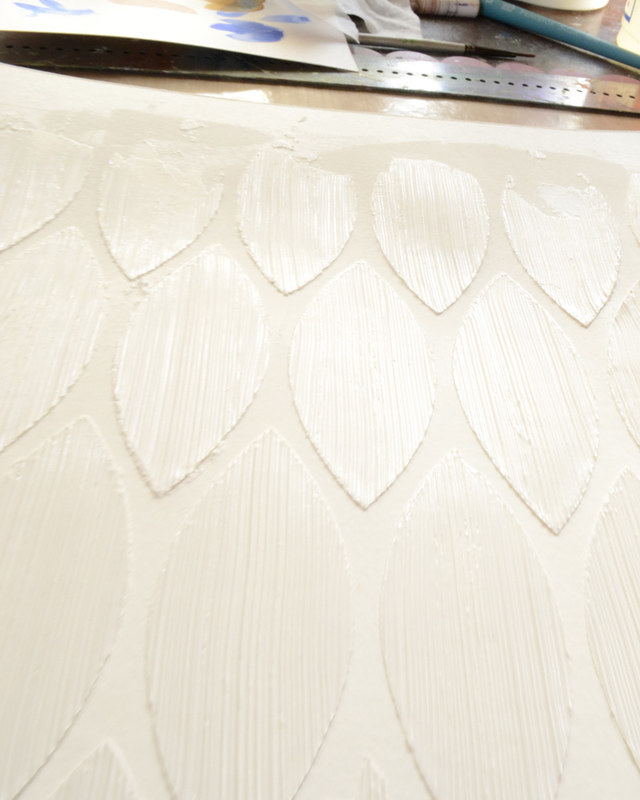
When you're finished and have covered the whole background. Remove stencil and set the background aside to dry.

Important tip: Clean stencil and Splatter Brush immediately using baby wipes. When modeling paste dries, it is almost impossible to remove from stencils without a lot of hard work. I always clean up immediately after using modeling paste.

Here's what the background looked like after everything was dry and ready for the next step.

Aug 22_7

4. Replace stencil on dry background.   Line up the stencil with the original pattern you made in modeling paste. I used a little washi tape to hold it in place so my hands were free for the next step.

Aug 22_8

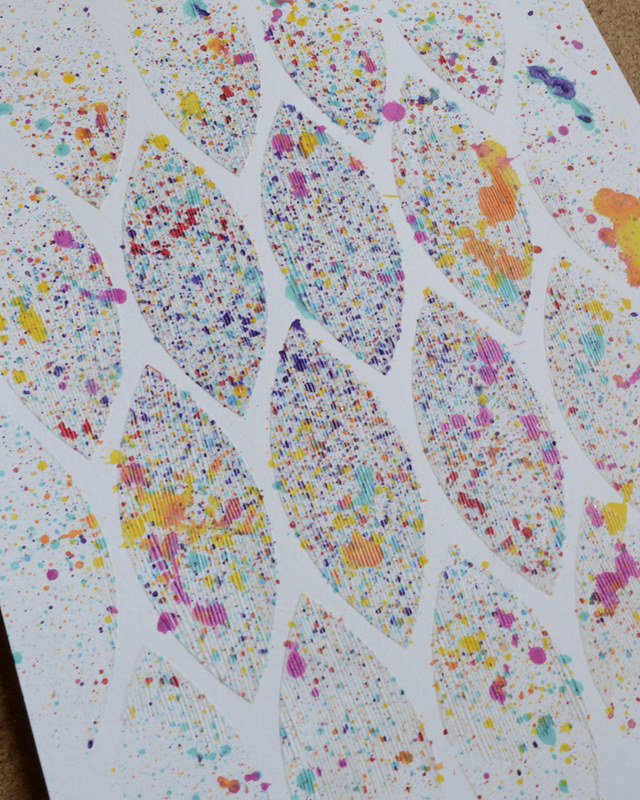
5. Apply paint with Splatter Brush. I used a few spritzes from my water bottle to water down the heavy body paint to a milk-like consistency. Then I swiped the brush through paint and splattered the paint on my background with the stencil in place.

Here's a great video tutorial Tim Holtz made that shows you how to make splatters using the Splatter Brush. He features the brush at the 4-minute mark.

Tip: The more water you add the bigger the splatters. 

Aug 22_9

The stencil acts as a mask and you get something that looks like this. If you look closely, you can see that the ridges creating by the Splatter Brush catch the paint and keep it from dripping.

Aug 22_10

Add as many colours of paint as you like to create a multi-color backgound. I used all the colors of Dina Wakley paint that I had in my stash. Some of the colors bled under the stencil because the paint was very watery but I like the effect.

Aug 22_13

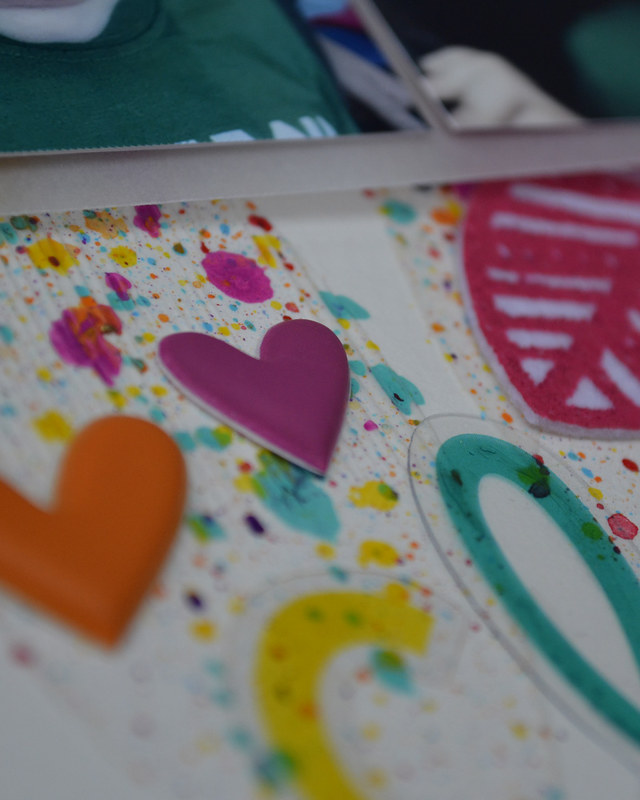
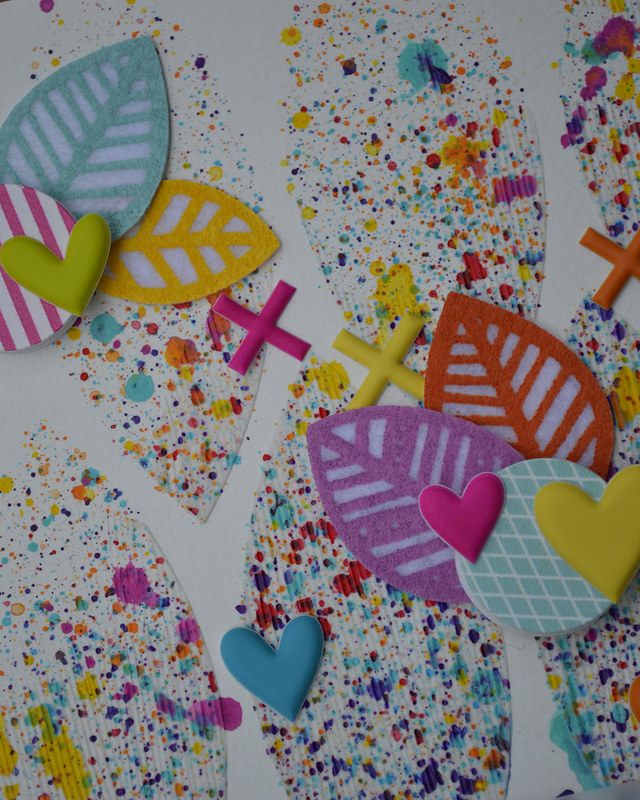
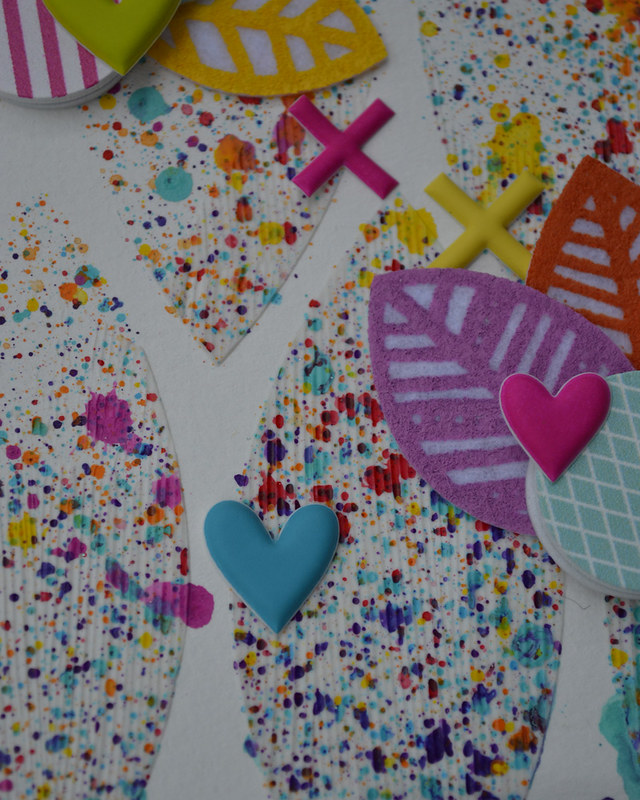
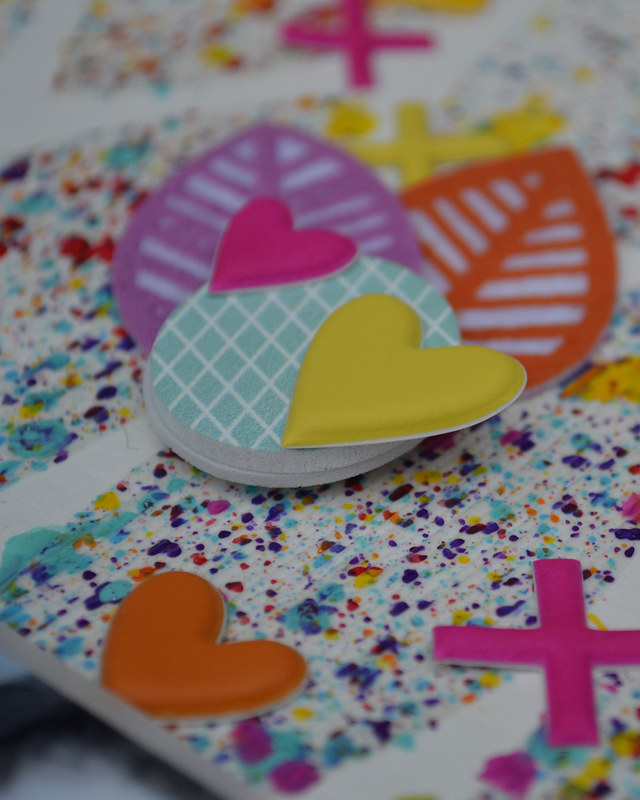
6. Embellish.  I used the February Freckled Fawn embellishment kit for this layout. The colors of the puffy hearts, acrylic letters and painted wood buttons went perfectly with my bright, colorful background and silly photos.

Aug 22_11


Aug 22_12


Aug 22_14


Aug 22_15


Aug 22_16

This technique is so fun and easy, I hope you consider giving it a try. The Tim Holtz Splatter Brush is definitely a tool that I am so happy to have because it it helps me use all my stencils and inks and paints in a new way. I love it when that happens.

Please feel free to leave a note in the comments and say "hi". It's always lovely to meet the people who stop by my blog. And if you have any questions about products or techniques used, please leave a note and I'll get back to you. I am happy to help.

Thanks for stopping by!

Cathie