Showing posts with label pocket pages. Show all posts

Wednesday, 17 August 2016

Restarting a Yearlong Project

Since I finished sharing all the photos from my France album last week, I decided to return to my month-at-a-glance album. I haven't done much with it for a long time and after flipping through it this week, I realized that it needs some attention and work.

The album is part of the KTOL project that I work on each year. KTOL is short for "Keeping Track of Life" and it's a class that my friend, Krista, teaches at my local scrapbook store (The Paperie).  Each month we create a layout and pocket page spread with our monthly stack of photos. It's a lot of fun and I enjoy scrapping with my friends for a couple of hours each month.

I haven't been working on my album in between classes so I bunch of half done pages and missing layouts. Specifically, I have to work on a layout for each month - that's all 7 layouts we've made so far in class. Some layouts are just missing photos but I missed a couple of classes so those layouts are not even started. The situation is the same for the pocket pages. I have February's pockets pages finished but all the other months are not done. That's 6 months of pocket pages and 7 layouts - if we're still counting.


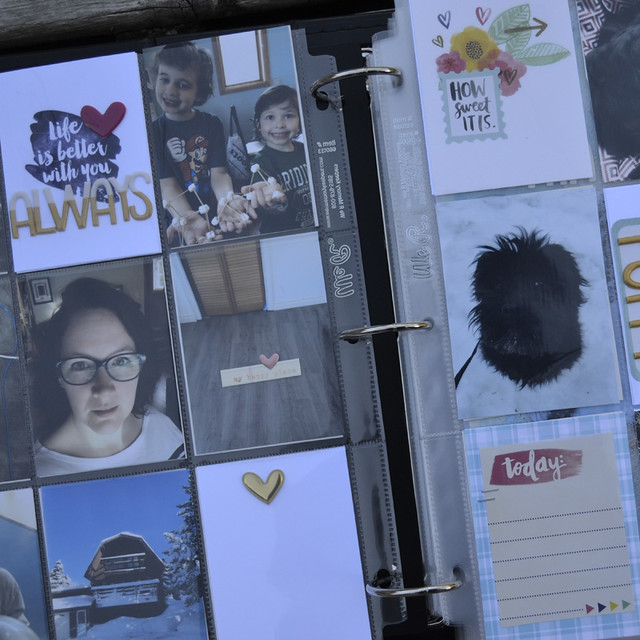
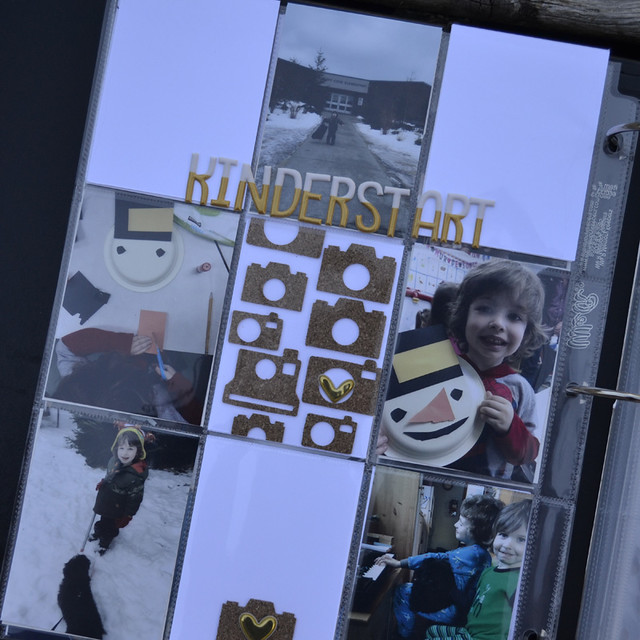
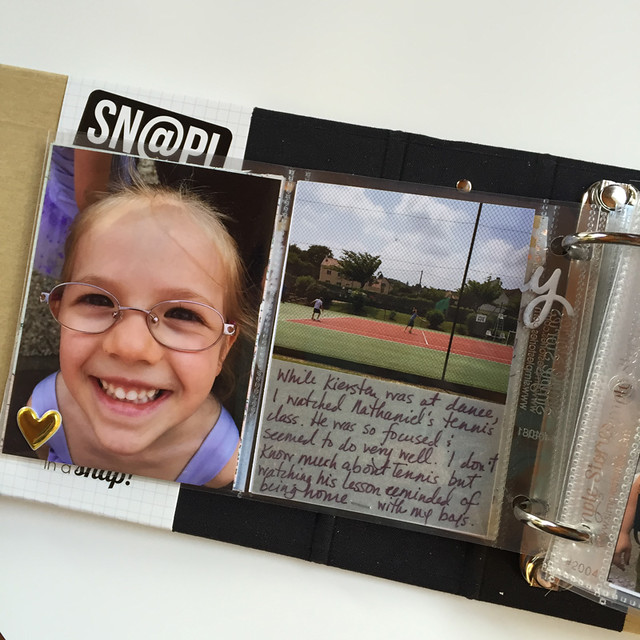
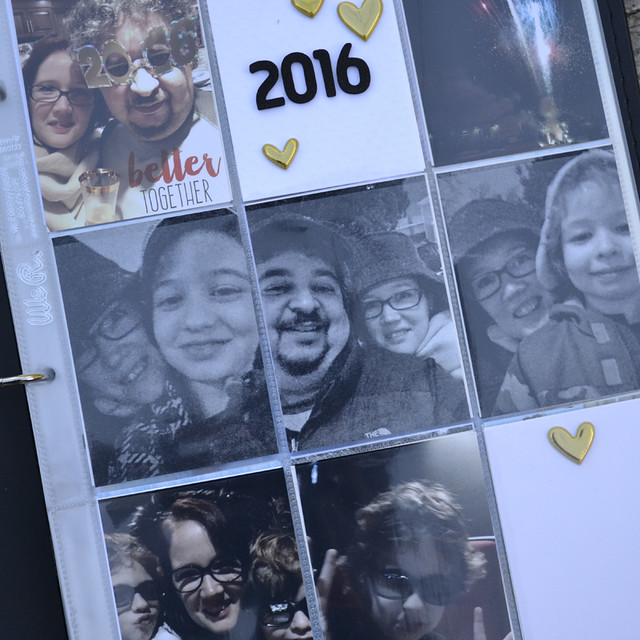
Here are some of my almost done pocket pages for January.
Aug 17_1


Aug 17_2


Aug 17_3


It feels a bit overwhelming but I know it is doable because I have been here before. Each year, I fall behind with this project. I am not a chronological scrapbooker so this doesn't worry me but I know that if I fall too behind it will be too overwhelming to finish. All the work is worth it though because I love this album when it's done.

So, now what? For me, the key to finishing this project is to make a list of what I need to do to get "caught up" and to work on that list each week. Having a to-do list will keep me focused when I sit down to work. As I work my way through my to-do list,  I will share my progress as I go.

Wish me luck!

Thanks for stopping by!

Cathie

Wednesday, 3 August 2016

How to Make a Travel Album: Finishing Touches

This week, I am putting the finishing touches on my France travel album. I have all the photos and stories in place and I have added embellishments. I'm not ready to call the album done though because I keep adding things when I flip through it.

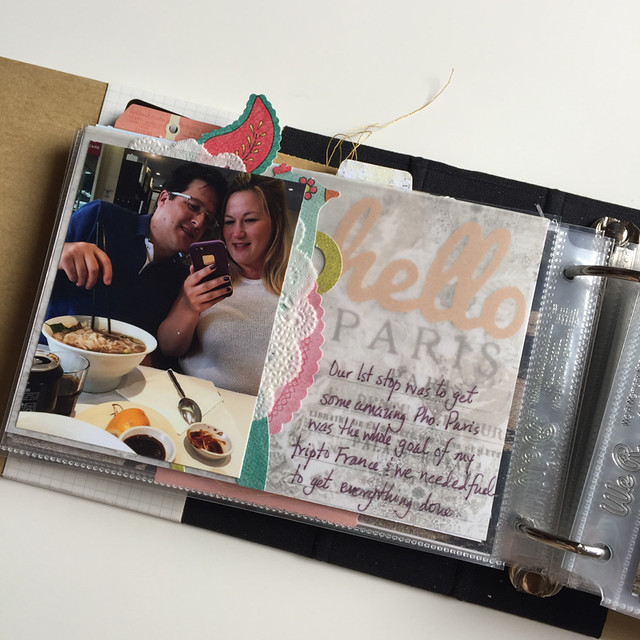
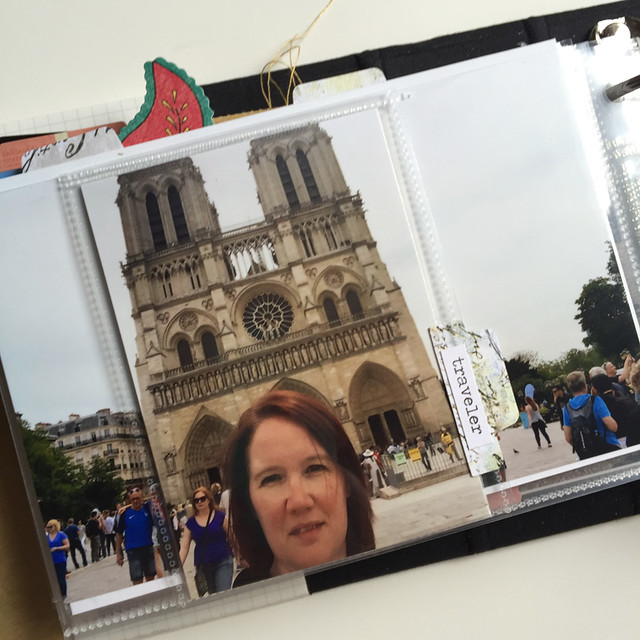
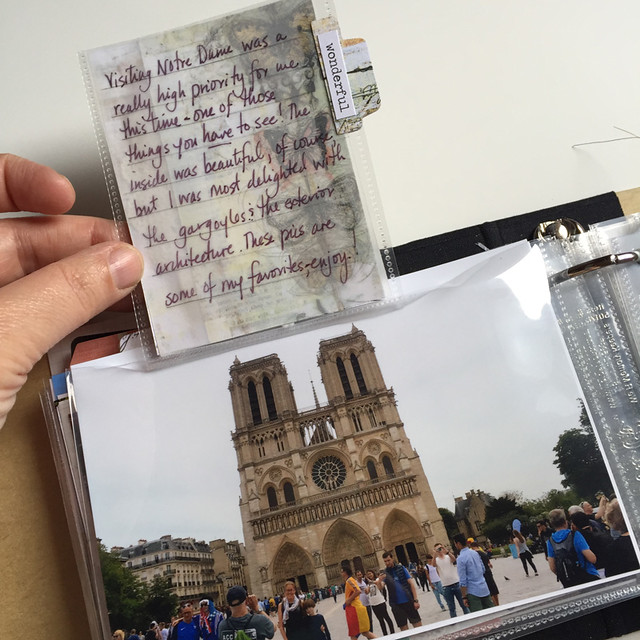
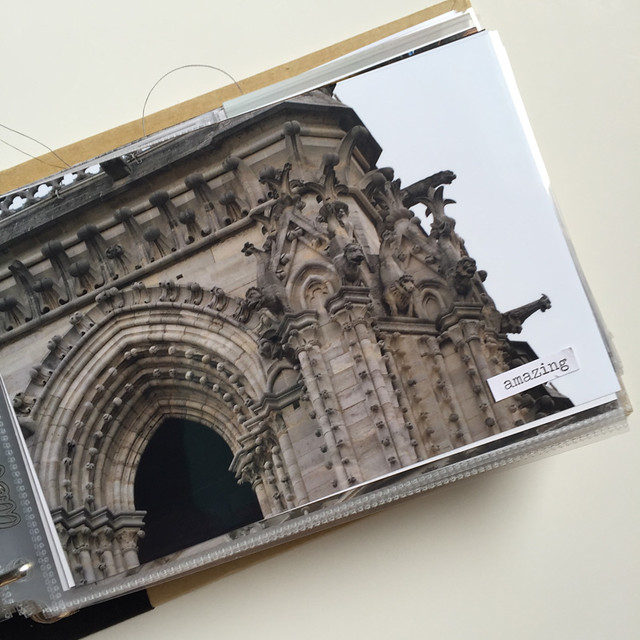
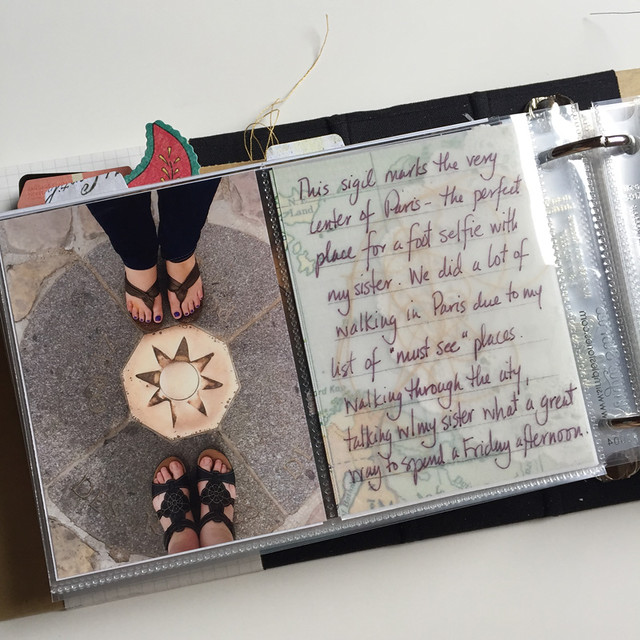
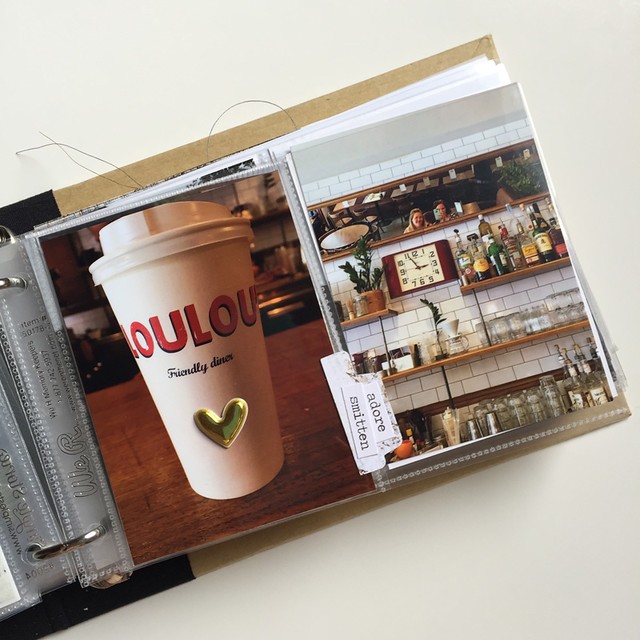
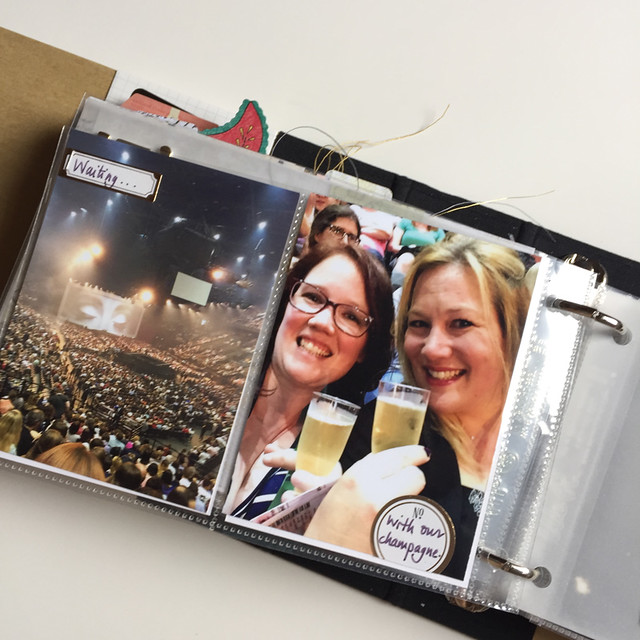
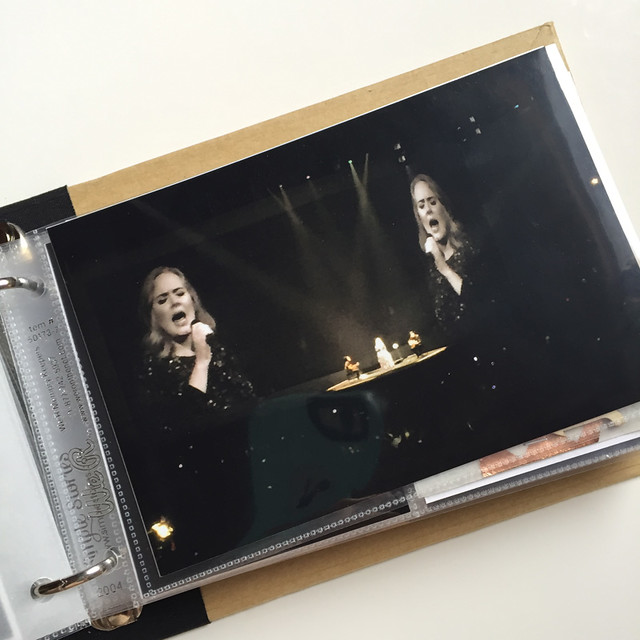
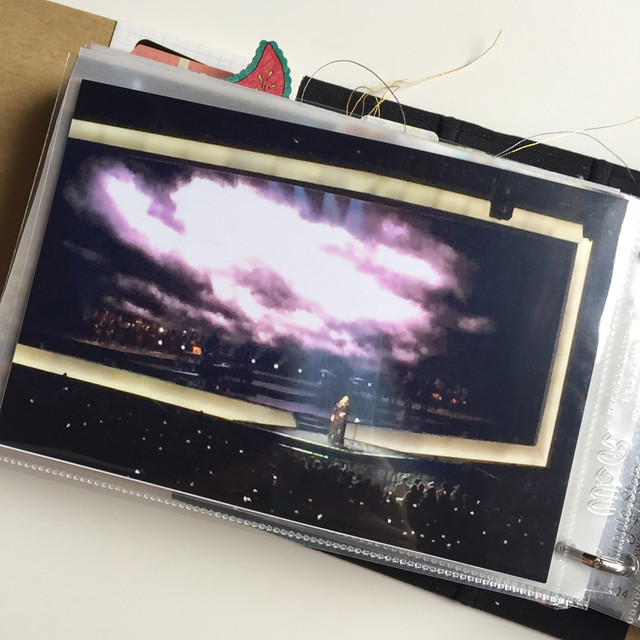
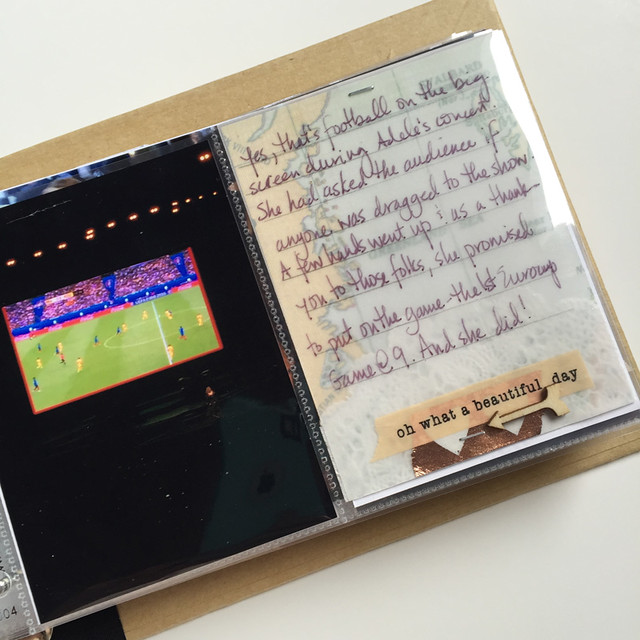
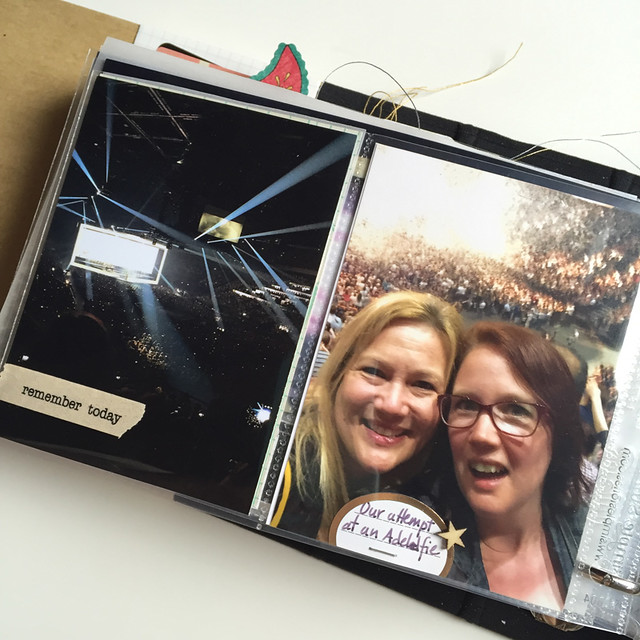
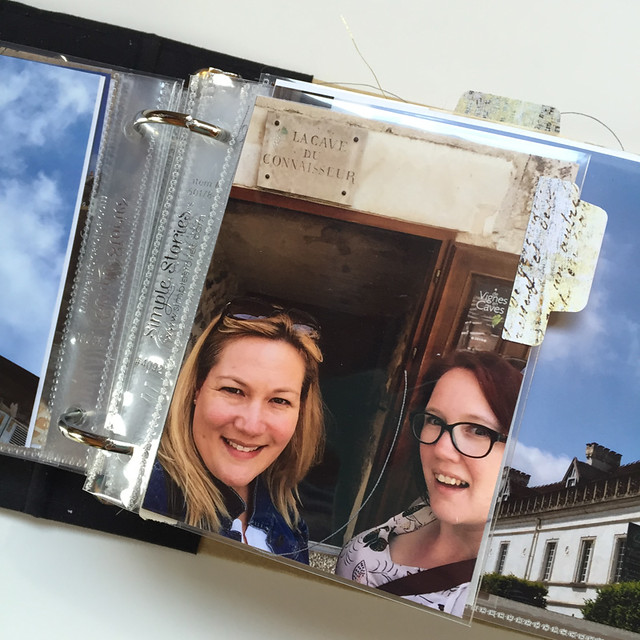
Here are some of the pages I've been working on this week. You can see all the fun we had during our 24 hour stay in Paris!


Aug 3_1


Aug 3_3


Aug 3_4


Aug 3_5


Aug 3_6

Below is one of the interactive pages I made using my Fuse Tool by We R Memory Keepers.

Aug 3_7


Aug 3_8


Aug 3_9

This journaling section sets up the story for the next few pictures. Although I did use journaling spots from time to time to add some more details.

Aug 3_10


Aug 3_11


Aug 3_12

Sometimes a photo really doesn't need any journaling.

Aug 3_13

And sometimes it really does!

Aug 3_14


Aug 3_15

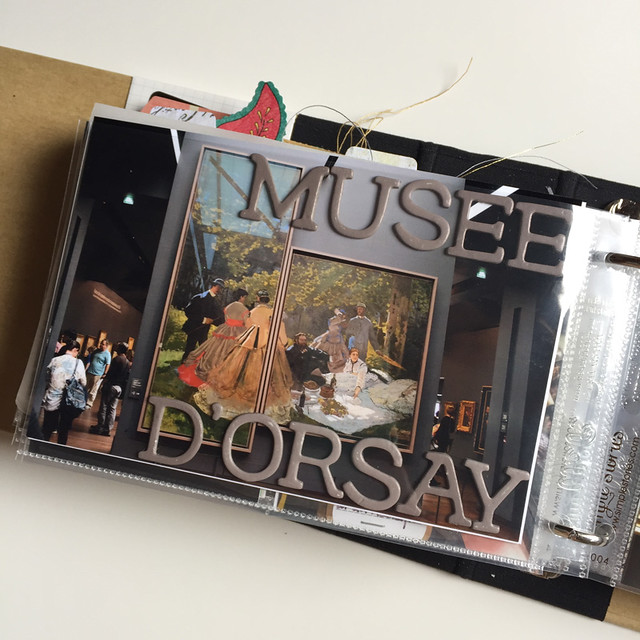
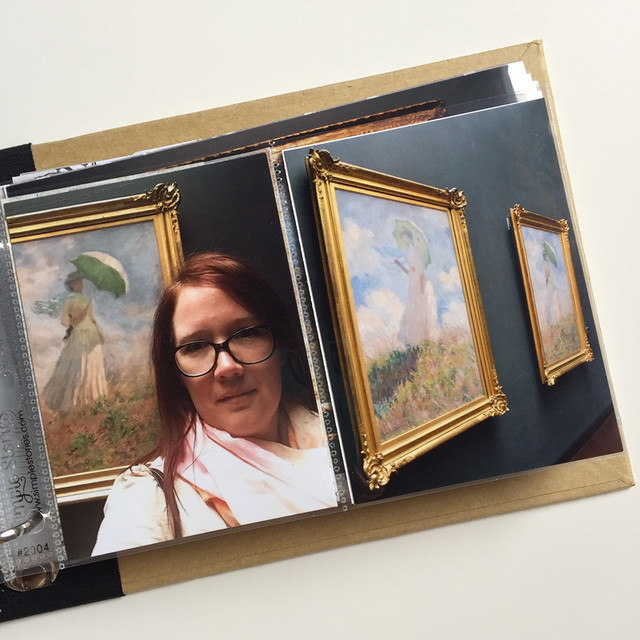
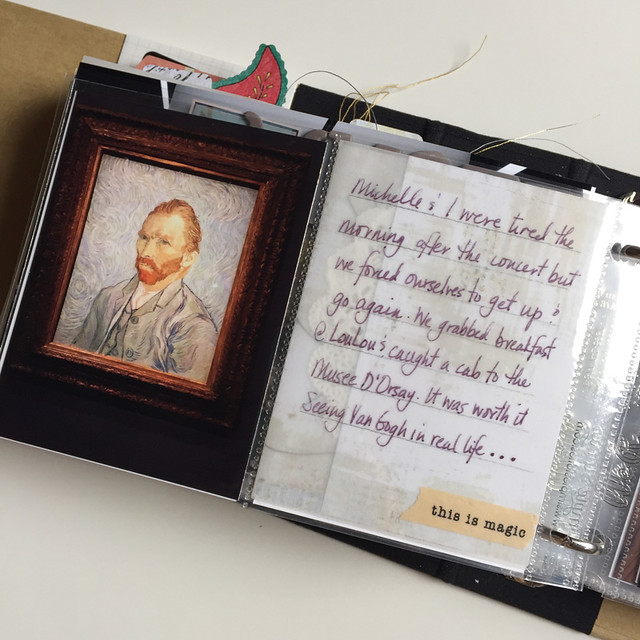
The morning after the Adele concert, we went to the Musee D'Orsay. It was absolutely amazing to see Monet and Van Gogh paintings in real life. I would love to go back. I'm so glad that I took pictures of the art so I can remember how it felt to stand there and take it in.


Aug 3_16


Aug 3_17


Aug 3_18

I love embellishments but I don't want to bury the photos and stories under too many. I'm cautiously adding a few at a time because the album is small - only 4x6'- and it has a lot of photos. I may have to save all the pretty supplies for another project. I'm going to give myself another week to add any last finishing touches. I need a deadline or I will pick at it for ages.

Thanks for stopping by today. Come back next week and see my finished album. I can hardly wait to share it all and move on to something new!

Cathie

Wednesday, 27 July 2016

Let's Make a Travel Album: An Update

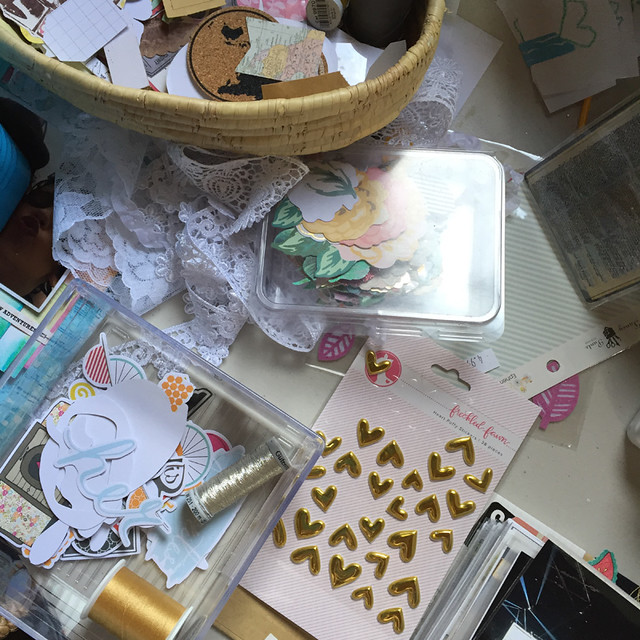
Making an album is messy work. The state of my desk is proof that I'm the kind of scrapper who likes to have everything out. It's no surprise that I'd rather scrap than put things away. Thankfully, I have a scraproom with a door.

July 27_1

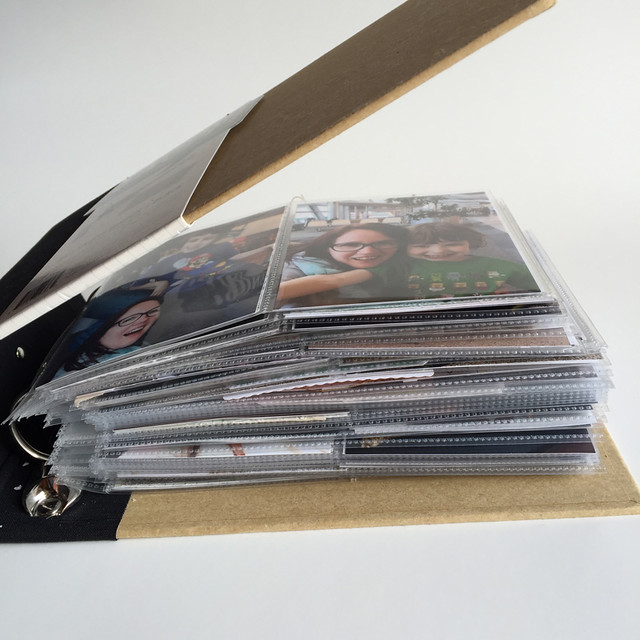
My travel album is almost done. Since last week, I added more journaling and embellishing. You can see how much thicker the album is with all the fun stuff added in.

July 27_2

Here's a look at where I am right now.

July 27_3

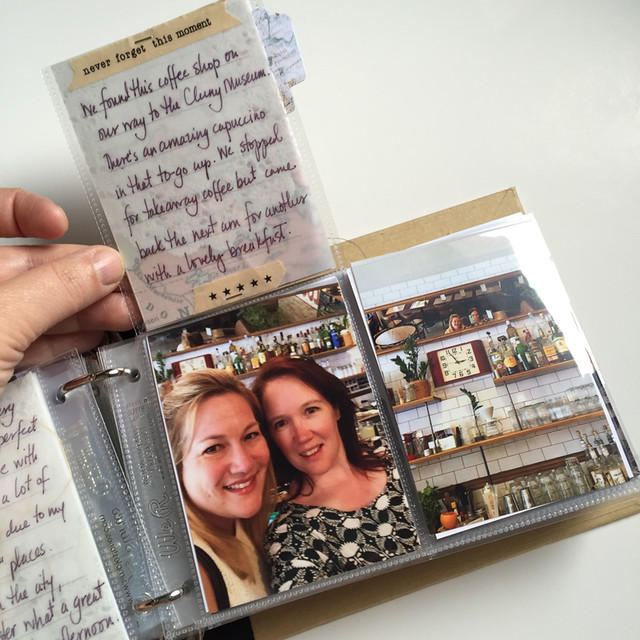
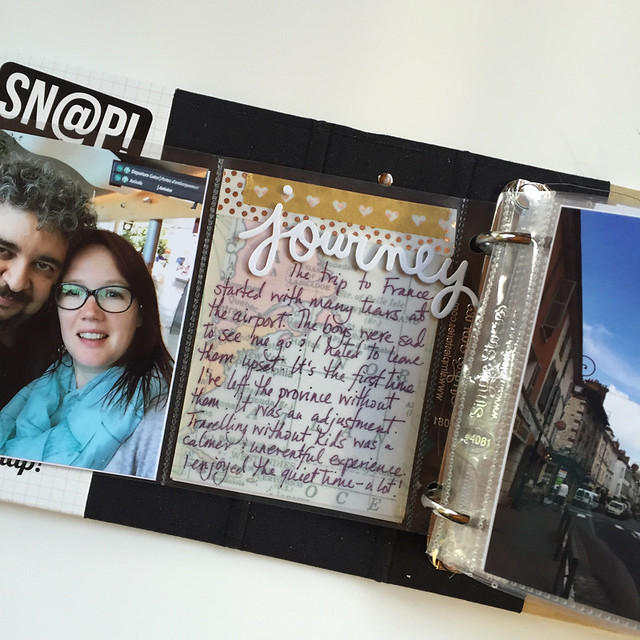
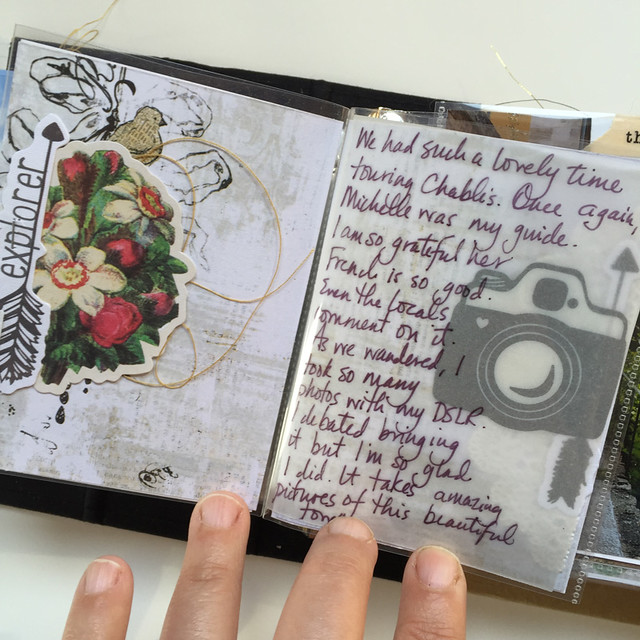
This is the first of my journaling pages. I'm writing on vellum with a Le Pen by Marvy Uchida. It writes beautifully and I haven't had any problems with bleeding or smearing.

July 27_4

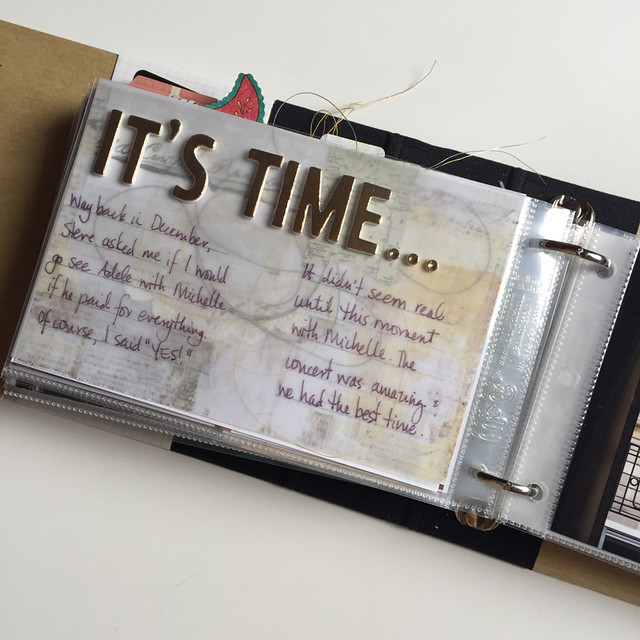
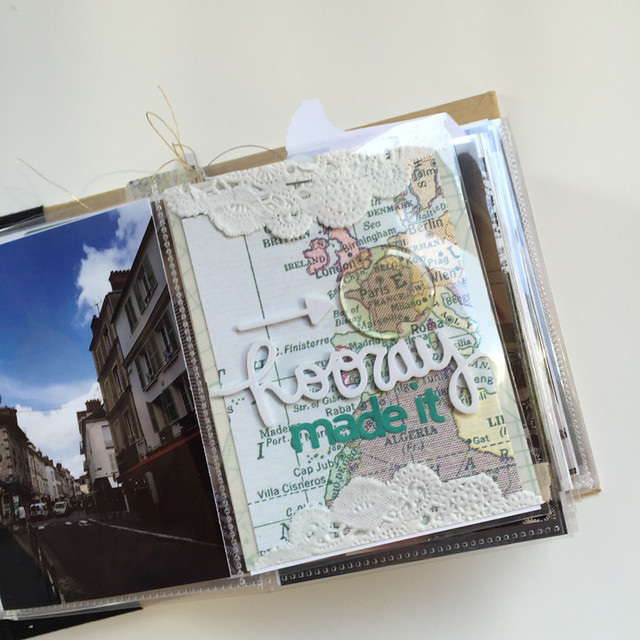
I really wanted to use that piece of map paper because Paris was on it. I didn't want to cover it with vellum so I used some embellishments and letter stickers to substitute for hand written journaling.

July 27_5

I put a piece of vellum over the lower third of the picture for journaling. It worked out really well and saved me any anxiety over making a mistake. I only had the one picture but I have plenty of plain vellum.

July 27_6

I'm also using labels and washi tape for journaling.

July 27_7


July 27_8


July 27_9


July 27_10


July 27_11


July 27_13


July 27_14


July 27_15

I shared how I made these collage pages and what they looked like without journaling last week. I like how you can easily read the writing and still see the elements under the vellum.

July 27_16


July 27_17

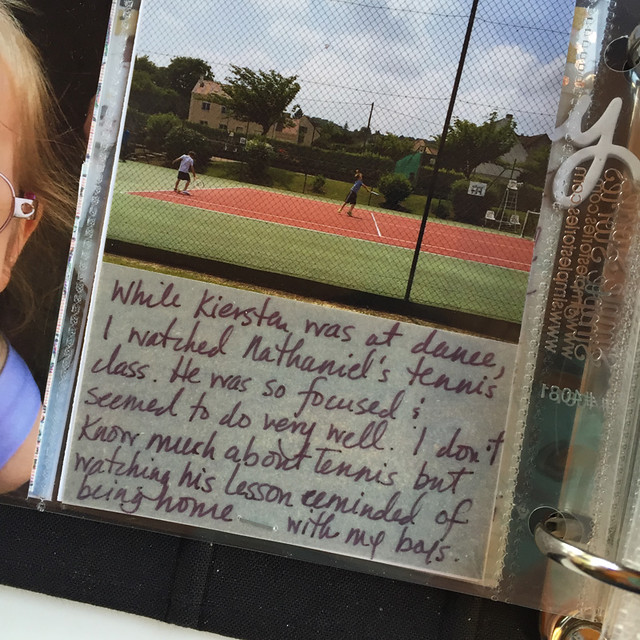
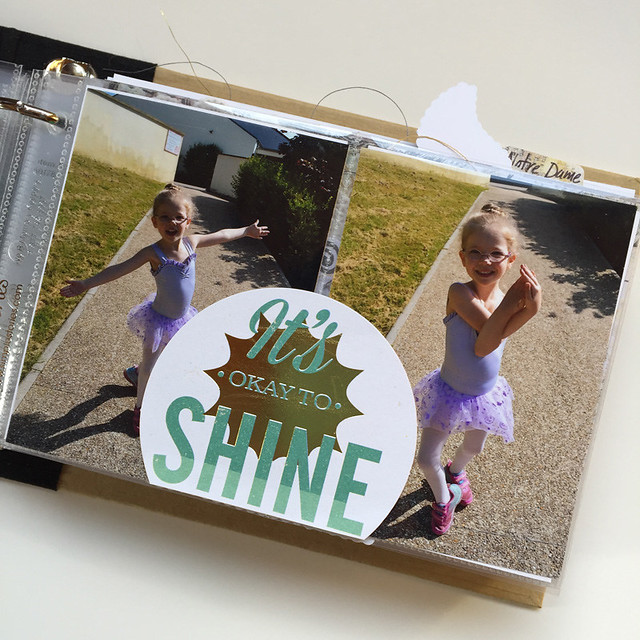
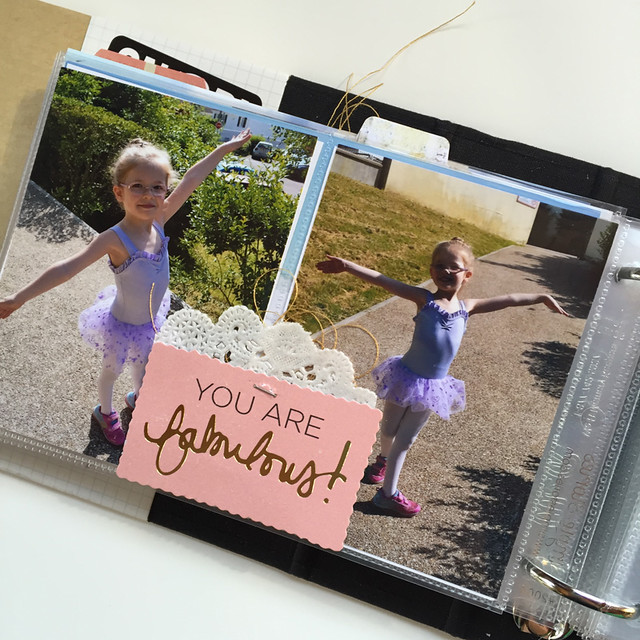
I used the diecuts as journaling for these pages of my niece. She was showing me some dance positions on her way to ballet class.

July 27_18

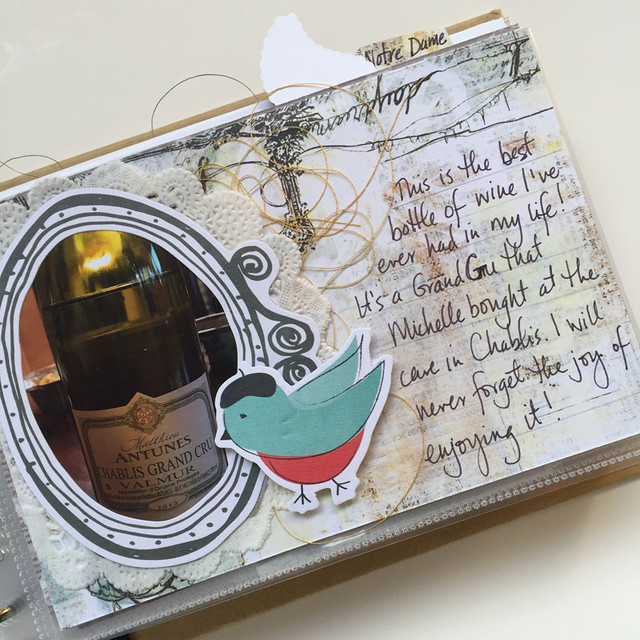
And how could I resist that little bird with a beret? Perfect for an album about a trip to France, right?

July 27_19


You can find out more about the supplies I'm using to make this album in this post or you can leave a note a comments. I'll update you next week on my progress. It's almost done so it's time to start thinking about my next pocket page project.

Thanks for stopping by today!

Cathie


Monday, 8 June 2015

An Easy Way to Scrap Lots of Photos

 The answer is pocket pages, of course!

June 8_1

This is the quickest, easiest way for me to scrap to all the photos I want to use to tell a single story.  I am a single photo scrapper when it comes to a traditional 12x12" spread so when I have a bunch of photos I am stumped! It takes too long for me to figure out where to put the photos and that's not how I like to spend my creative time.
 
With divided page protectors, I don't have to worry about where to fit the photos because that is already decided for me. Pocket page protectors are available in almost any album size but I happen to prefer the 6x8" size by SN@P. There are lots of page configurations to choose from so I always have lots of choice.  Of course, with the new Fuse Tool by We R Memory Keepers you can make any size or style pocket page you like.

June 8_2

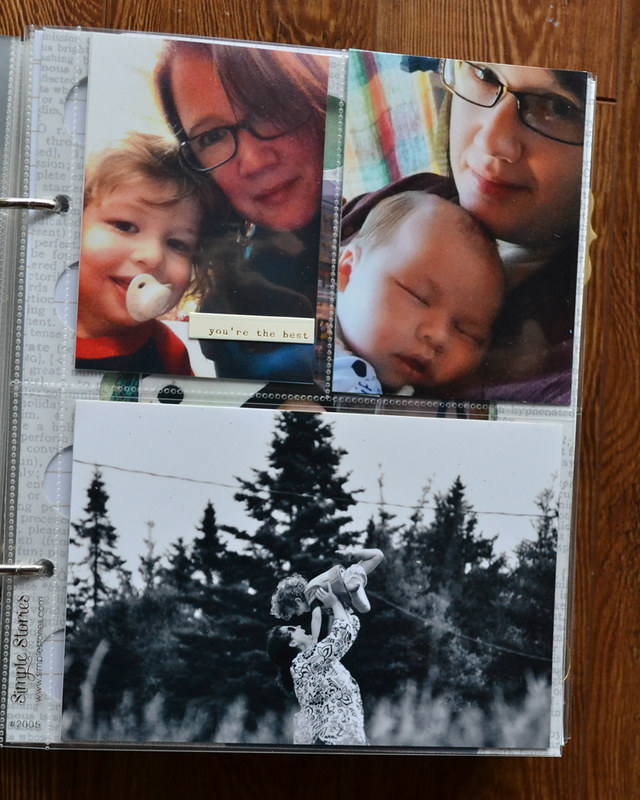
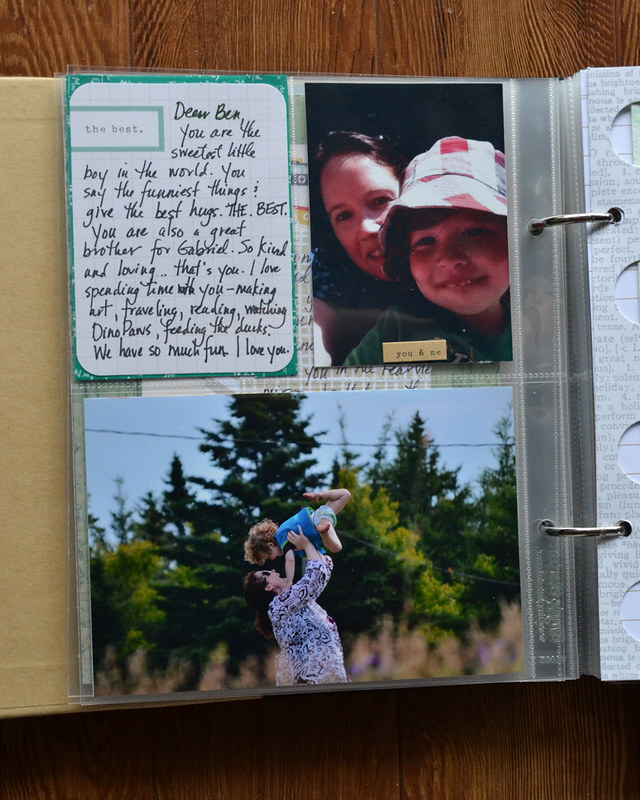
I managed to fit 5 photos on this spread something I would never try on a traditional scrapbook page. These pics are from different events but show my relationship with Ben over time - from a little newborn to present. That's something that I could never do with a traditional 12x12" layout.

So, here's to quick and easy pages and having fun in the process.

Thanks for stopping by!

Cathie