Showing posts with label Make Mine Mixed Media. Show all posts

Monday, 10 October 2016

Happy Thanksgiving!

It is Thanksgiving in Canada today. To celebrate, I am taking a break from my usual Mixed Media Monday post to spend with my family...and maybe take a nap. While I'm away, you can check out some of the links below. It's a collection of some of the mixed-media scrapbooking posts from my blog's archives, in case you want a little inspiration today.

Happy Thanksgiving!

Cathie

Mixed Media Monday (posts with full instructions)

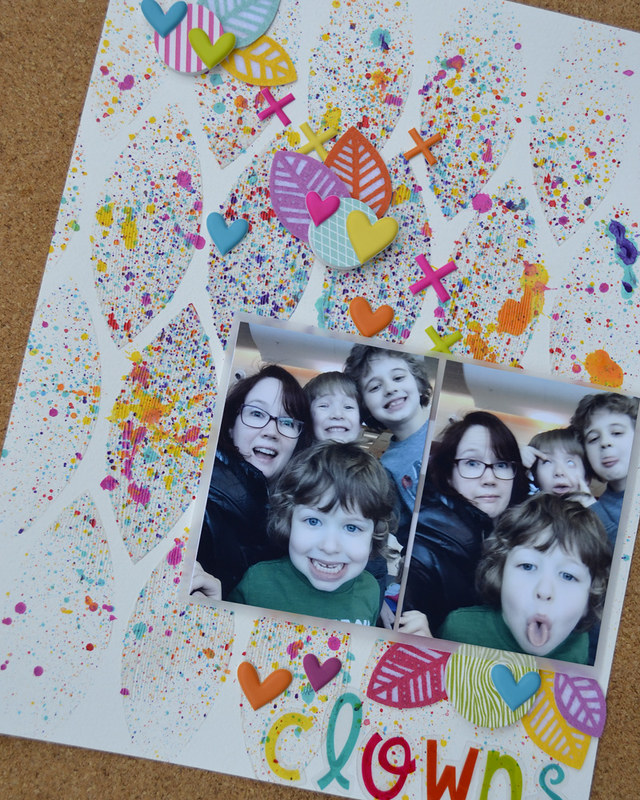
1. "Clowns" Layout Featuring the Tim Holtz Splatter Brush

Aug 22_2

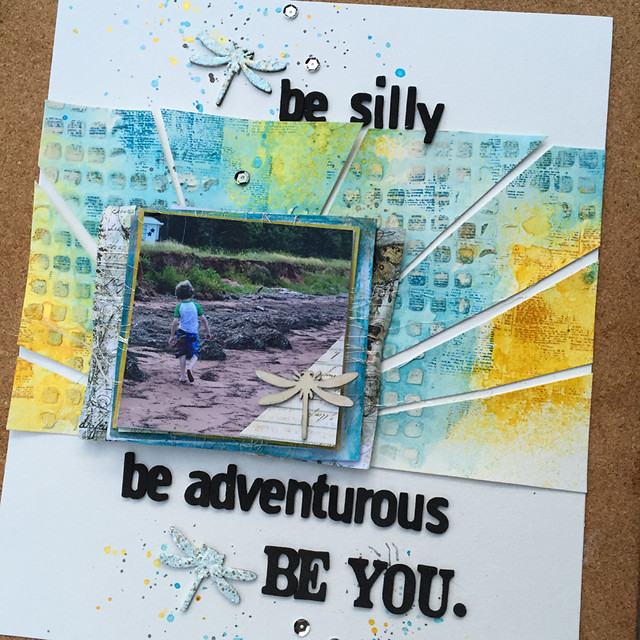
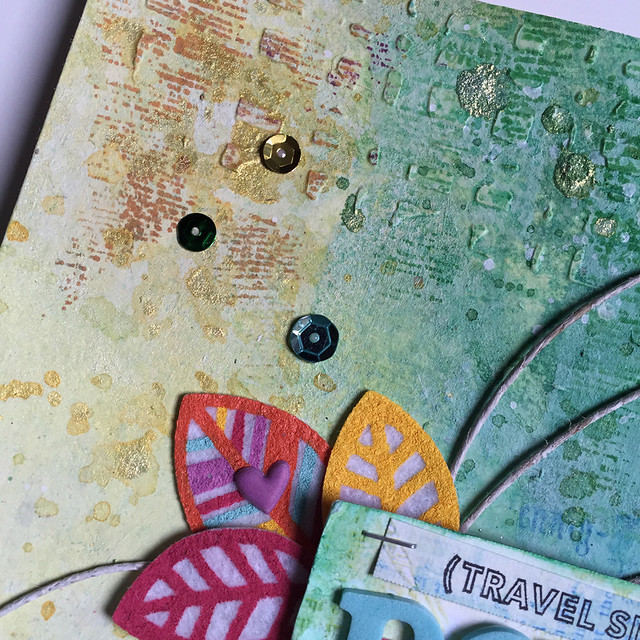
2.  "Be You" Layout

Aug 15_1

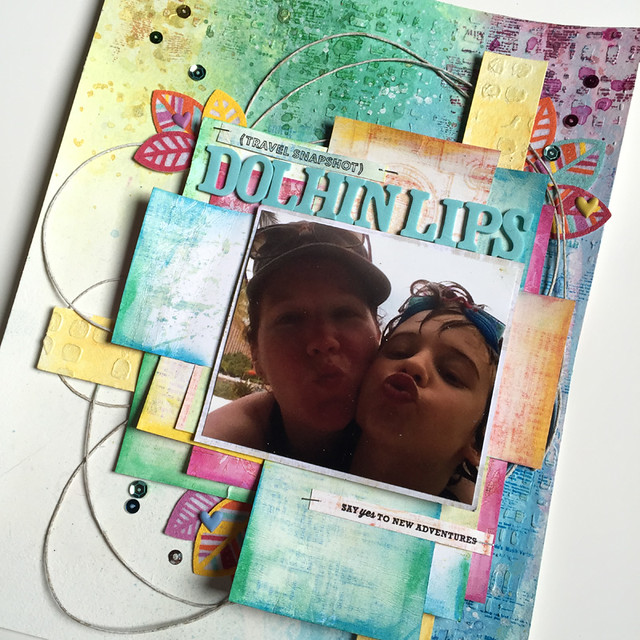
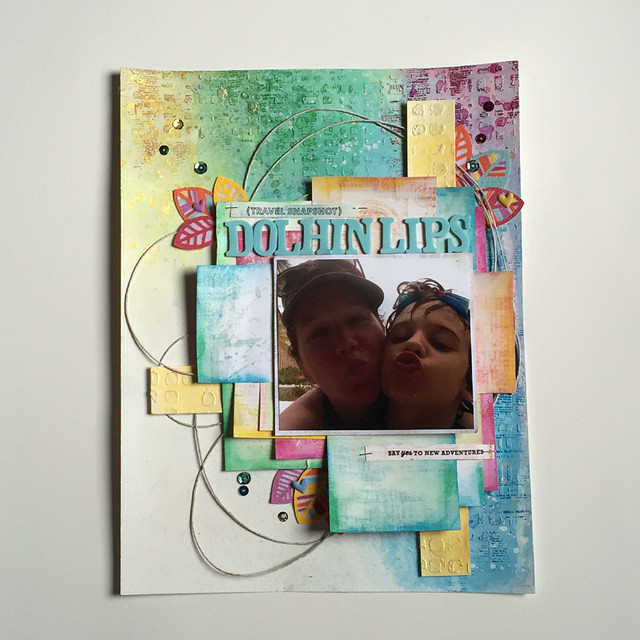
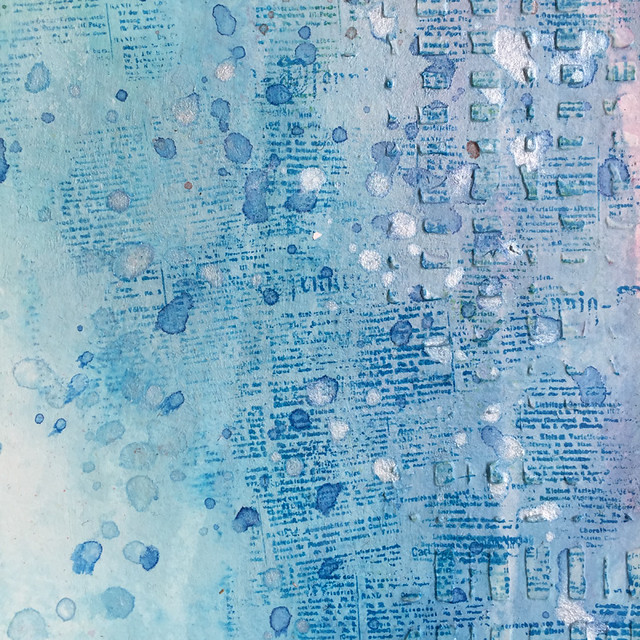
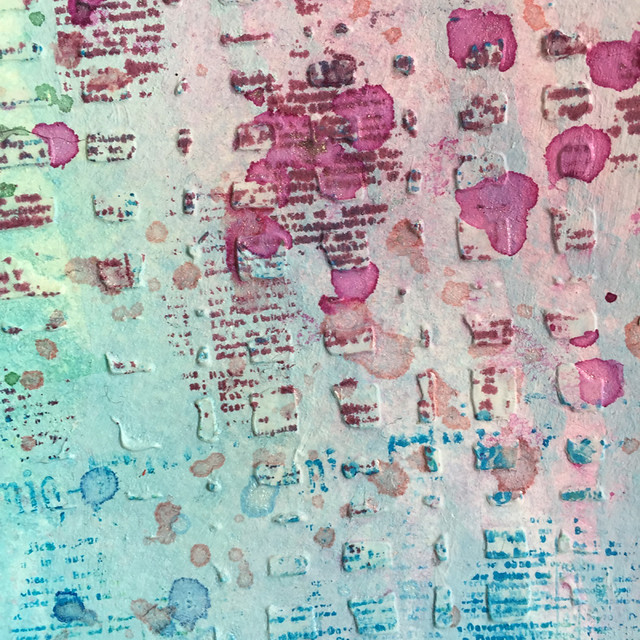
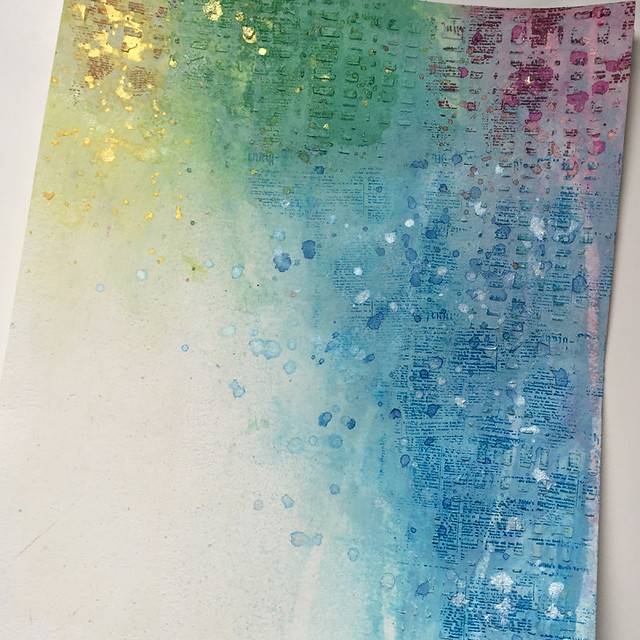
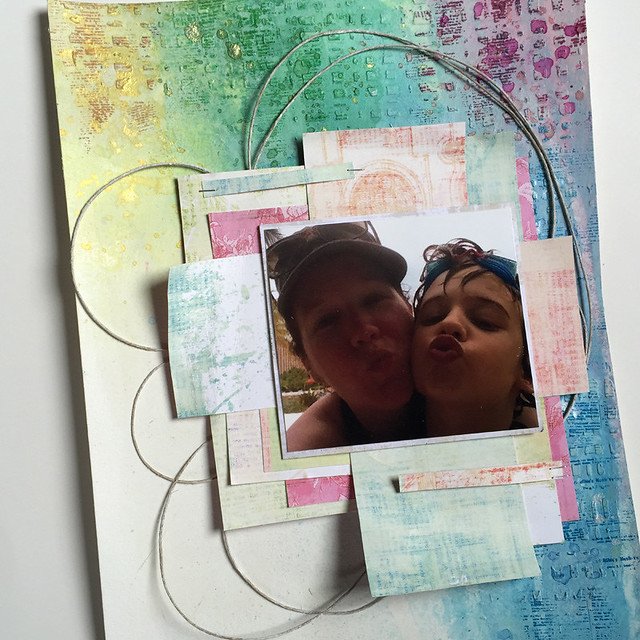
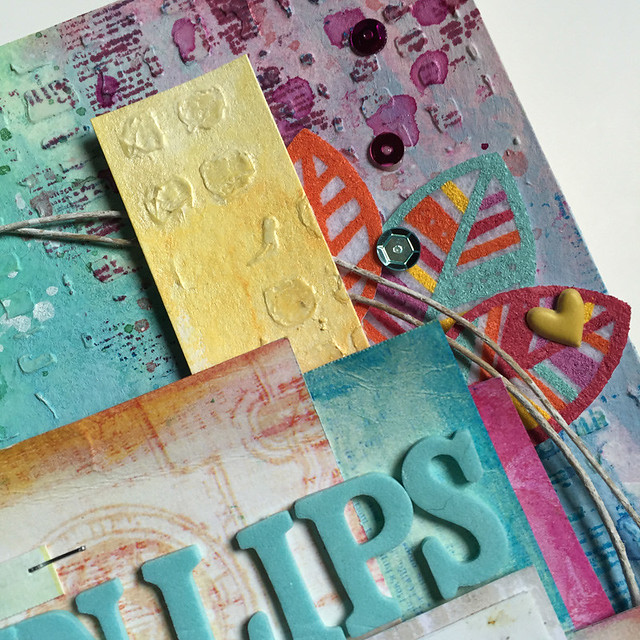
3. "Dolphin Lips" Layout

July 25_8


Mixed Media Layouts (photos but no instructions)

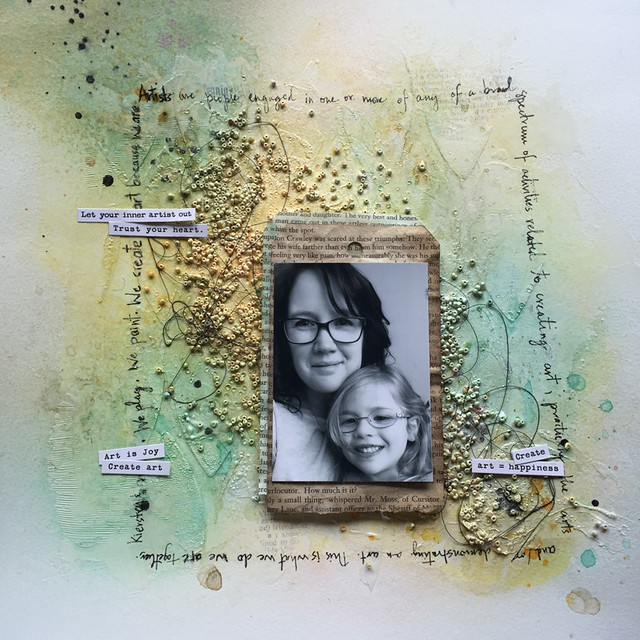
1. "We Are Artists" Layout  

May 23_2

2. Layout Featuring the Prima Mixed Media Brushes.

June 6 1

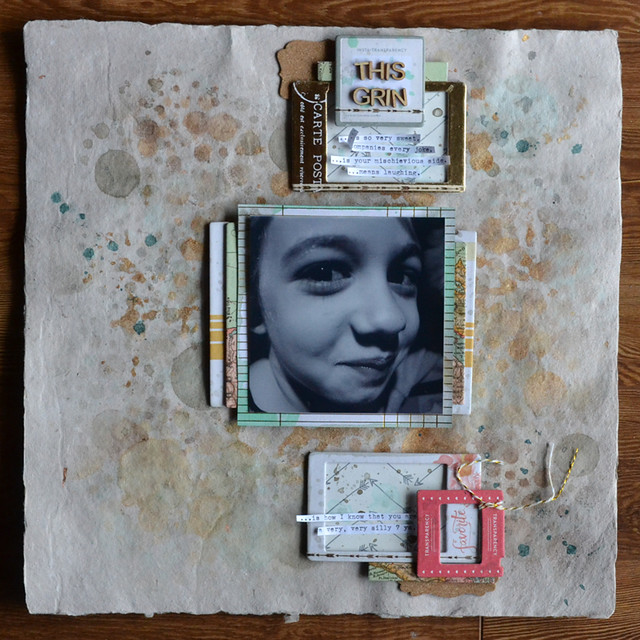
3. "This Grin" Layout

June 4_1

Monday, 25 July 2016

Mixed Media Monday

Welcome to Mixed Media Monday! Each week, I share a mixed media layout and include the instructions and any tips and tricks I have picked up along the way. If you ever have any questions about techniques or products that I used to make this layout, leave a note in the comments and I will get back to you. I know that mixed media can be intimidating but I think of it as a creative adventure. Yes, it requires practice and patience but the rewards are worth it - I promise!


It might be the influence of the bright sunny days but I wanted to change things up this week. I wanted to use lots of bright colors, play with supplies I haven't used in a while and use a different size to create this week's layout.

July 25_1

Here's the supply list for this week's layout.

Heavy Gesso - Art Basics (Prima)
Modeling Paste - Art Basics (Prima)
Color Bloom Sprays (Prima)
Weaving Stencil (Prima)
Water Soluble Oil Pastels (Prima)
Mixed Media Silicon Brush (Prima) or palette knife
Background Stamp - Book (Prima)
Kelly's New Adventures (Clearly Kelly - Hero Arts)
Archival Ink (Ranger)
Felt Leaf Stickers - Freckled Fawn
Puffy Heart Stickers - Freckled Fawn Embellishment Kit
Tim Holtz Tiny Attacher
Blushing Floral Paper (Prima)
Canson Watercolor Paper
Twine
Sequins
Paint brush

Instructions

1. Apply modeling paste through a stencil. I applied the modeling paste along the top and along the right side of my watercolor paper. I set it aside to dry but you can also dry it with a heat gun.

Tip: Clean your stencil immediately after using modeling paste. If you let the modeling paste dry on your stencil it is really hard to remove and can damage your stencil. I use baby wipes to clean paste from my stencils.

2. Gesso. Add a coat of gesso to the background. Cover the modeling paste and paper with a thin coat of gesso. Use an old brush to work the gesso into the stenciled design. Set aside to dry or dry with a heat gun.

Tip: Don't coat the entire background paper. Leave a border plain - no gesso.  Paint and sprays react differently to plain paper than they do to gessoed paper and it gives an interesting contrast to your background.

3. Spray ink. I sprayed my ink along the top of my paper. I started with yellow (Sunshine, Sorbet and Mustard) then green (Emerald), blue (Summer Sky, Cobalt) and pink (Boysenberry).

4. Apply oil pastels. I selected colors that matched my ink and rubbed it directly on my background. Once the colors were in place, I blended them with my finger. Here are the colors of oil pastels I used for each section starting with yellow: Yellow Orange, Yellow, Cadmium Green, Yellow Green, Light Blue, Sky Blue, Cobalt Blue and Magenta.

5. Blend with gesso. I got this idea from Mindy Lacefield. She used gesso to blend the oil pastels with a brush in a YouTube video and I wanted to try it. It gave everything a lovely pastel effect.

6. Stamp. I stamped in each color section using different Archival Inks (Orange Blossom, Emerald Green, Maganese Blue and Plum).

7. Ink splats. I used the same color inks that I had sprayed with to make splatters on my background.

July 25_3

July 25_4

July 25_6

July 25_5

This is what my background looked like before I started to add the embellishments.

July 25_2

8. Embellish.

July 25_7

July 25_8

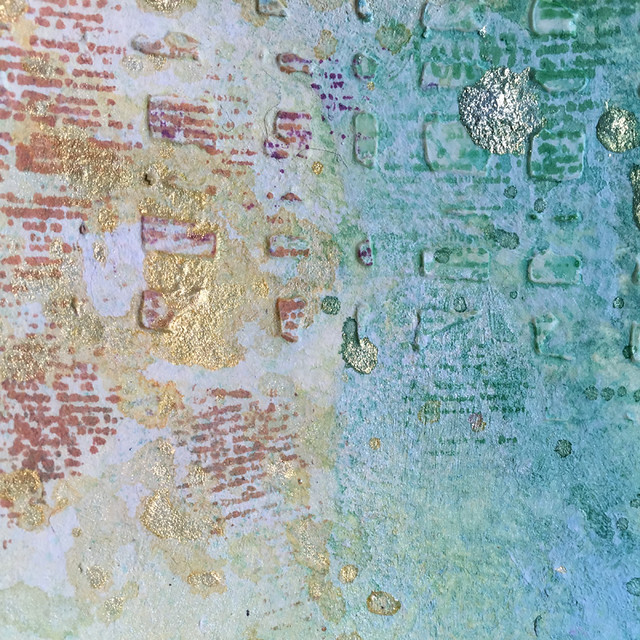
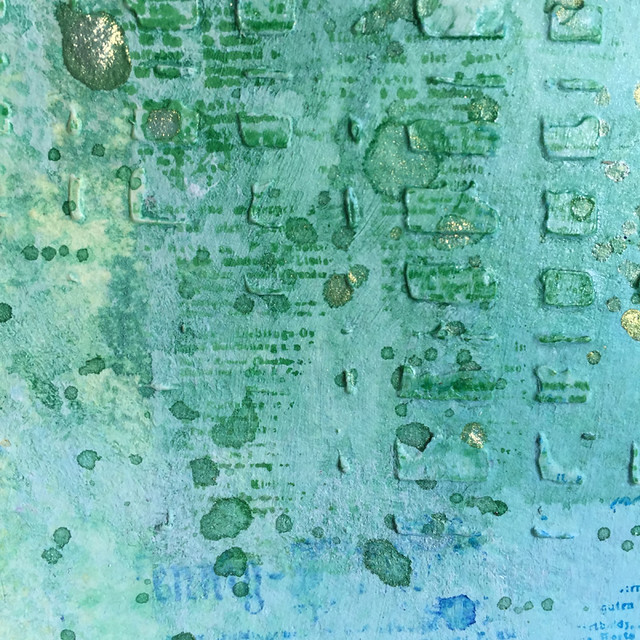
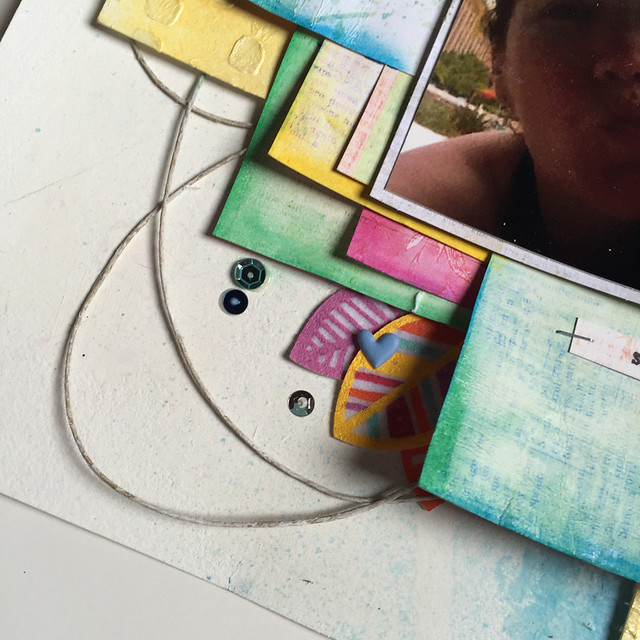
Here are some closeups of the embellishments.

July 25_9

July 25_10

July 25_11


One of the things I love about mixed media scrapbooking is that I can always change things up whenever I feel like I'm falling in a rut.  All it takes is a new color palette or technique to inspire me to create something different. I enjoy learning, experimenting and creating and now I have a new layout I can enjoy and share with my family.

Thanks for stopping by today!

Cathie

Monday, 10 August 2015

Done is Better Than Perfect

This month, I am having fun with family and friends who are home for a visit. Hopefully, the weather will hold and we can enjoy the end of summer.  I'll still be around and sharing new content on Monday, Wednesday and Fridays.

This page has been sitting on my desk for ages and I finally decided to bite the bullet and finish it.


It's one that I started as part of a class for my LSS, The Paperie, in September. I loved how the background turned out so I'm still thinking of turning it into a class...we'll see.


You'll notice that my obsession with cheesecloth continues. For this page, I adhered it to the background using gel medium and coated it in gesso so I could add more layers.


And here's another of my favorite things...stencils and modeling paste (Both by Finnabair for Prima). I have been layering modeling paste over things lately. I like the organic and imperfect look especially when I "cook" the modeling paste with my heat gun.


Here's another look at the cheesecloth. I like to pull and tear my cheesecloth out of its original shape. It's easier to create folds and dimension to make it look more interesting.


Another element I have been enjoying lately, is layering lots of pattern paper under my photos and journaling. This isn't anything new to mixed media scrapbookers but it's something that I have been playing with. I simply layer a sheet of paper under my photo and cut around it. Then I add another sheet of paper, and cut around it. I repeat the process until I'm happy with my little stack of pattern papers. It's a simple process but I like it and it's helping me get my journaling on my pages.


And there you have it a little inspiration for your Monday. I hope it helps you finish a page or project that has been hanging around your desk a little too long. Remember what Dina says, "done is better than perfect!"

Thanks for stopping by!

Cathie

Monday, 20 July 2015

Make Mine Mixed Media: Cards Edition

This week, I'm excited to teach my first Mixed Media Card Class at my LSS, The Paperie. Here's a look at the cards we will be making in class.


 We'll be using some of my favorite techniques and lots of products from Finnabair's Art Basics Line for Prima to create colorful and creative cards. Did I mention quick and easy? Oh yes, mixed media cards can quick and easy. No promises about clean and simple though - ha!

Space is limited so call or email The Paperie today if you want to grab a spot.

Thanks for stopping by!

Cathie


Friday, 17 July 2015

Playing with My Brayer

I love my brayer. It's a Speedball like this one. It came with a bunch of rollers which I never use. I've had it for years but I didn't use much until I got my Gelli Plate. I also use it to build backgrounds like this one.


Basically, I squirt some paint on my craft mat, roll my brayer in the paint and then brayer the paint onto my art journal page. I like the look of paint brayered on paper. It's completely different that using a paint brush, don't you think? Lots of visual texture but no dimension.

Anyway, then I turned the background into this page.


I drew circles on the background with my china pencil - I love that pencil.


Then I painted gesso around the circles using my fingers. Finger painting is always fun. While painting with the gesso, it smeared the lines of the circles. I didn't mind that at all. In some places, I actually encouraged the lines to smear and blend.


Then when it was all dry, I retraced the circles using my china pencil.


There you have it. There is nothing very complicated about this page but it was a lot of fun to make.

Thanks for stopping by!

Cathie


Thursday, 16 July 2015

Repeating A Piece

A few weeks ago, I blogged about this art journal page.


I almost never repeat a page. Once a page is finished, I like to stick it in my art journal and move onto the next experiment. I love to try new things but this page made me want to repeat the process. So, I did.


I used the same techniques. First, I built a background using spray ink, then coated everything in clear gesso, then drew my shape then added white gesso.


The main difference was with the supplies. For my spray ink, I still used the Color Bloom sprays but I chose a different palette. To draw the lines, I used various colors of Dr. Ph Martins Bombay India Ink with my bamboo brush.

I didn't add the pen work in white Sharpie pen. I want to go back and add that in - I like how that looks on the original piece. 

Here are some closeups...


I'm a big believer in the art of practice. I will practice techniques or repeat color palettes but I rarely make a page deliberately look like a page I have already made.

Believe it or not, I actually prefer the original. I like the vibrant colors, how the inks are smeared under the gesso and the pen work. However, I much prefer the drawing made with india ink and brush.

I thought the process would be boring. I thought that I would feel trapped but actually it was nice to not to have to figure out what to do next. I just had to follow the steps. Changing things up with supplies and color palette was enough variety for me.

Will I do this again? Absolutely. I'm planning to make these tree type things until I don't want to make anymore. I'm curious to see what will happen as I repeat and practice and experiment.

So, tell me, which one do you prefer and why? I would love to know.

Thanks for stopping by!

Cathie

Tuesday, 14 July 2015

Two Stash Bashing Tips

I stumbled across these pics on my computer and realized that I haven't shared this layout. At least, I don't think I have. It got me thinking about The Life Changing Magic of Tidying Up by Marie Kondo.  I haven't read it yet but I feel a little bit like I have because I have heard so much about it.

My friends have read it, it's been talked about on podcasts and in many of my favorite blogs. Tidying up and decluttering is pretty trendy right now.

So, what does all that have to do with this layout?


Well, one of my favourite things to do with supplies that are cluttering up my stash but I just can't seem to part with is to use them all.

Like the wood veneer arrows above.

I was having a hard time using them one at a time so they were siting in my stash. When I used my "Put it All on the Page" strategy, it worked out great.  It is a really simple process. Just gather up all the pieces you want to use (but have been hoarding) and put every last piece on the page.

It creates a visual statement on my page and the added bonus is that I feel great for using up my supplies.  It's a win-win situation.


In fact, I can't help but think that I have lots more arrows that would look great on a similar page or maybe even added to this page...hmmm....

Anyway, my other tip is to wall paper over your unused backgrounds. If you're anything like me, you have pages in your stash that you either started and didn't finish or you didn't like how it looked but you just couldn't throw out. Well, you would probably never guess that the book paper background here is actually a recycled mixed media background.


If I could pull back the layers of book paper, gesso and spray ink (Prima Color Bloom sprays: Cobalt, Summer Sky), you would find a very ugly background. To make it useful again, I sprayed the original background with a sealant to keep any water reactive inks in place - more or less.

Then I layered lots of book paper with Liquitex Fluid Matte Medium. Once all the old background was covered up, I laid the background aside to dry and cure. When it was all dry, I added a coat of gesso to make the book paper less obvious. And there you have it one mixed media background ready to go.


To finish this one, I added some Art Basics Modeling Paste through a Ronda Palazzari stencil (Dots and Dashes TCW397). I let that dry on its own. Then lots of the Prima Color Bloom sprays for the watercolory background. Then I added the photos, the arrows and embellishments.

That's how I use up supplies that are cluttering up my stash to make pages that "spark joy", as Marie Kondo would say. If you have any decluttering or organizing tips you would like to share leave a note in the comments. I'd love to hear about it.

Thanks for stopping by!

Cathie

Monday, 13 July 2015

Inspired by Prima

Last week, I shared this picture of Ben with a friend's dog, R2D2. This is one of my favorite pictures from this year. I love it. I couldn't just slip it into a pocket page - I had to scrap it.


I used the Prima July challenges - Build a Page Sketch and Prima's Product Pick - to get me started. I always look at these but decided this month to play along.


I changed the photo to black and white in Photoshop Elements. There is something special about a black and white photo.

I started with some of Finnabair's Art Basics Modeling Paste through a stencil. I dried it with a heat gun to cook the modeling paste and create extra texture.


Then  I added a coat of Heavy Gesso from the Art Basics line and set it aside to dry. The canvas circles are from an old package of Prima resist canvas alphas my friend, Krista, gave me recently. I love them and wish I had more. *sigh*


When it was dry,  I used Prima's Color Bloom sprays to create the colorful background. These are my go-to sprays for months now. I still love them.  I used Soft Teal, Glistening Waves and Cotton Candy to create the blue-green background.


I'm an over-sprayer so I used my heat gun to dry the whole thing before adding the splatters.


I made the splatters using Soft Teal, Glistening Waves, Summer Sky, Tea Stain, Empress Gold, Gilded, Sorbet and Yellow Mustard.

I would splat a few colors of ink and then dry with my heat gun. Then more splattering and drying until I was happy.


While I was taking pictures, the sun came out and made all the glorious mica powder sparkle. 


While I was waiting for all that ink to dry completely, I went to work on my photo. I decided to add lots of layers of paper. I grabbed some paper that I thought would work from some of my Prima A4 paper pads and then cut photo mats using my scissors.

The papers were mostly from the Bella Rouge and Garden Fable.

The chipboard piece is also from the Bella Rouge collection. The tag and twine are from my stash.


 Then I repeated the layering under my typed journaling. I put a scrap of paper in my vintage typewriter and typed it up and then added layers using the same paper as I did for the photo mats.


 I stapled some of the paper directly to the background but I left the top sheet with the journaling loose for added dimension. I put some foam tape under there so the dimension will remain after I put the page in the album.


This happy and fun mixed media page is the perfect place for this special photo.

Leave me a note in the comments if you have any questions about supplies or techniques used.

Thanks for stopping by!

Cathie