This week, I decided to scrap a photo that has been sitting in my "to-do" pile for ages. It's a photo of my mom with her older brother. They were best friends as kids and they are still are today. It's the perfect story to scrapbook. Here's a look at this week's layout.
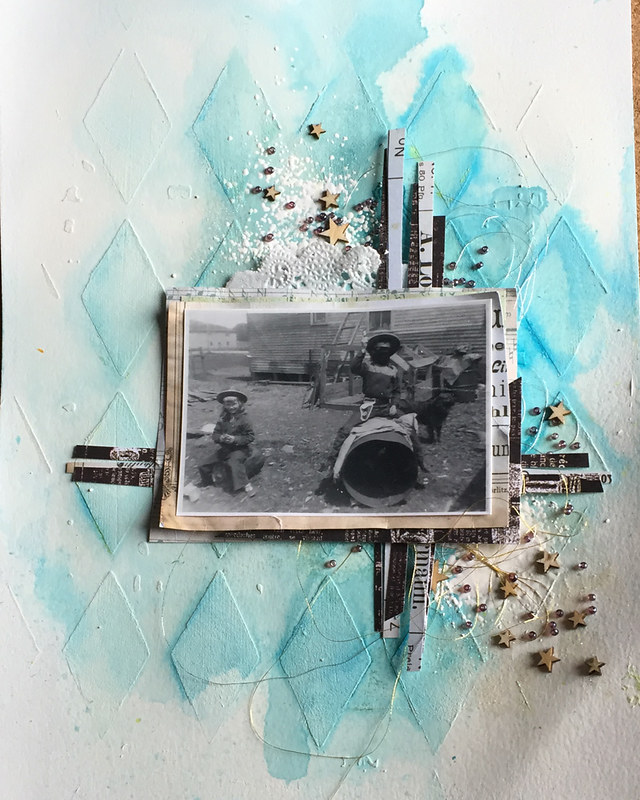
I decided to use the new Prima Color Bloom 2 Sprays instead of heritage colors like browns and greys. This color blue is my mom's favorite color and it worked so well with the photo. This isn't the original photo, by the way, it's a reprint. I have scanned some of my family's older photos so that they are not lost if anything happens to the original and so that I can scrapbook them without worrying about damaging the photo.
Supply List:
Heavy Gesso - Art Basics (Prima)
Watercolor Paper (Canson)
Harlequin Stencil (Prima)
Mixed Media Silicon Brush (Prima)
Light Modeling Paste - Art Basics (Prima)
Soft Gloss Gel - Art Basics (Prima)
Color Bloom 2 Spray Inks - Dragonfly Blue and Fairy Pond
Water Soluble Oil Pastels (Prima)
Pattern Paper: Archivist and Finnabair Collections (Prima)
Thread: White Gold and Gold (Guterman)
Embossing Enamel - Chunky White (Frantage)
VersaMark Ink Pad - Tsukineko
Art Sugar : White - Art Ingredients (Prima)
Glass Beads: Licorice - Art Ingredients (Prima)
Wood Veneer Stars - discontinued (Studio Calico)
Doily
Old Paint Brush
Instructions:
1. Gesso. Apply gesso to background using a silicon brush or palette knife.
2. Apply modeling paste through stencil. I used my silicon brush to put Light Modeling Paste on my background through the Harlequin stencil. Set aside to dry.
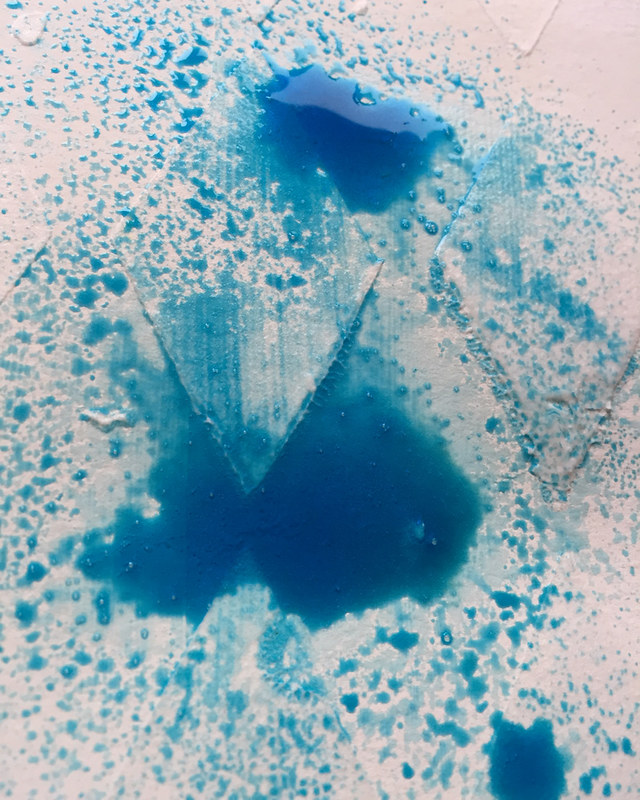
3. Spray ink. I started spraying the lighter Fairy Pond spray ink first. I like the colors to blend and the trick is to use a lot of ink. Spray until there are pools of ink on the page. Then I added a little of the darker Dragonfly Blue to the background. Then set aside to dry or dry with a heat gun.
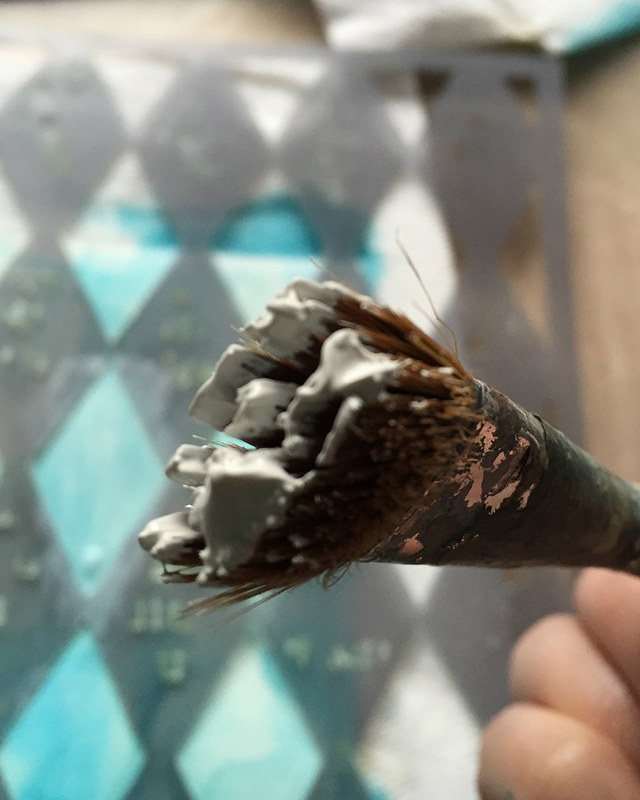
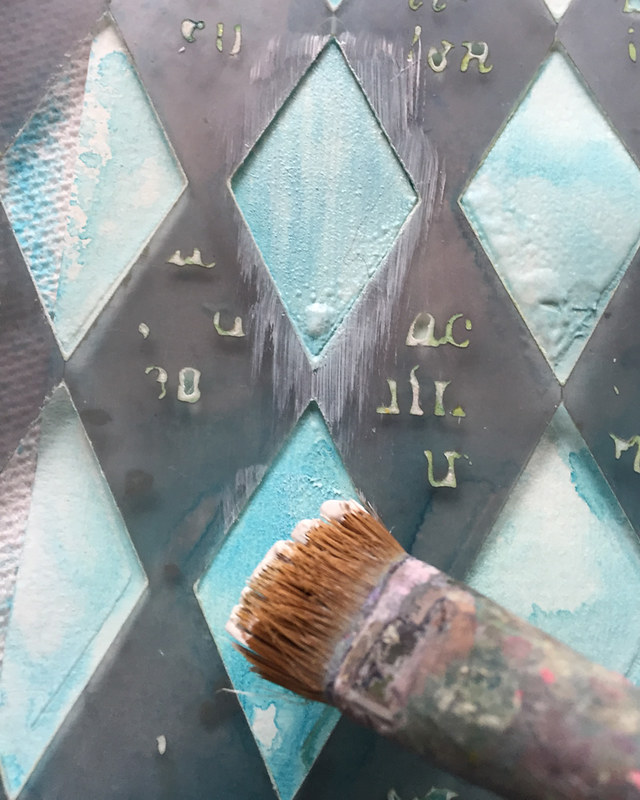
4. Gesso Ghosting - New Technique. Place your stencil back over the background and paint with gesso. I used an old paint brush to paint the gesso on the background. The spray ink was dry and I used the same stencil that I had used in Step 2. I only wanted gesso on the raised the image so the stencil worked as a mask and helped me control where I painted the gesso. This creates a subtle tone on tone effect but I love it.
Tip: Your ink must be completely dry before you start this step. It won't work if the ink is wet.
ps: I'm sure I'm not the first one to every try "gesso ghosting". I'm calling it a new technique because it's new to me and it's the first time I'm sharing it here.
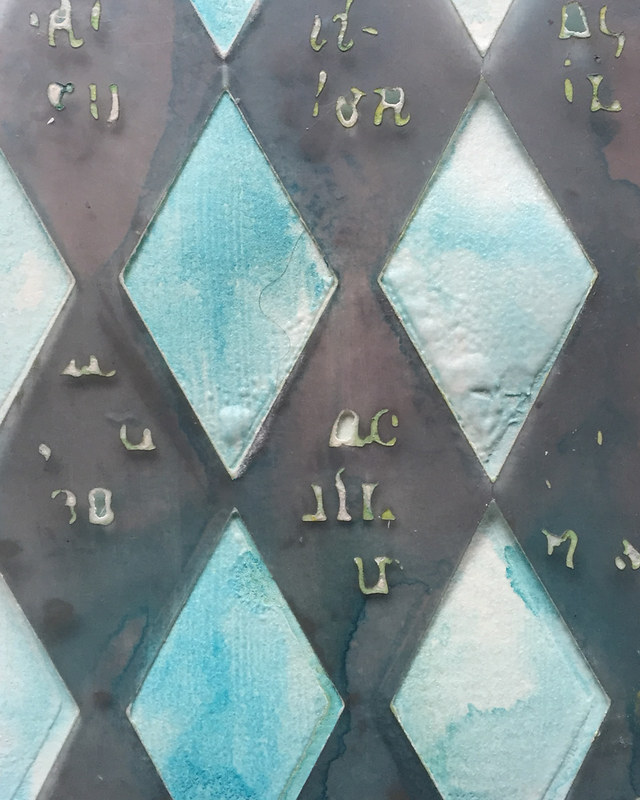
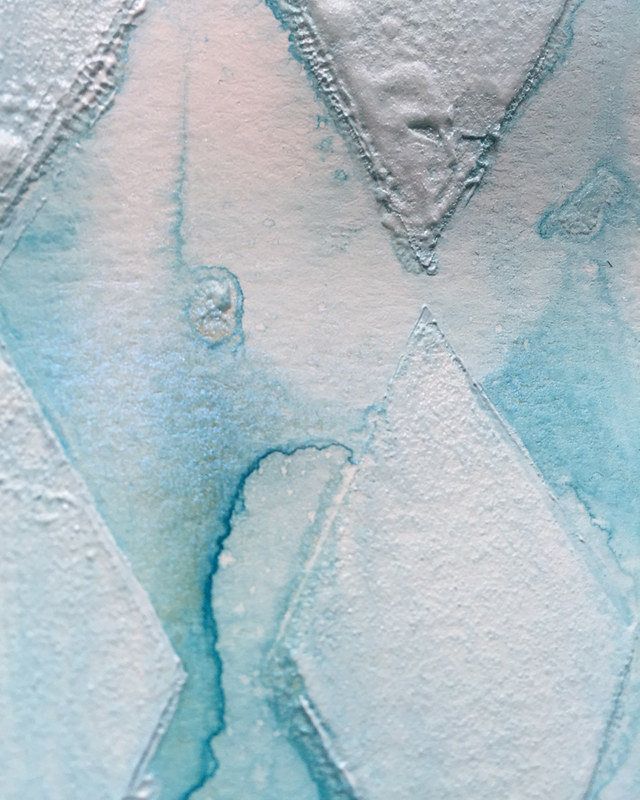
Here's what it looks like when you're done.
5. Embellish. This week, I added some shading around the diamonds with the Prima Water Soluble Oil Pastels. I colored directly on my background and blended it in with my fingers. I also added some Chunky White Stampendous Embossing Enamel. I didn't want to add white ink because the Prima Color Bloom 2 sprays react whenever they get wet. If I used white ink, the Color Bloom sprays would have reacted with the ink and turned it blue. I pressed my VersaMark pad onto my background and sprinkled the embossing enamel on top. Then I used my heat gun to melt the embossing enamel.
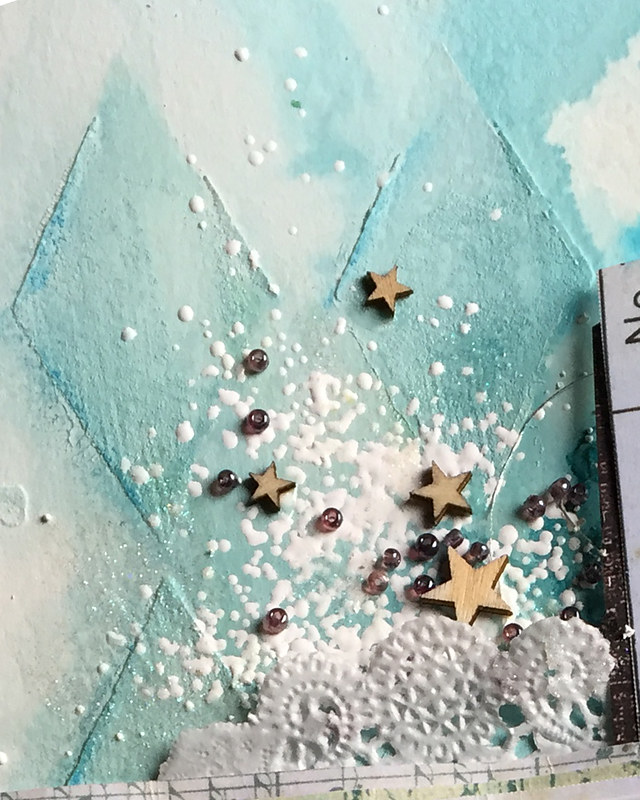
I added the beads, wood veneer stars and white Art Sugar with some Soft Gloss Gel on a brush. It's so easy to control where things are going when you use a brush. I didn't want to overload the layout with embellishments so I stopped there.
I'm so happy with how this page turned out. I can hardly wait to show it to my mom. Maybe I'll get her to add some journaling to the back. Wouldn't that be great?
I hope you find some time to make something this week.
Thanks for stopping by.
Cathie
No comments:
Post a Comment