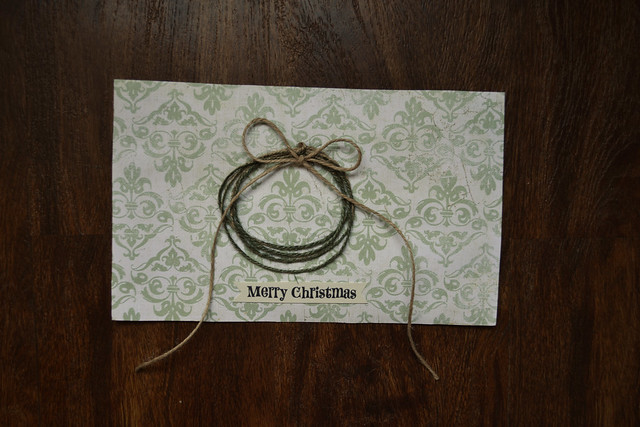
They're really quick and easy to make. If you're not careful, you'll be swimming in little wreaths in no time!
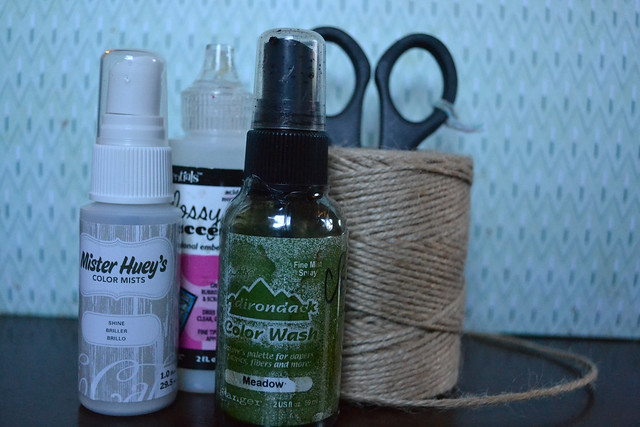
All you need is twine, green spray mist, shimmer spray mist and a strong liquid adhesive. I used Ranger's Adirondack Color Wash in Meadow for color and Studio Calico Shine for a little hint of shimmer. I also used Ranger's Glossy Accents to hold it all together. It super strong and dries clear!
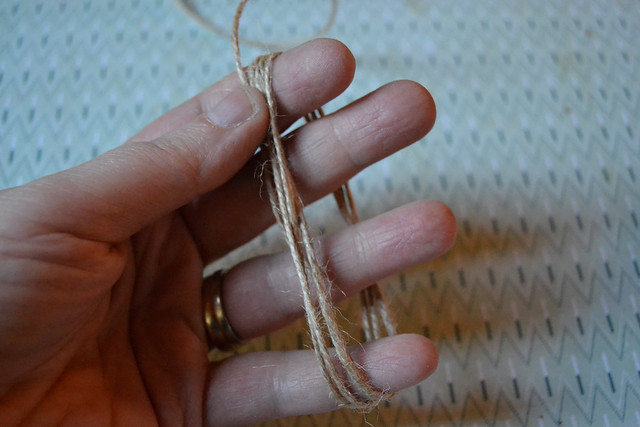
Let's get started. I wrapped the twine 4 times around my fingers.
Then I took the end of the twine...
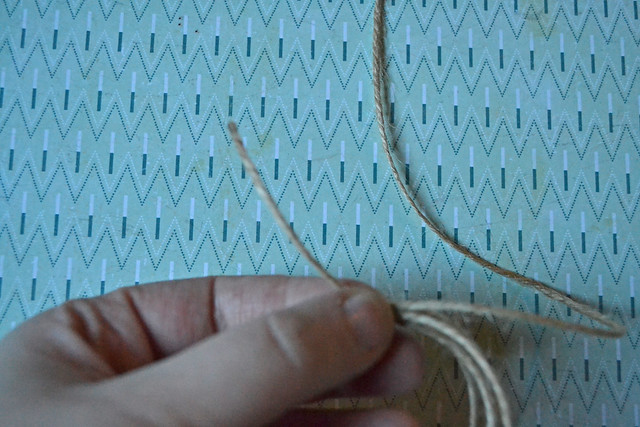
...and wrapped it around all the strands of twine. This is important because this is how the wreath is going to keep its shape.
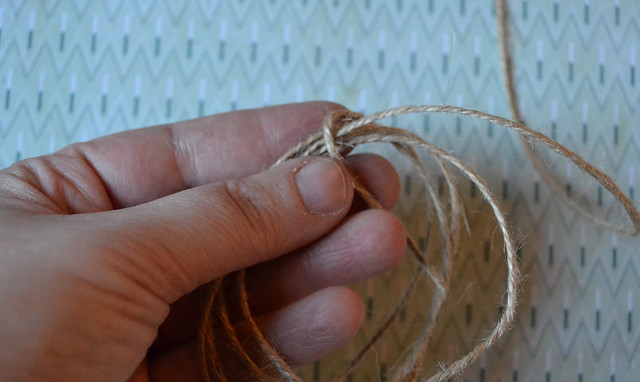
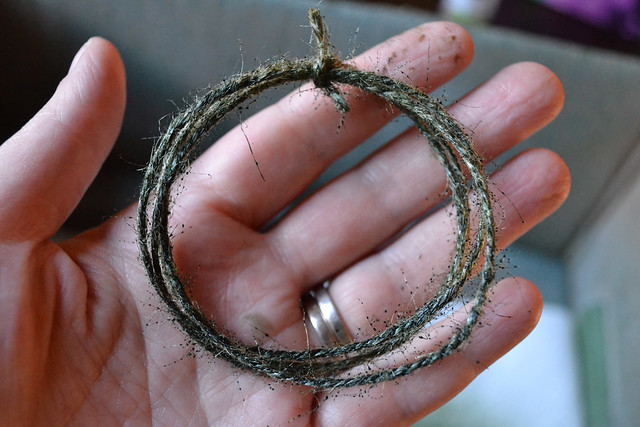
Finally, I tied a knot and trimmed the ends.
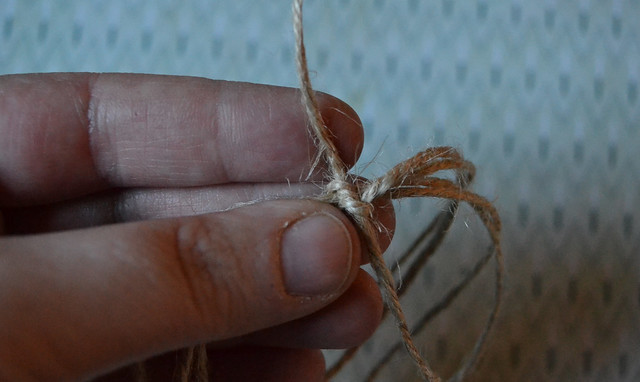
Here's what it looks like.
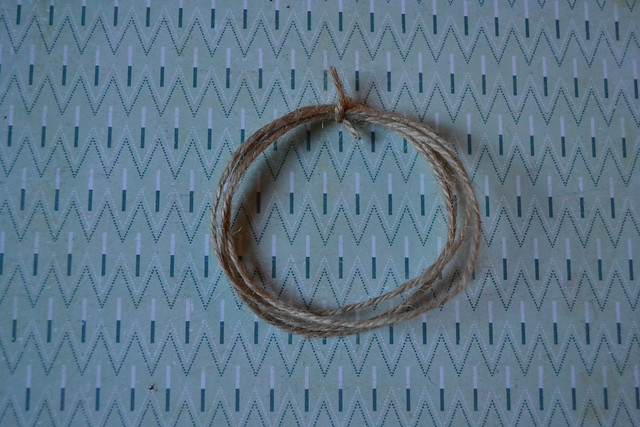
Now it's time for some color! You can use whatever color you want but I wanted mine to look like evergreen boughs so I went with green. I gave it 5-6 spritzes of Meadow mist and then a couple of spritzes of SC Shine.
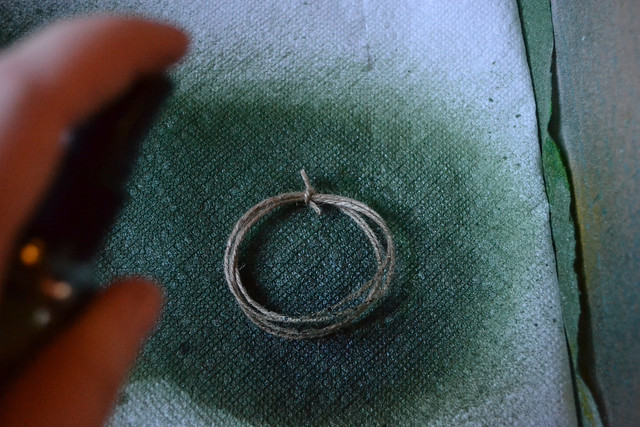
Then I set it aside to dry.
And while waiting, I tied a twine bow.

When the wreath was dry, I attached the bow with Glossy Accents. (You can dry your wreath with a heat gun to speed up the process. It's smelly but works just fine.)
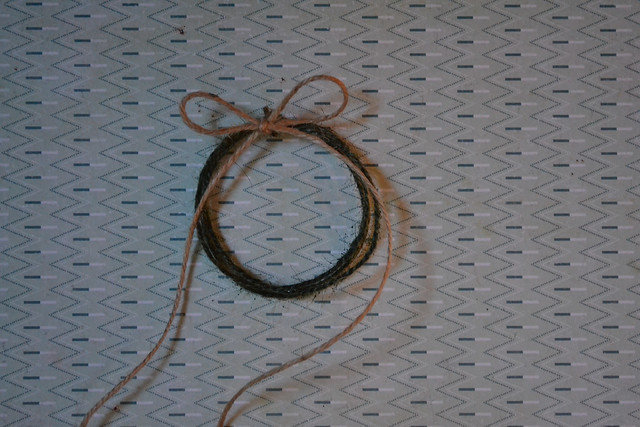
Yes, it really is that easy. They look great on cards and you can put them on almost anything - tag, present, tree...
I hope you enjoyed this little tutorial and feel inspired to make some mini twine wreaths of your own.
Thanks for stopping by!
Cathie
No comments:
Post a Comment