First up, the Lickety Slip page. Lickety Slip is a divided page protector and album system from Bazzill. You can see a video showing them off here. The package I bought at The Paperie had a variety of sizes and fits a 12x12 album - that sealed the deal for me!
Here's the closed up view...
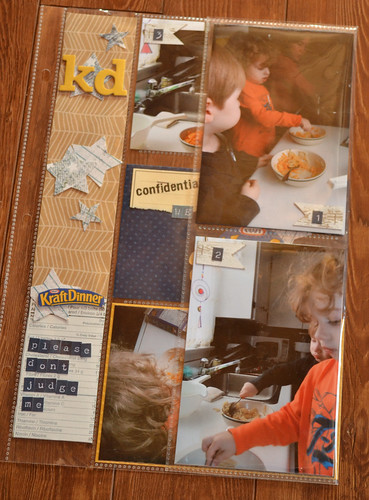
And here's what it looks like when you open it up. I've tried divided page protectors before but this one was much easier for me to use. I'll let you know how it goes as I work my way through the package.
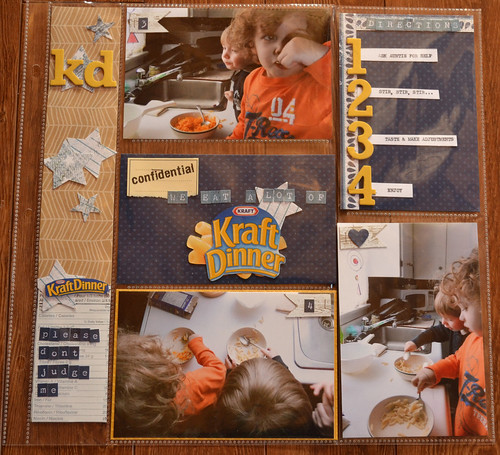
I cut up a KD box to help tell the story of how much Gabriel loves the stuff. I think it will be fun to look back on this page and see the logo from 2012. It will probably seem very retro. I also used the nutritional information from the box as a journaling block. I covered it with gesso to put the text in the background. I love how it turned out.
If you're worried about keeping things acid free you can always treat ephemera with acid free spray first.
My last and final project to share from this month's kit is Harrington's wreath...

My guys aren't much for plushies but sometimes I just can't resist. I usually put the plushies in seasonal wreaths so I can enjoy them without adding to the basket full of plushies no one wants to play with. They aren't glued in - just in case some needs a cuddle.
To make the flowers for the wreath, I used a border punch and the Martha Stewart fringe scissors. I know these aren't new but they're new to me and I love them. The kit also came with a burlap circle which I cut using the spiral flower technique. It was pretty tiny so I punched some 1" circles from cardstock to create the petals and make the flower bigger. I'm definitely going to make more burlap flowers. They're messy but I love how they look.
Here's a close up...

To make the flower centres, I punched 3 circles for each flower then made a stack which I glued together using Glue N' Seal from Ranger. Then I used a glue gun to stick the centre to each flower. Easy peasy lemon squeezy, as Gabriel would say.
Thanks for taking a look. If you have any questions, let me know in the comments section. I'll leave an answer for you there.
Have a good one!
C
No comments:
Post a Comment