This week, I was inspired by Rose Gold. I don't you about you but it is constantly popping up in my Instagram feed. I didn't have anything in my stash that is rose gold but I wanted to try it out using my Prima Color Bloom spray inks. I'll show you how I did it in this week's instructions below.
I also used some Prima flowers that I had been hoarding. Prima flowers are some of my favorite treasures. It's easy to fall into the trap of waiting for the perfect page or project to use them but this week I decided to go for it and I'm so glad I did. I had fun using them and I still have lots left over for another project.
My story this week is all about visiting the Musee D'Orsay in Paris in June. I wanted to visit this gallery to see their Impressionist exhibit - mostly especially Monet - and it did not disappoint.

Here are the supplies I used to make this layout:
Molding Paste (Golden)
Texture Powder (Prima)
Flourish Stencil (Tim Holtz - Stampers Anonymous)
Heavy Gesso (Art Basics - Prima)
Color Bloom Spray Ink - Cotton Candy, Peony and Empress Gold (Prima)
Paper Flowers - Bella Rouge, Butterfly and Archivist Collections (Prima)
Soft Gloss Gel (Prima)
3D Matte Gel (Prima)
Glass Beads - Licorice (Art Ingredients - Prima)
Pattern Paper -Bella Rouge, Salvage District and Epiphany Collections (Prima)
Watercolor Paper Pad 12x18 (Canson)
Walnut Stain Distress Ink (Ranger Industries)
Thickers - Eric, Burlap (American Crafts)
Gold Thread (Guterman)
Old Paint Brush
Palette Knife
Instructions:
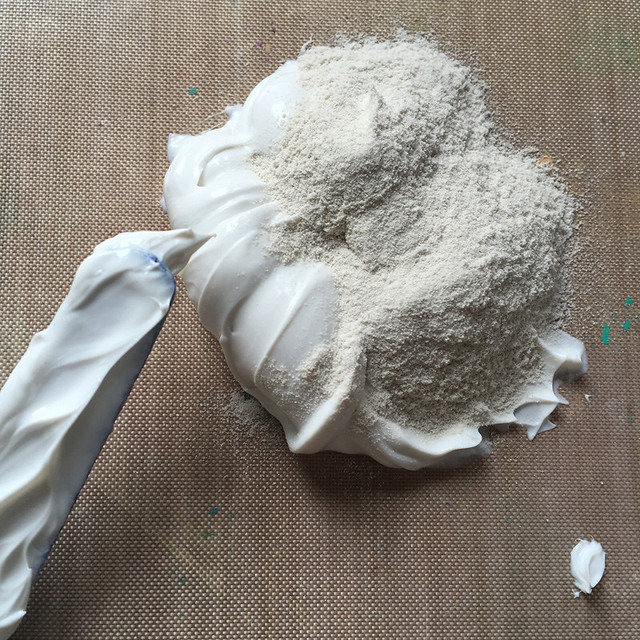
1. Mixed Molding Paste and Texture Powder. Scoop the Texture Powder and Molding Paste onto your craft mat and mix with a palette knife. I use equal parts Texture Powder and Molding Paste because I like my mixture to be gritty. It gives more texture when dry. If you use less Texture Powder, the mixture is smoother.
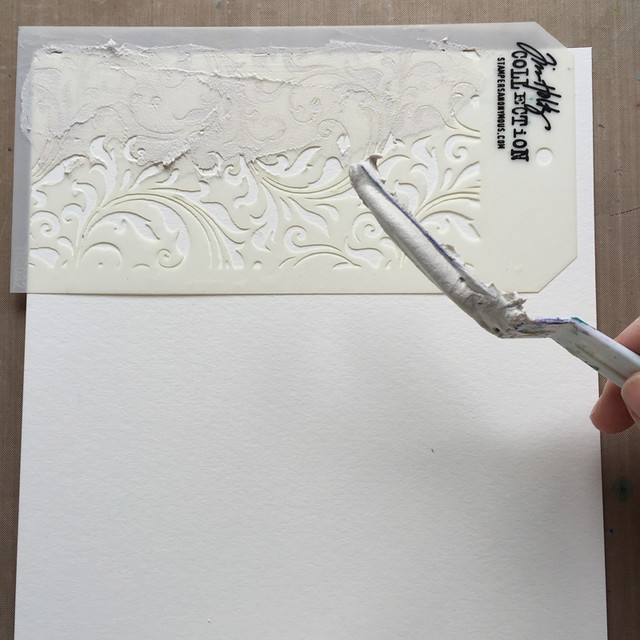
2. Spread on background using a stencil and palette knife. I love the flourishes in this Tim Holtz stencil. It wasn't big enough to cover the background so I moved it and was able to make it look like a larger stencil.
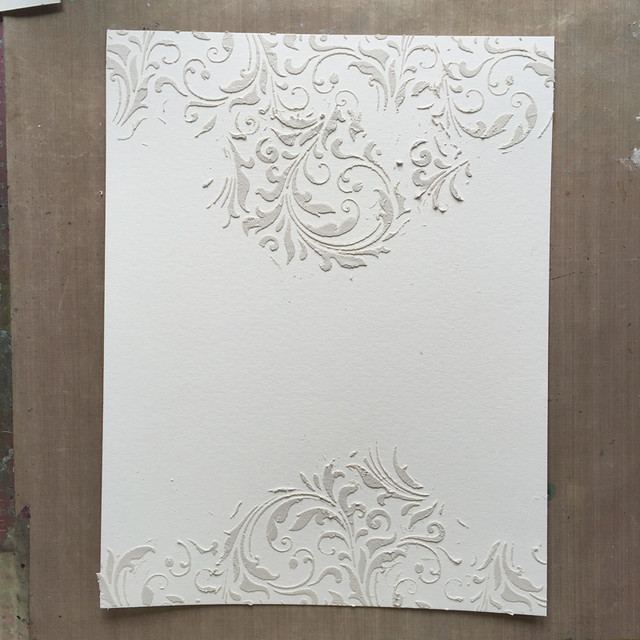
3. Apply gesso with an old paint brush. I covered the whole background with gesso. I used an old paint brush so I could work the gesso into the nooks and crannies of the pattern I stenciled.
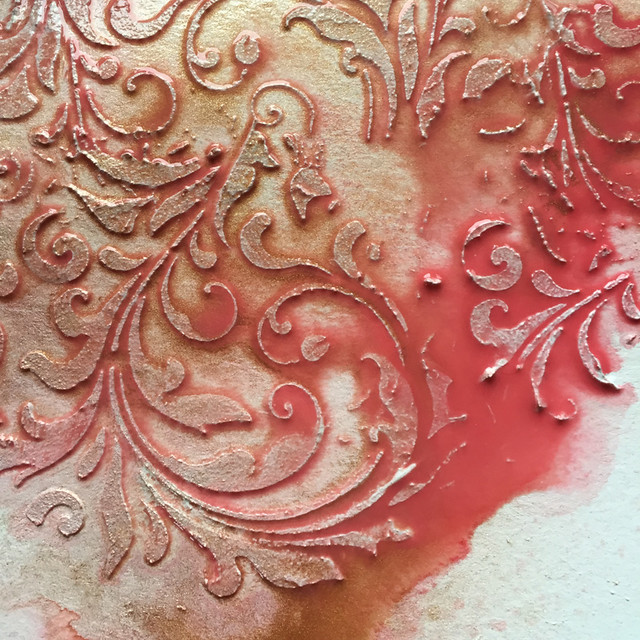
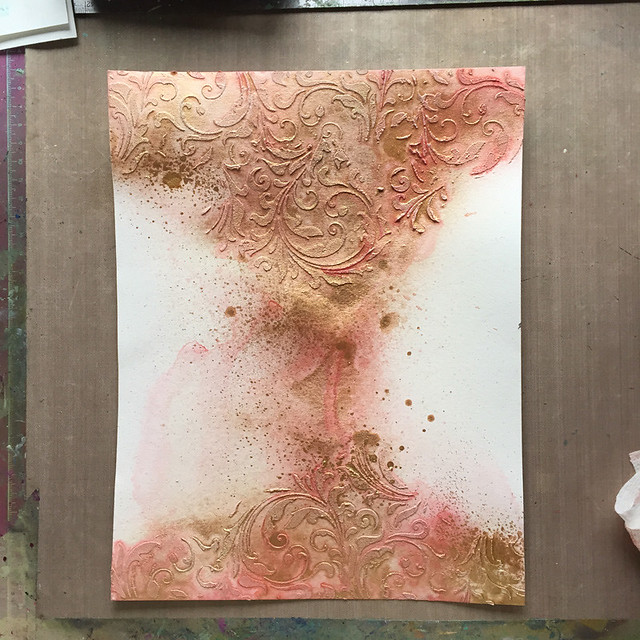
4. Spray with Color Bloom Sprays. To create the rose gold color, I sprayed first with Cotton Candy, then with Peony and finally added Empress Gold. I kept adding ink until I had the color I wanted. You can see from the photo below that I used a lot of ink.
5. Dry with heat gun. When I have this much ink on the page, I dry with a heat gun. It gives me control over how the color develops as it dries. I can add more ink or blot it up with a paper towel if I need to.
Look at all that shimmer!
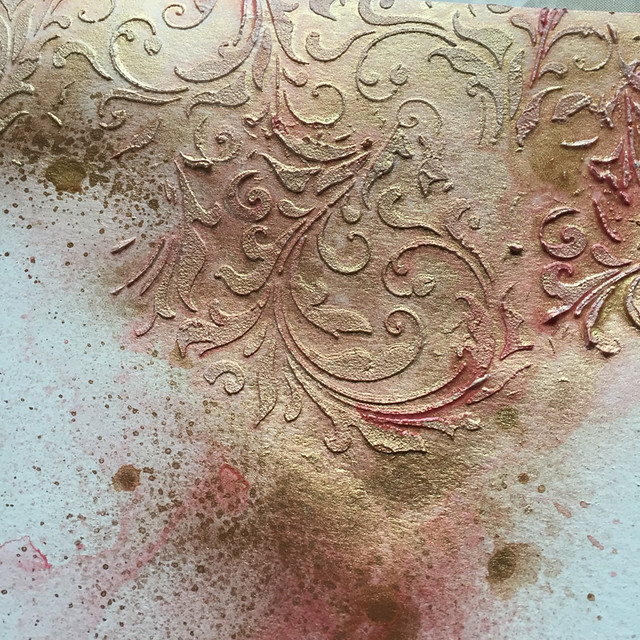
Here's a look at the background when it was dry.
6. Embellish. I was fiddling with the layout and how to place my embellishments. It was top heavy with the larger section of stenciled flourishes at the top so I flipped the background 180 degrees. That gave balance to the layout and it was much easier to add my embellishments and my title.
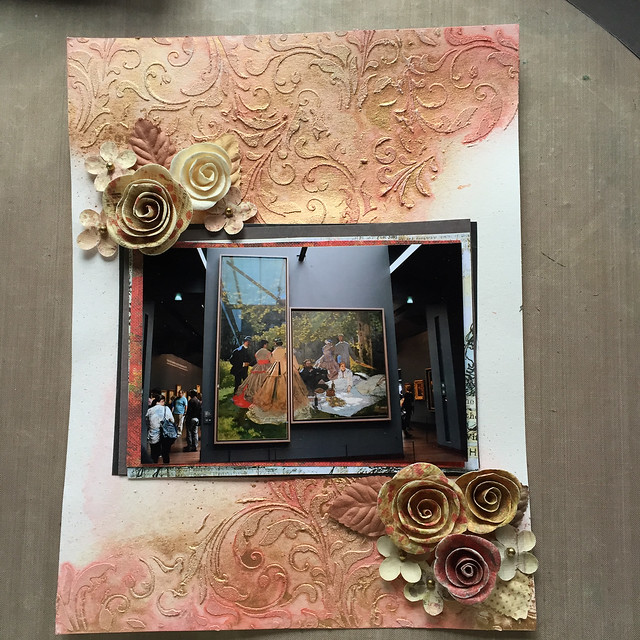
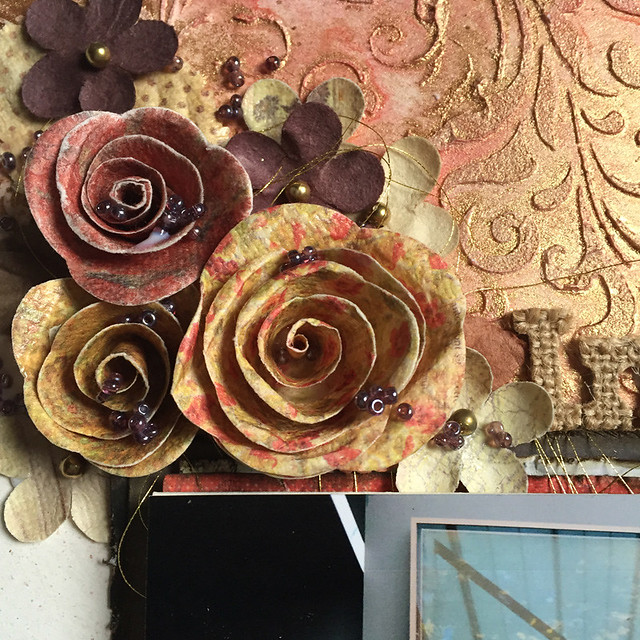
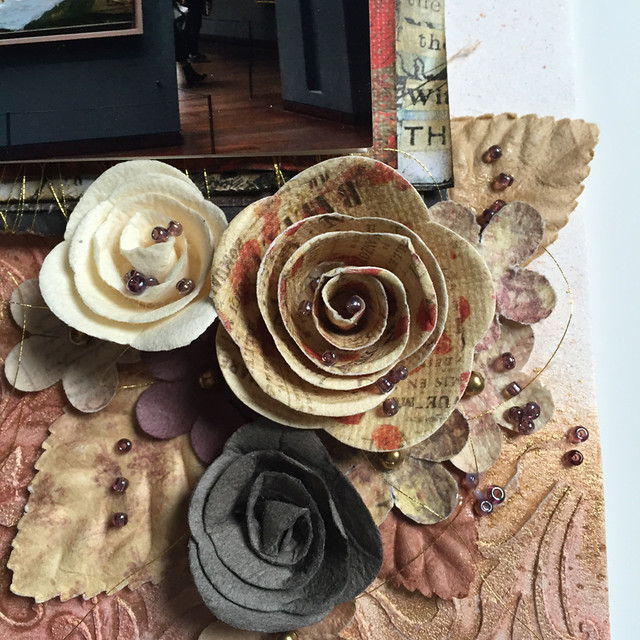
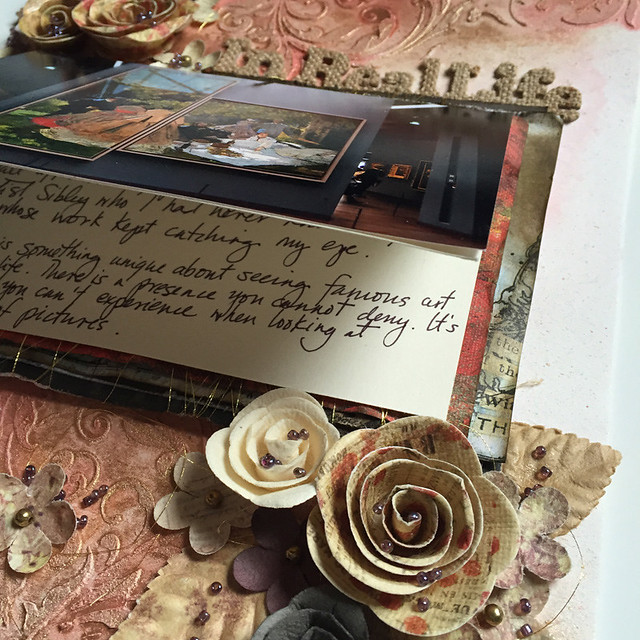
Here are some closeups of the final layout. The background is flipped 180 degrees and all the embellishments are in place. I also added some hidden journaling under the photo. Hidden journaling is the best of both worlds, in my opinion. It lets me add my story to my scrapbook page and I don't have to worry about ruining the look of my page with spelling mistakes or smudges. I also don't have to worry about ruining my favorite pens by writing on glitter or wet ink.
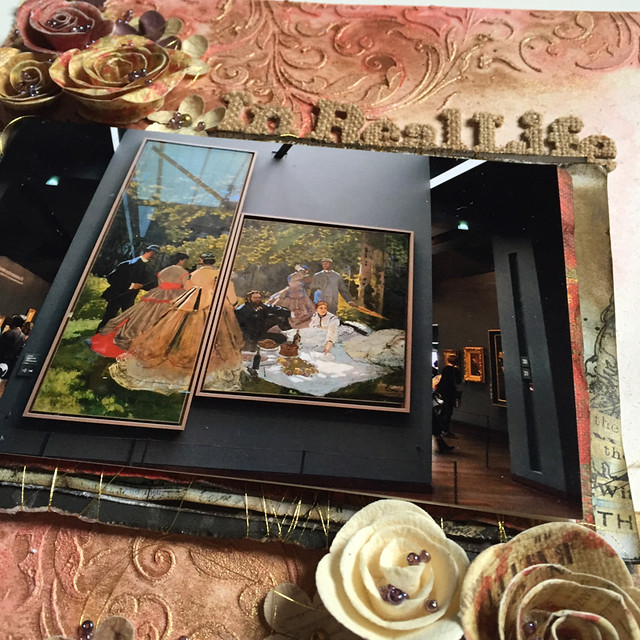
I dipped my brush in soft gloss gel, then into my beads and then brushed them on the layout and the flowers.
I don't know if I have ever made a layout like this before but I love how it turned out. It is such a great experience to step outside of my usual color palette (blue) and use supplies that I don't use very often (flowers). It was a fun challenge and now I have another finished page for my scrapbooks. Of course, how I'm going to get this layout into a page protector is another question entirely!
As always, please leave a note in the comments if you have any questions about supplies and techniques used to make today's layout.
Thanks for stopping by today!
Cathie
No comments:
Post a Comment