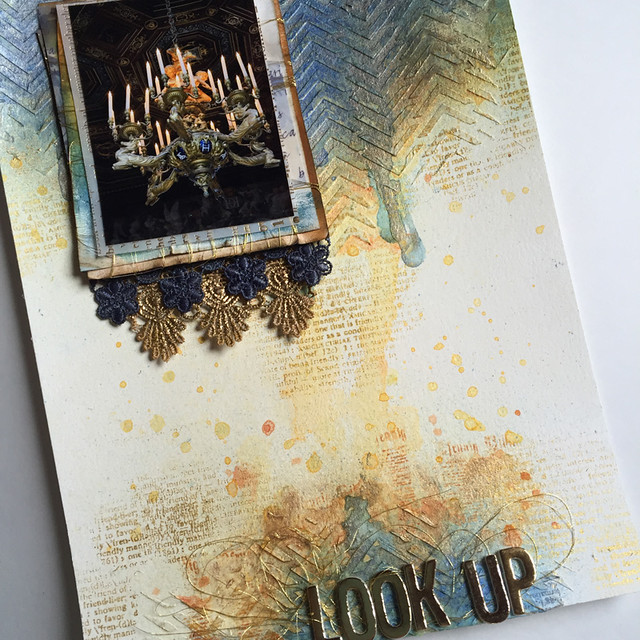
This week I was completely inspired by my recent trip to Fontainebleau Chateau when I was in France in June. The chateau is beautiful and even the ceilings are ornately decorated. I used lots of gold and royal blue to make this layout.
Here are the supplies I used to make this layout.
Heavy Gesso - Art Basics (Prima)
Modeling Paste - Art Basics (Prima)
Mixed Media Silicon Brush - Art Basics (Prima)
Color Bloom Sprays (Prima)
Friend Definition (Hero Arts)
Background Stamp - Book (Prima)
Delicata Golden Glitz - Pigment Stamp Pad (Tsukineko)
Orange Blossom - Archival Ink (Ranger Industries)
Walnut Stain - Distress Ink (Ranger Industries)
Woodland Thickers - Dear Lizzy (American Crafts)
Canson Watercolor Paper
Chevron Stencil - Balzer Designs (The Crafter's Workshop)
Water Soluble Oil Pastels (Prima)
Gold Thread (Guterman)
Heavy Body Paint - Dina Wakley Media (Ranger Industries)
Embossing Enamel (Stampendous)
Paint Brush
Lace Trim
Instructions:
1. Apply Modeling Paste through stencil. I used the silicon brush to pull modeling paste through the Chevron stencil by Balzer Designs. I only put the modeling paste on the top and bottom of the page.
2. Apply gesso to the background. I applied a thin coat of gesso to the entire background using a brush. I have an old paint brush that I use for jobs like this. It's perfect for working the gesso into the all the nooks and crannies created by the stenciled pattern.
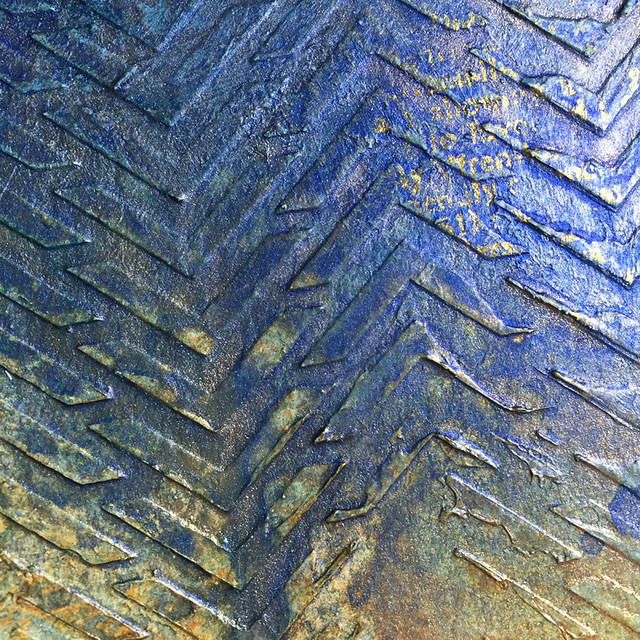
3. Add color. I used the Prima Color Bloom spray inks to add color to the background. To create the blue sections, I started with Summer Sky and Soft Teal and added lots of Cobalt. I also added some Gold Foil and Empress Gold. For the orange sections, I started with Sunshine and then added Mustard, Sorbet and Gilded.
Here's an extreme close up so you can see the gold.

4. Stamp randomly on background. I used the Delicata Golden Glitz ink pad and Orange Blossom Archival Ink to stamp all over the background. You can see a little of the Delicata Golden Glitz in the photo below. It's really lovely in real life.
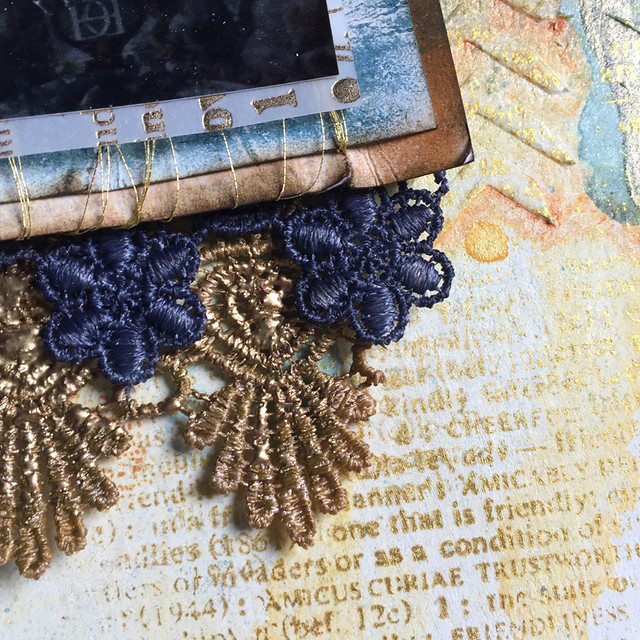
5. Embellish. Embellishing took more time than any other part of this layout so I thought I would share a bit of the process.
I started by layering the papers behind the photo and then deciding on composition. I could not decide where to put the photo. I kept moving it around the page - auditioning different positions.
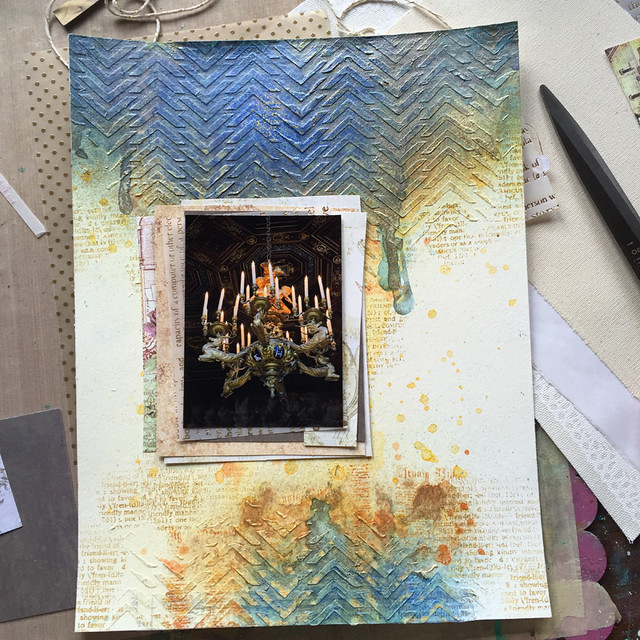
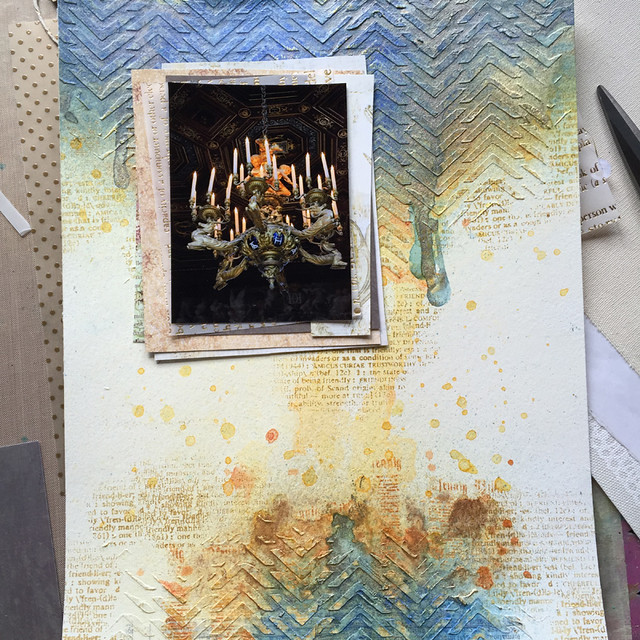
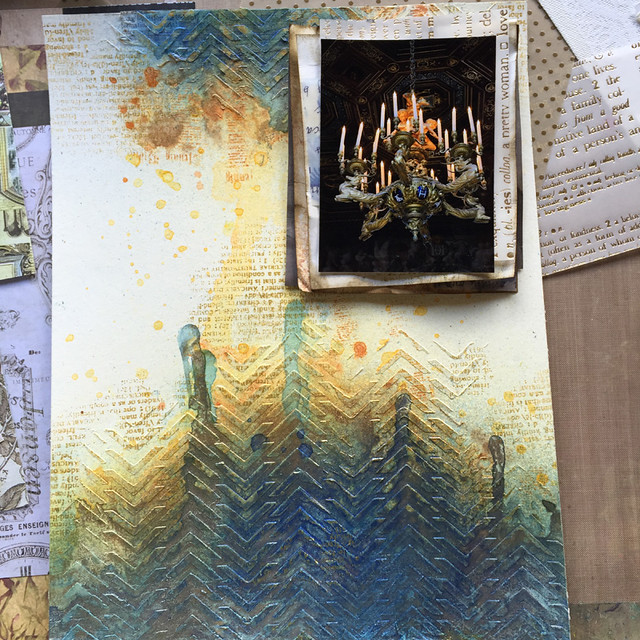
Finally, I settled on the top left corner and layered the paper behind it.

Then I distressed the paper with the Walnut Stain Distress Ink and the Prima Oil Pastels. I added some gold thread because I just can't get enough of this new thread that I bought at a local fabric store.
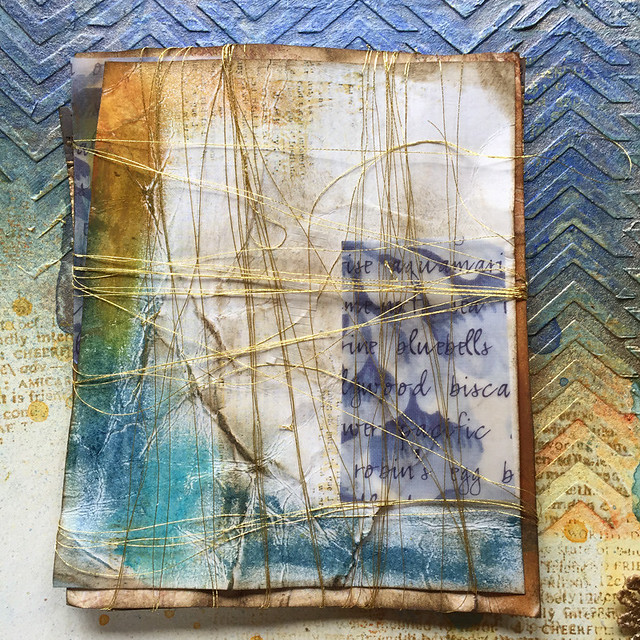
Finally, I added the lace trim that I also bought at my local fabric store.
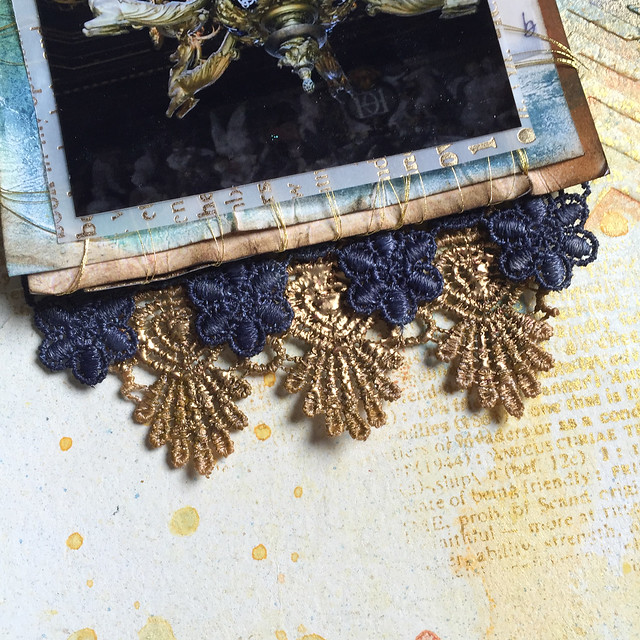
These pieces were white but I altered them using some Color Bloom spray inks, Dina Wakley Heavy Body Paint (Night and Gilt) and some Stampendous Embossing Enamel.
I really enjoyed the process of working through the challenges of this layout. When I get stuck, I often move onto the next layout but I learned a lot by sticking with this layout and trying different ways to fix it. I think this page would have landed on my pile of undone layouts if I hadn't taken the time to work through the problems I was having. It's definitely something I'm going to think about the next time I get stuck.
Thanks for stopping by today.
Cathie
No comments:
Post a Comment